
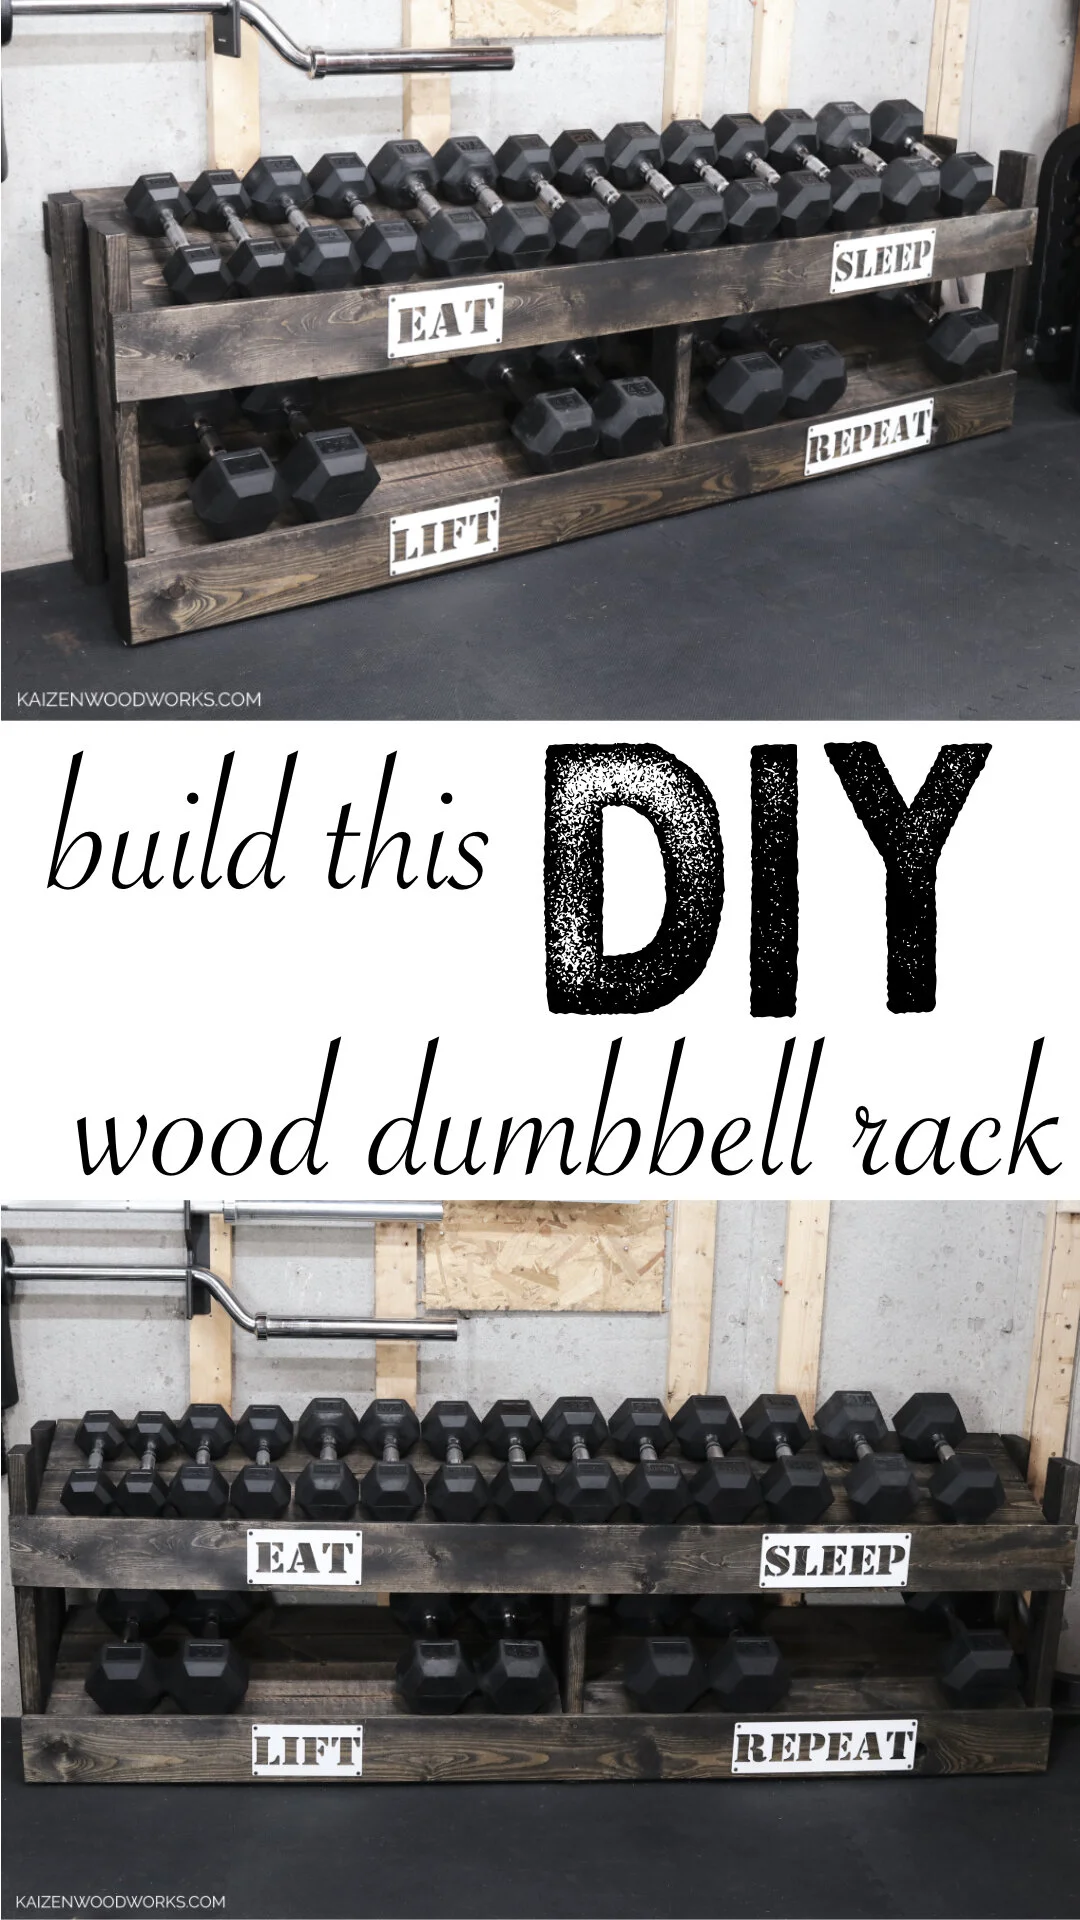
Wooden DIY Dumbbell Rack for Home Gym V.2
Materials:
2x4’s
1x6’s
1x8’s
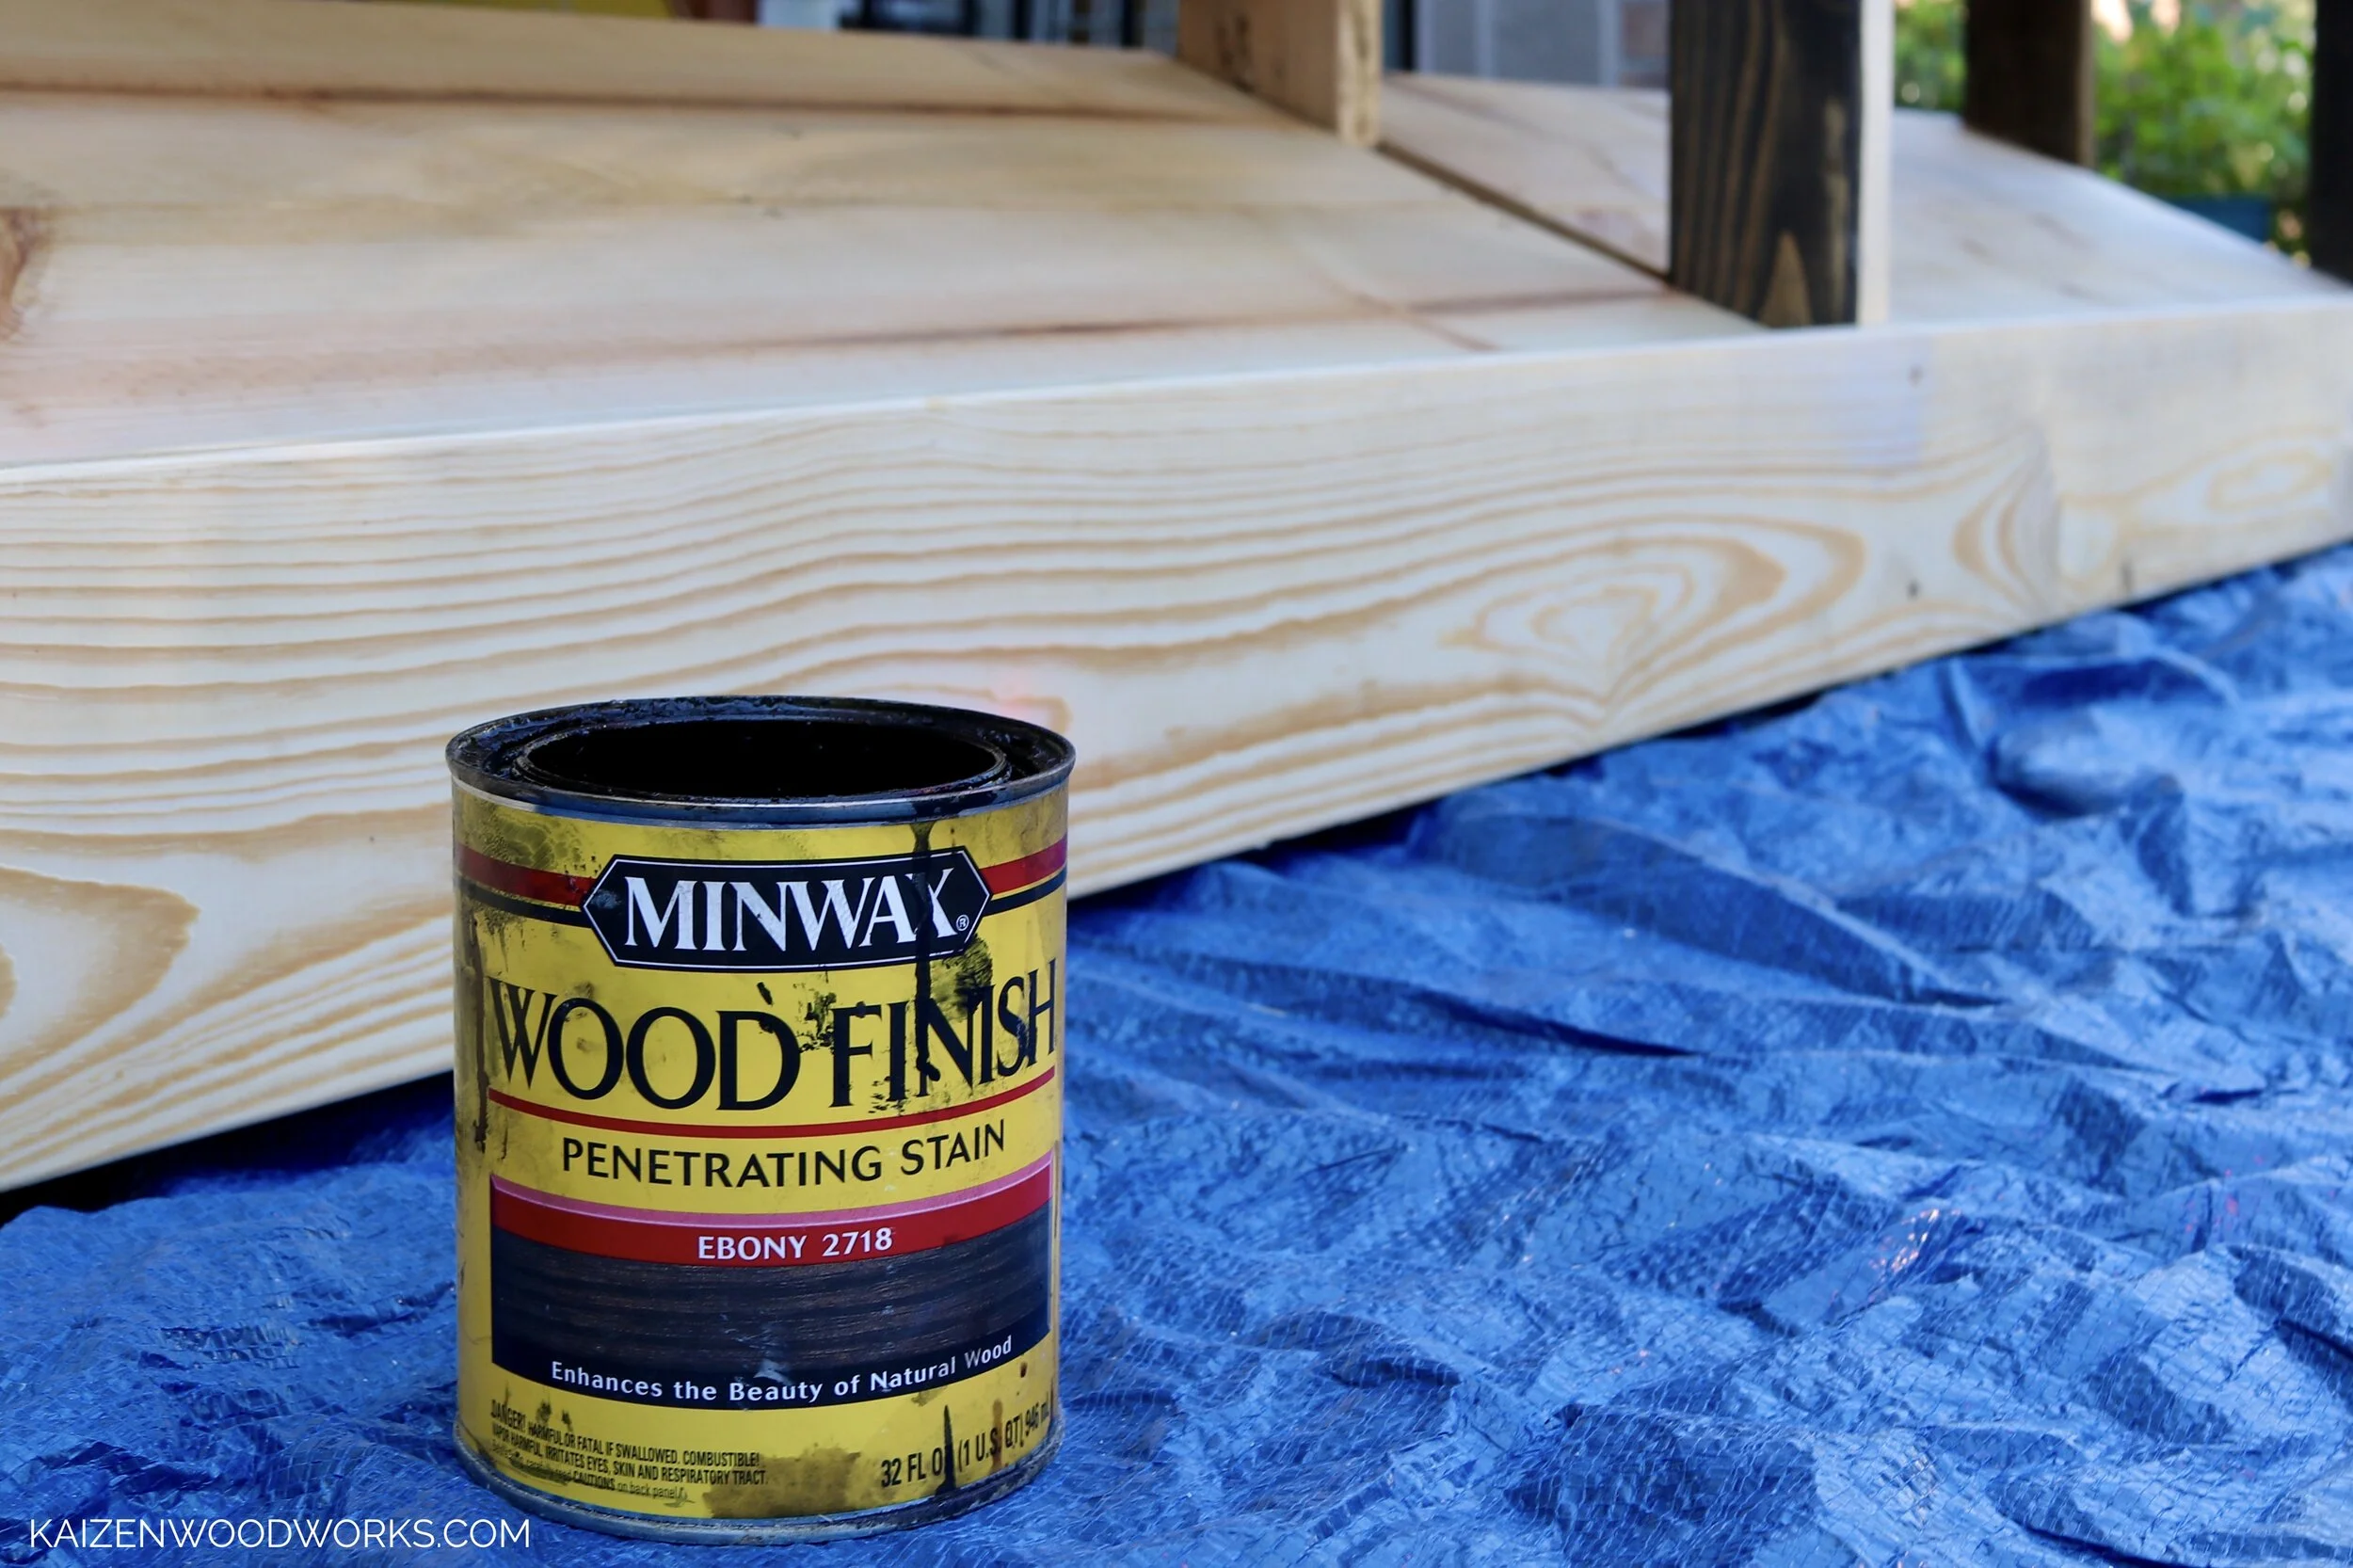
Wood stain
A few months ago, I got fed up with trying to find a dumbbell rack that would fit in the space I had available and hold my 10lb - 50lb dumbbell set. I decided to make my own. At the time, I had pairs of 10-50 iron hexagon dumbbells. I built a rack to fit them perfectly. I posted my build on Reddit and got a lot of great feedback. Quite a few people wrote and asked for dimensions, instructions, and other help with building their own.
Shortly after finishing my rack I upgraded from iron dumbbells to rubber dumbbells. As it turns out, rubber dumbbells are actually larger in size and sadly were unable to fit in my custom built rack. I decided to disassemble and rebuild. I am documenting rebuilding my rack, I’ll make it large enough to fit everything and provide measurement and instructions.
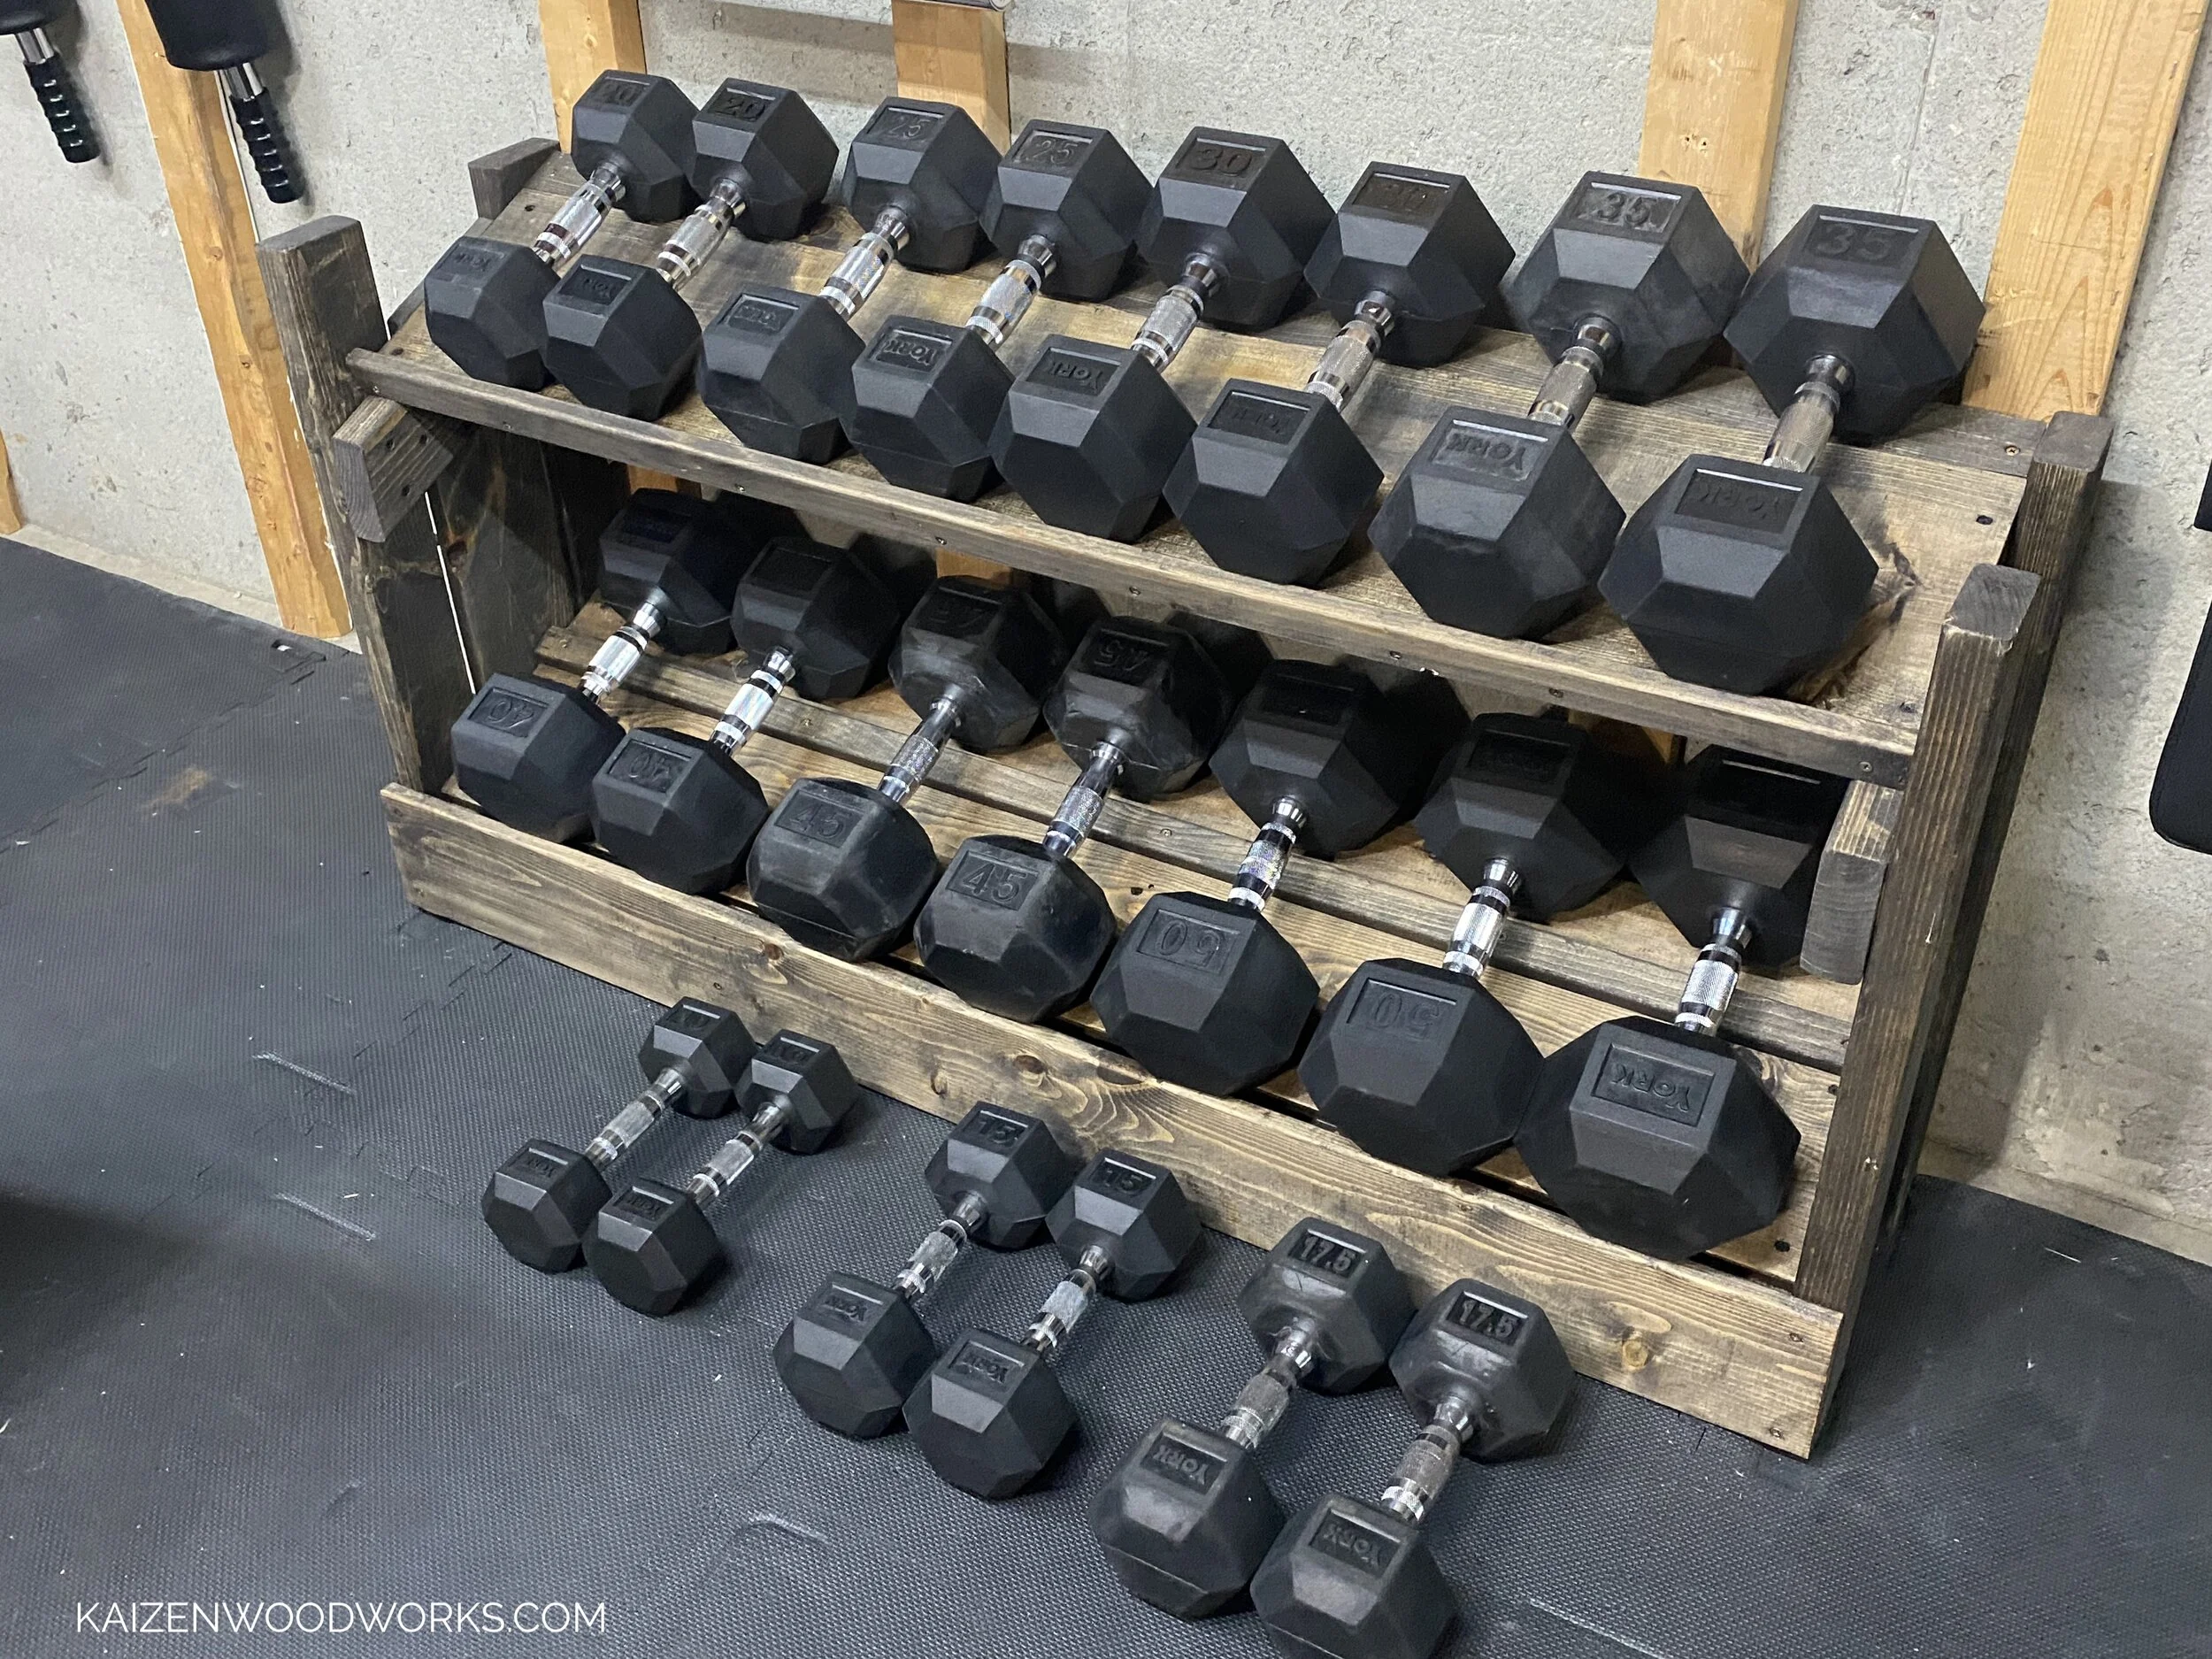
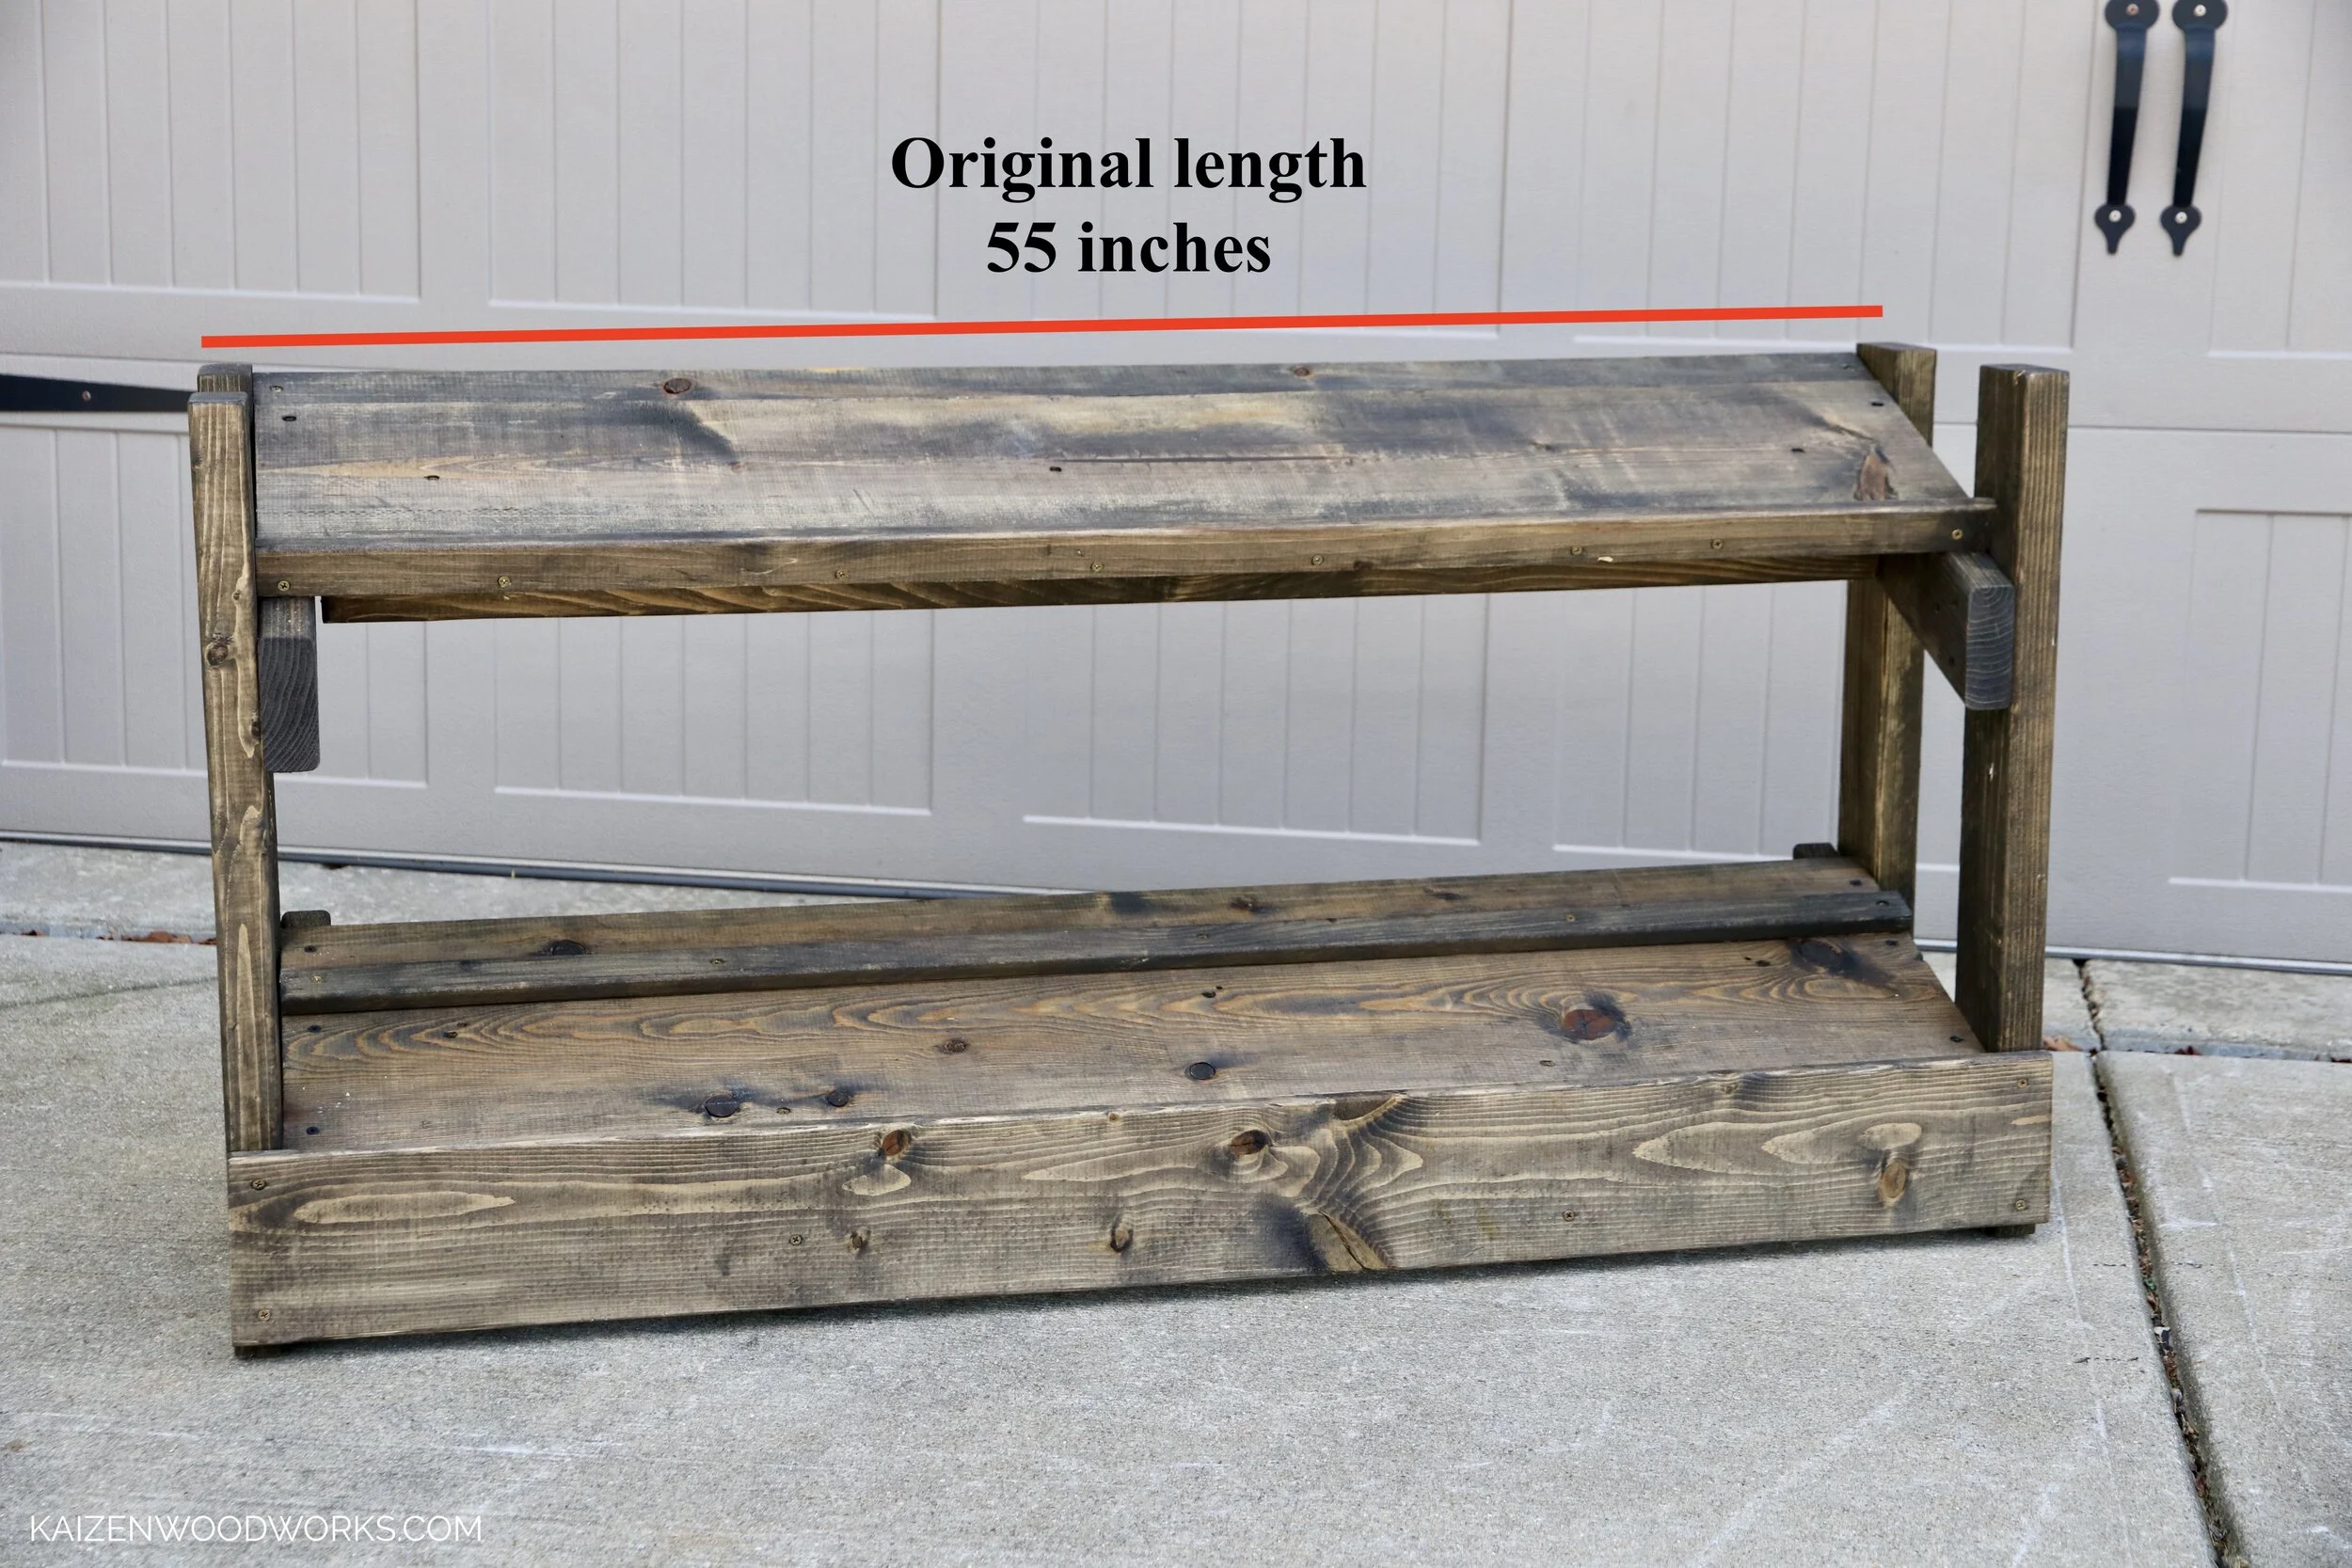
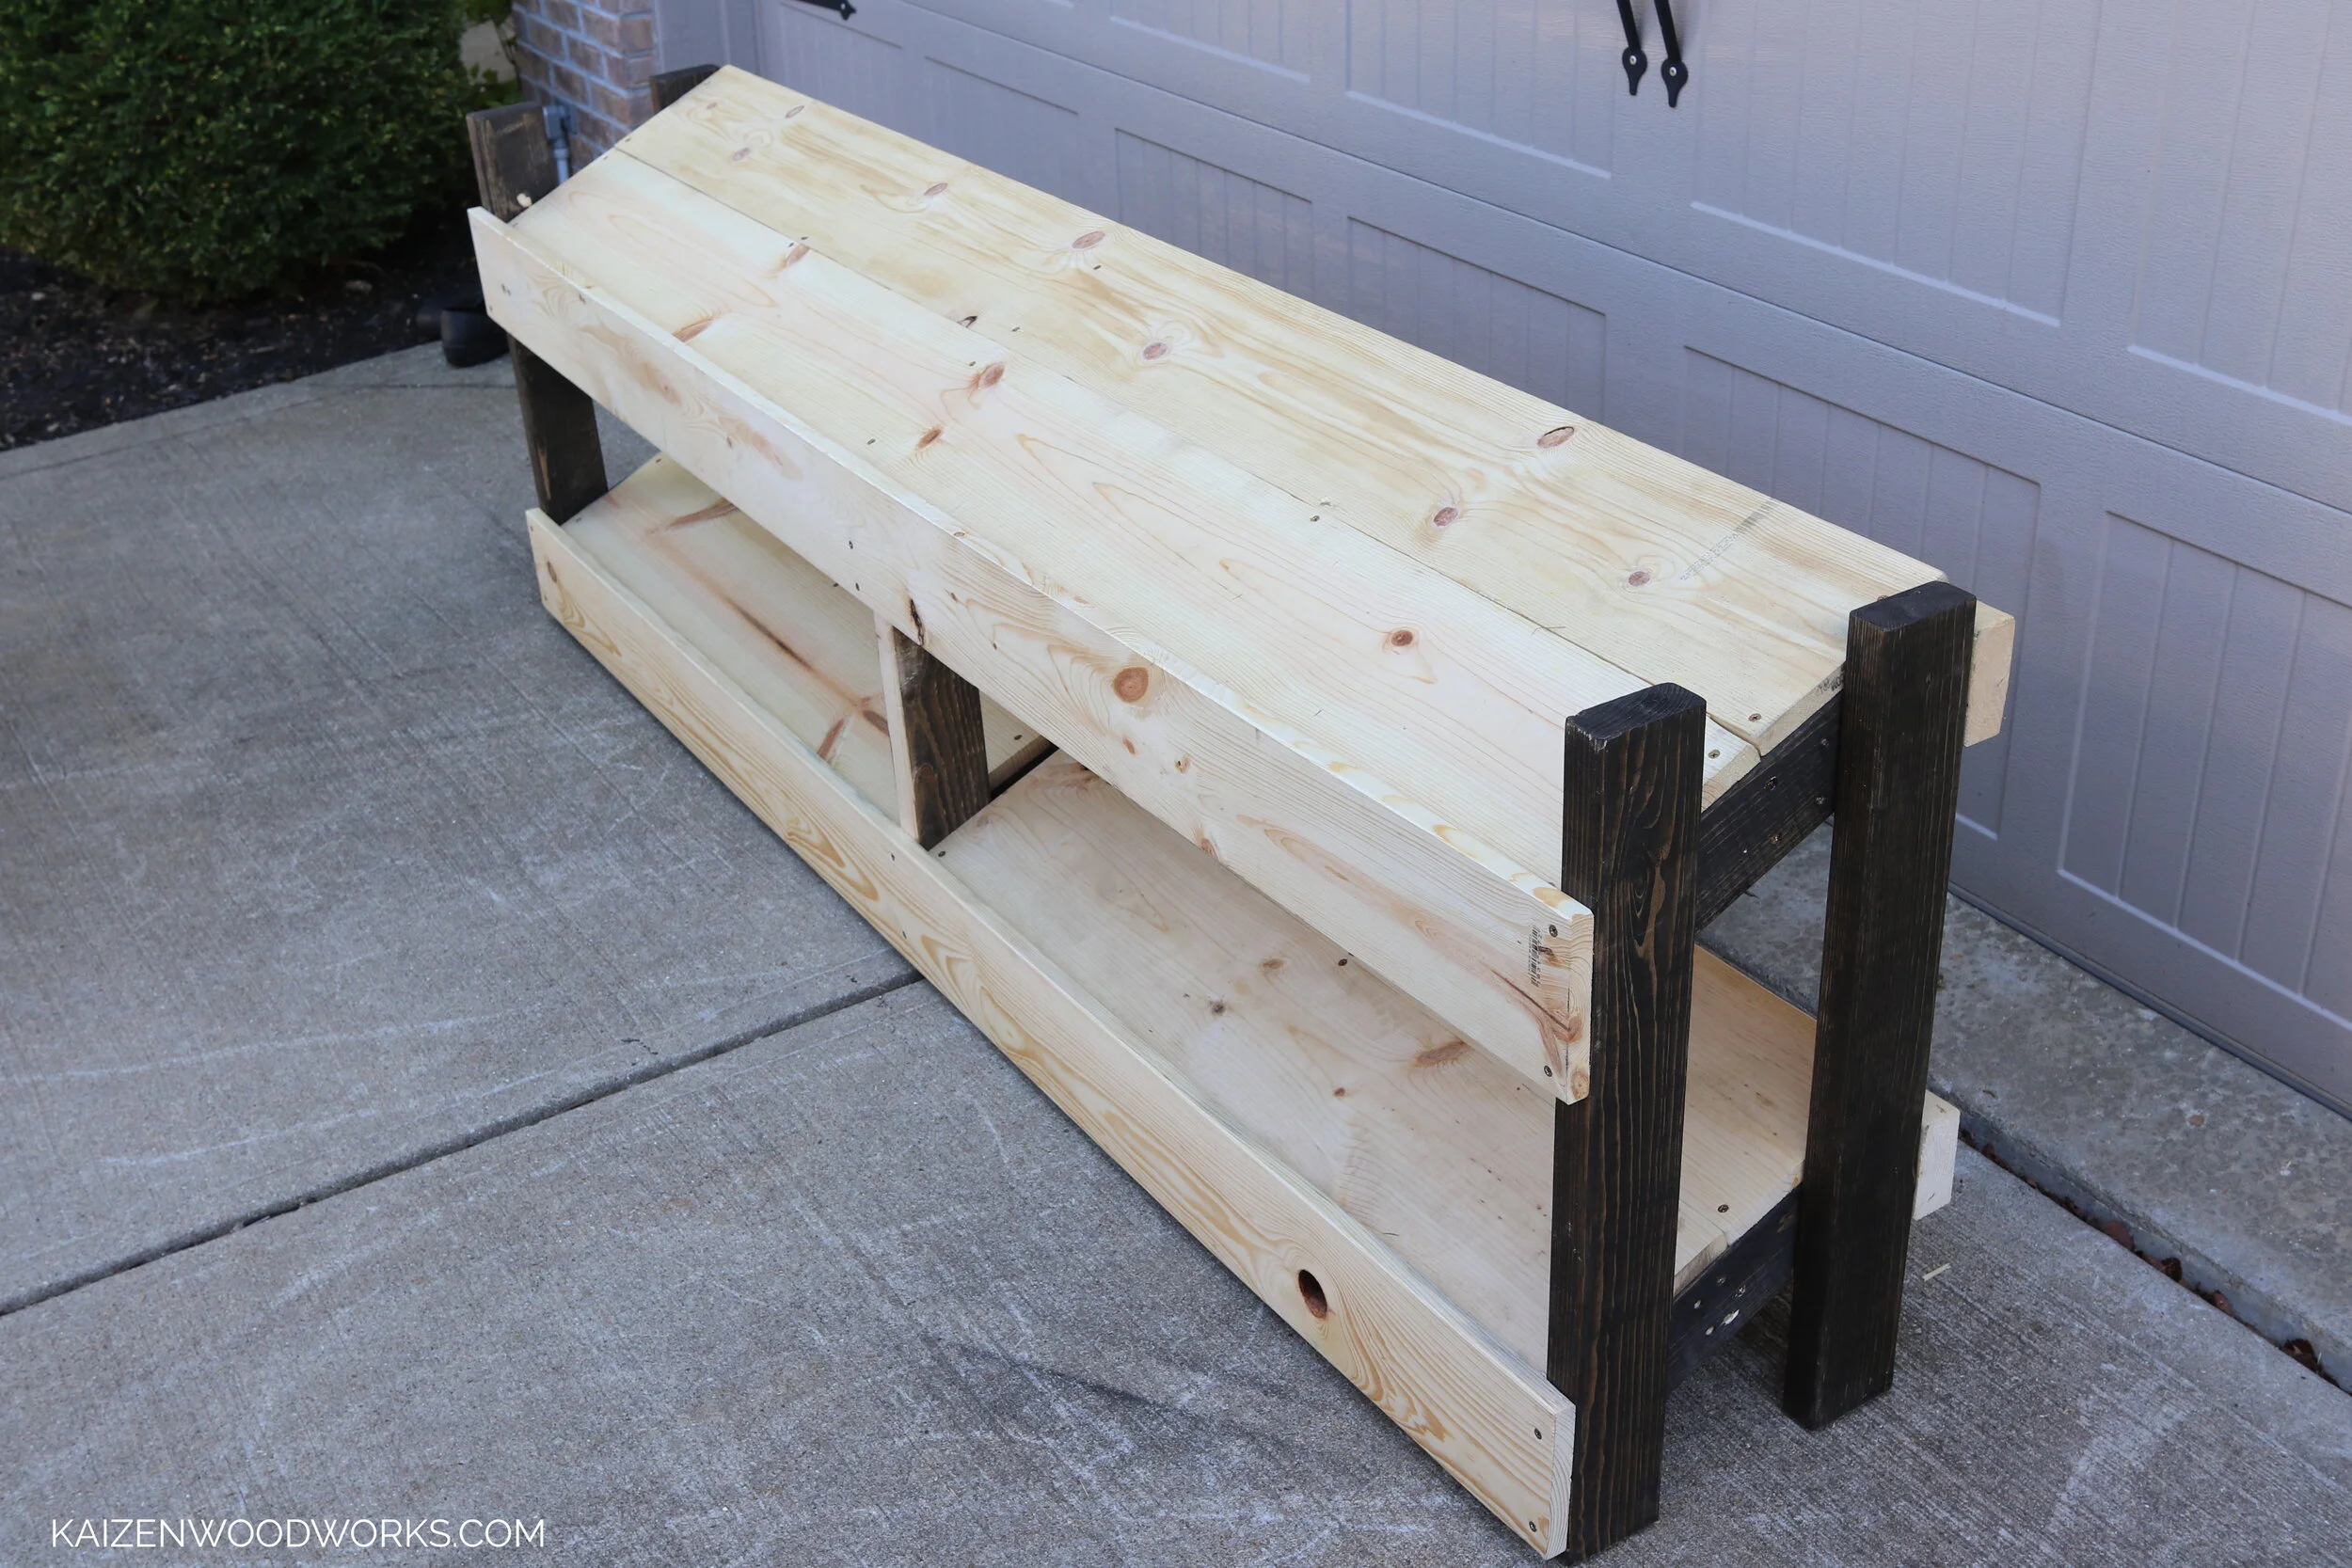
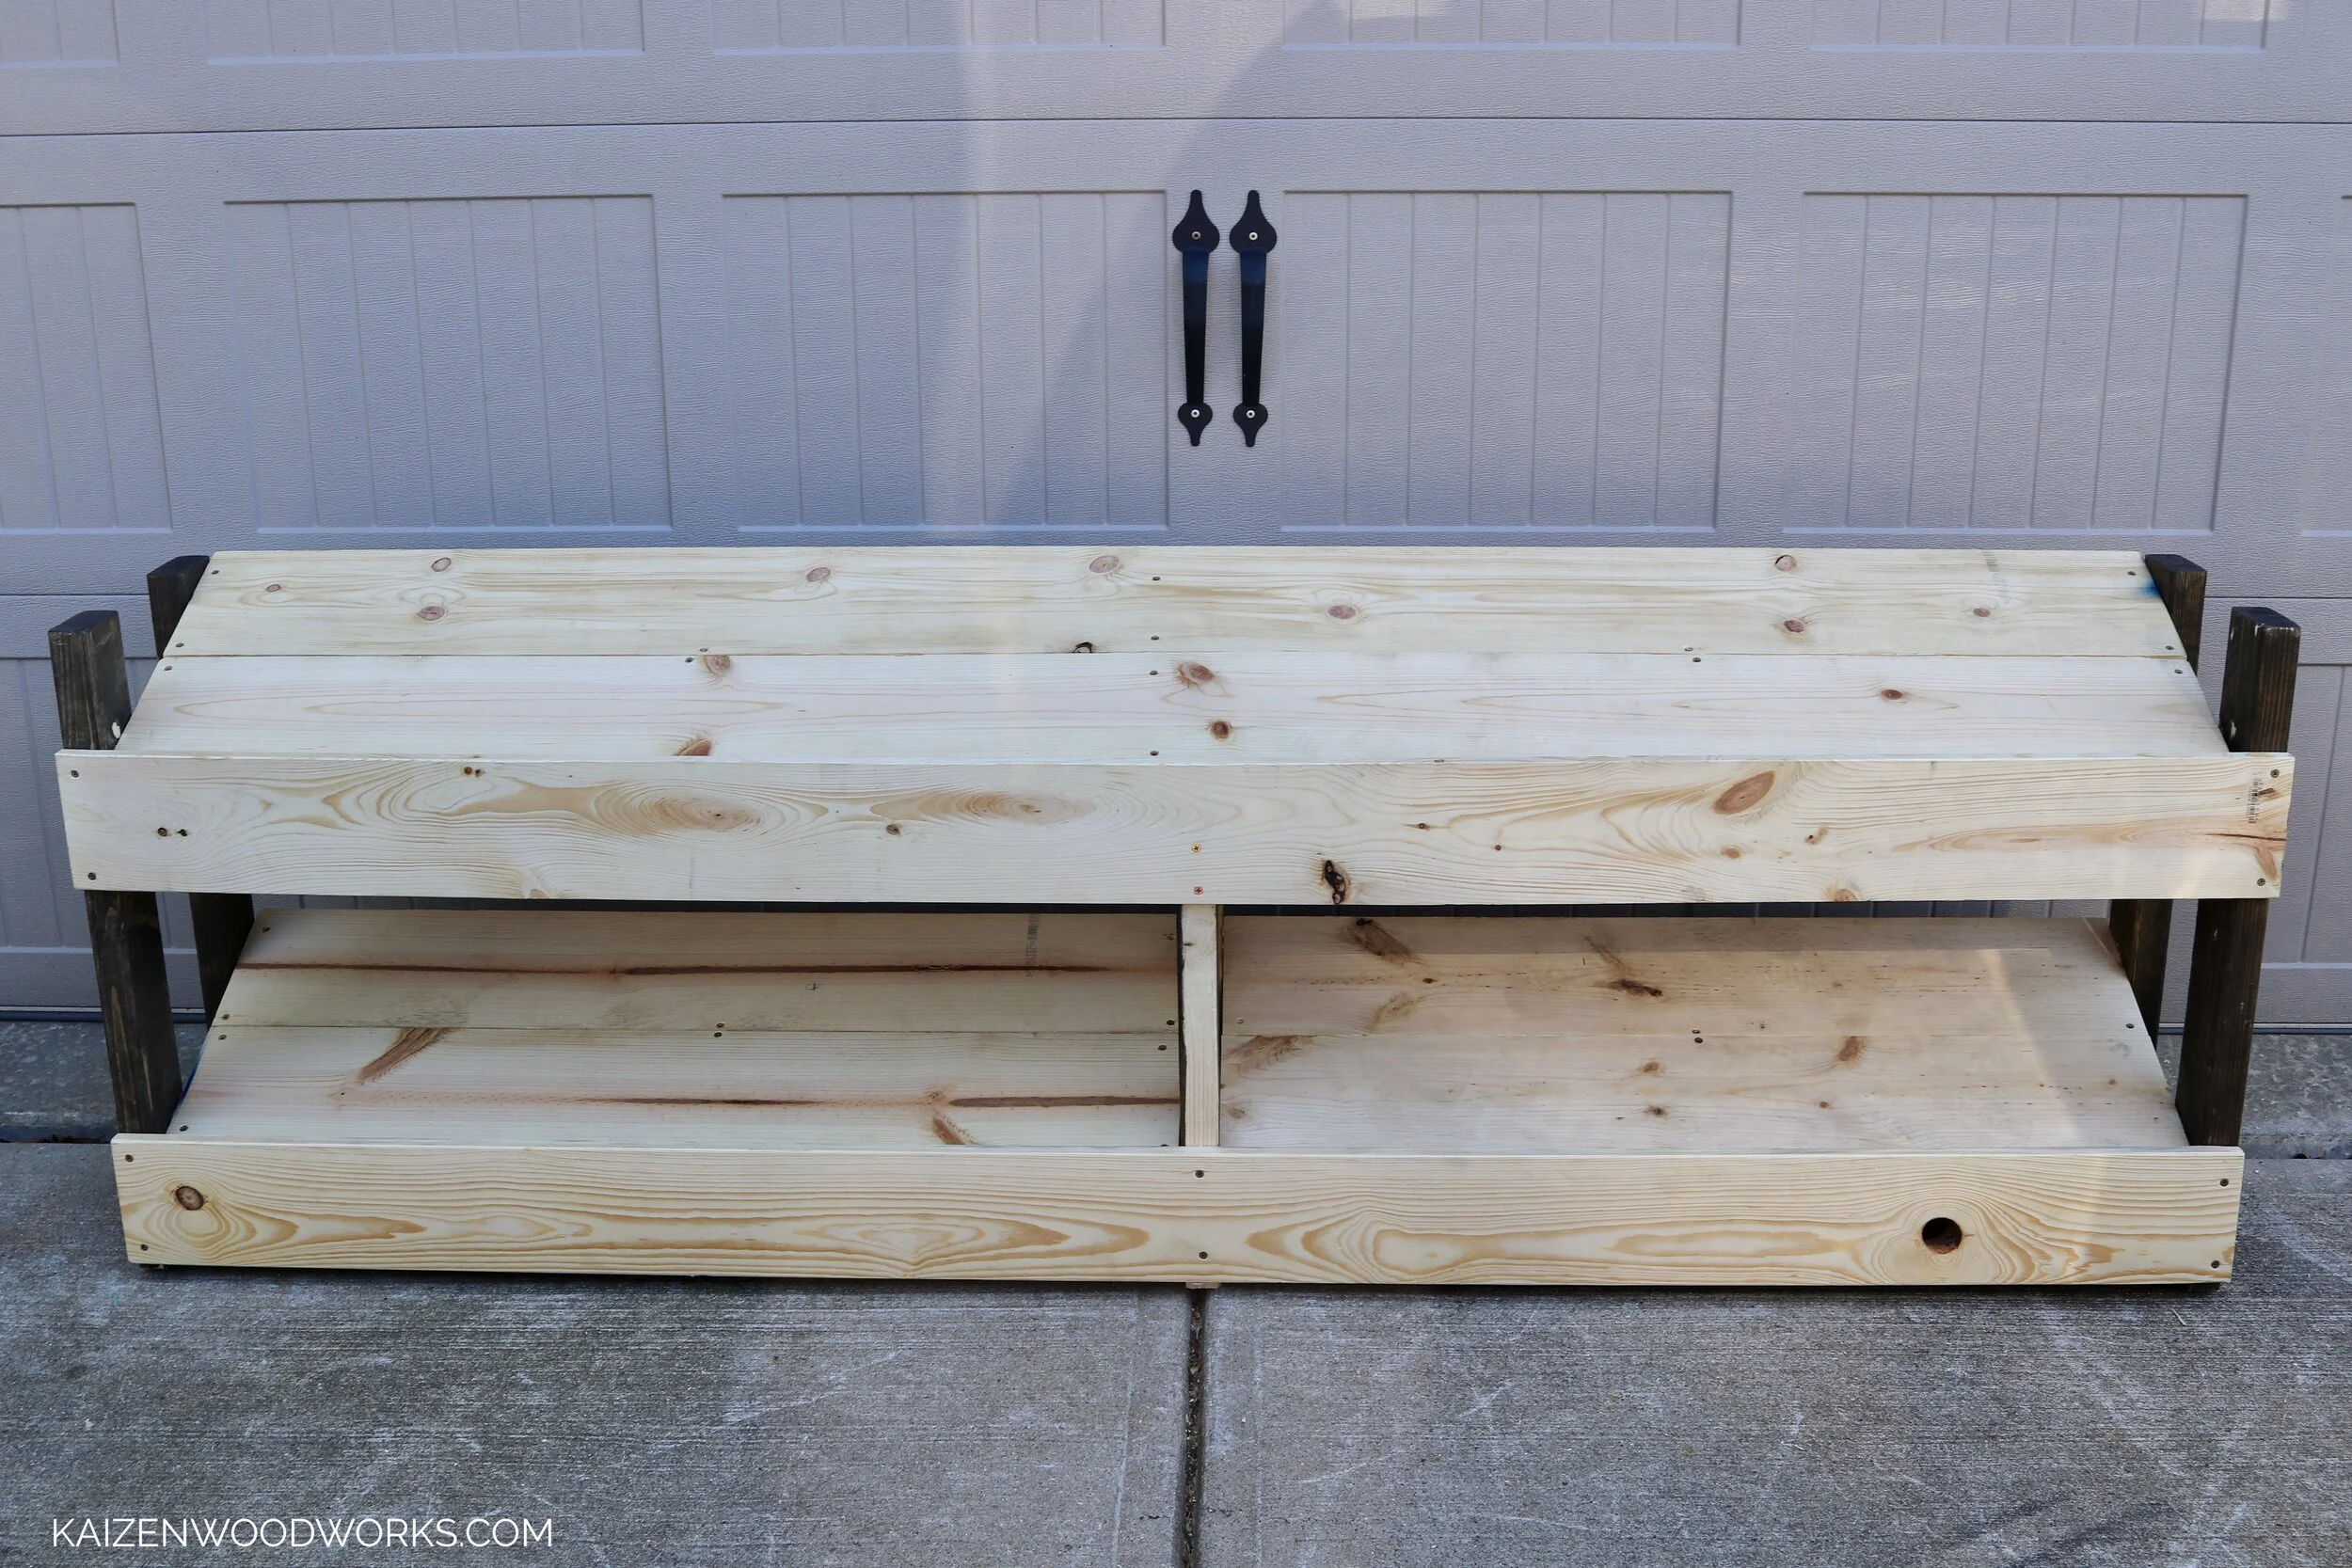
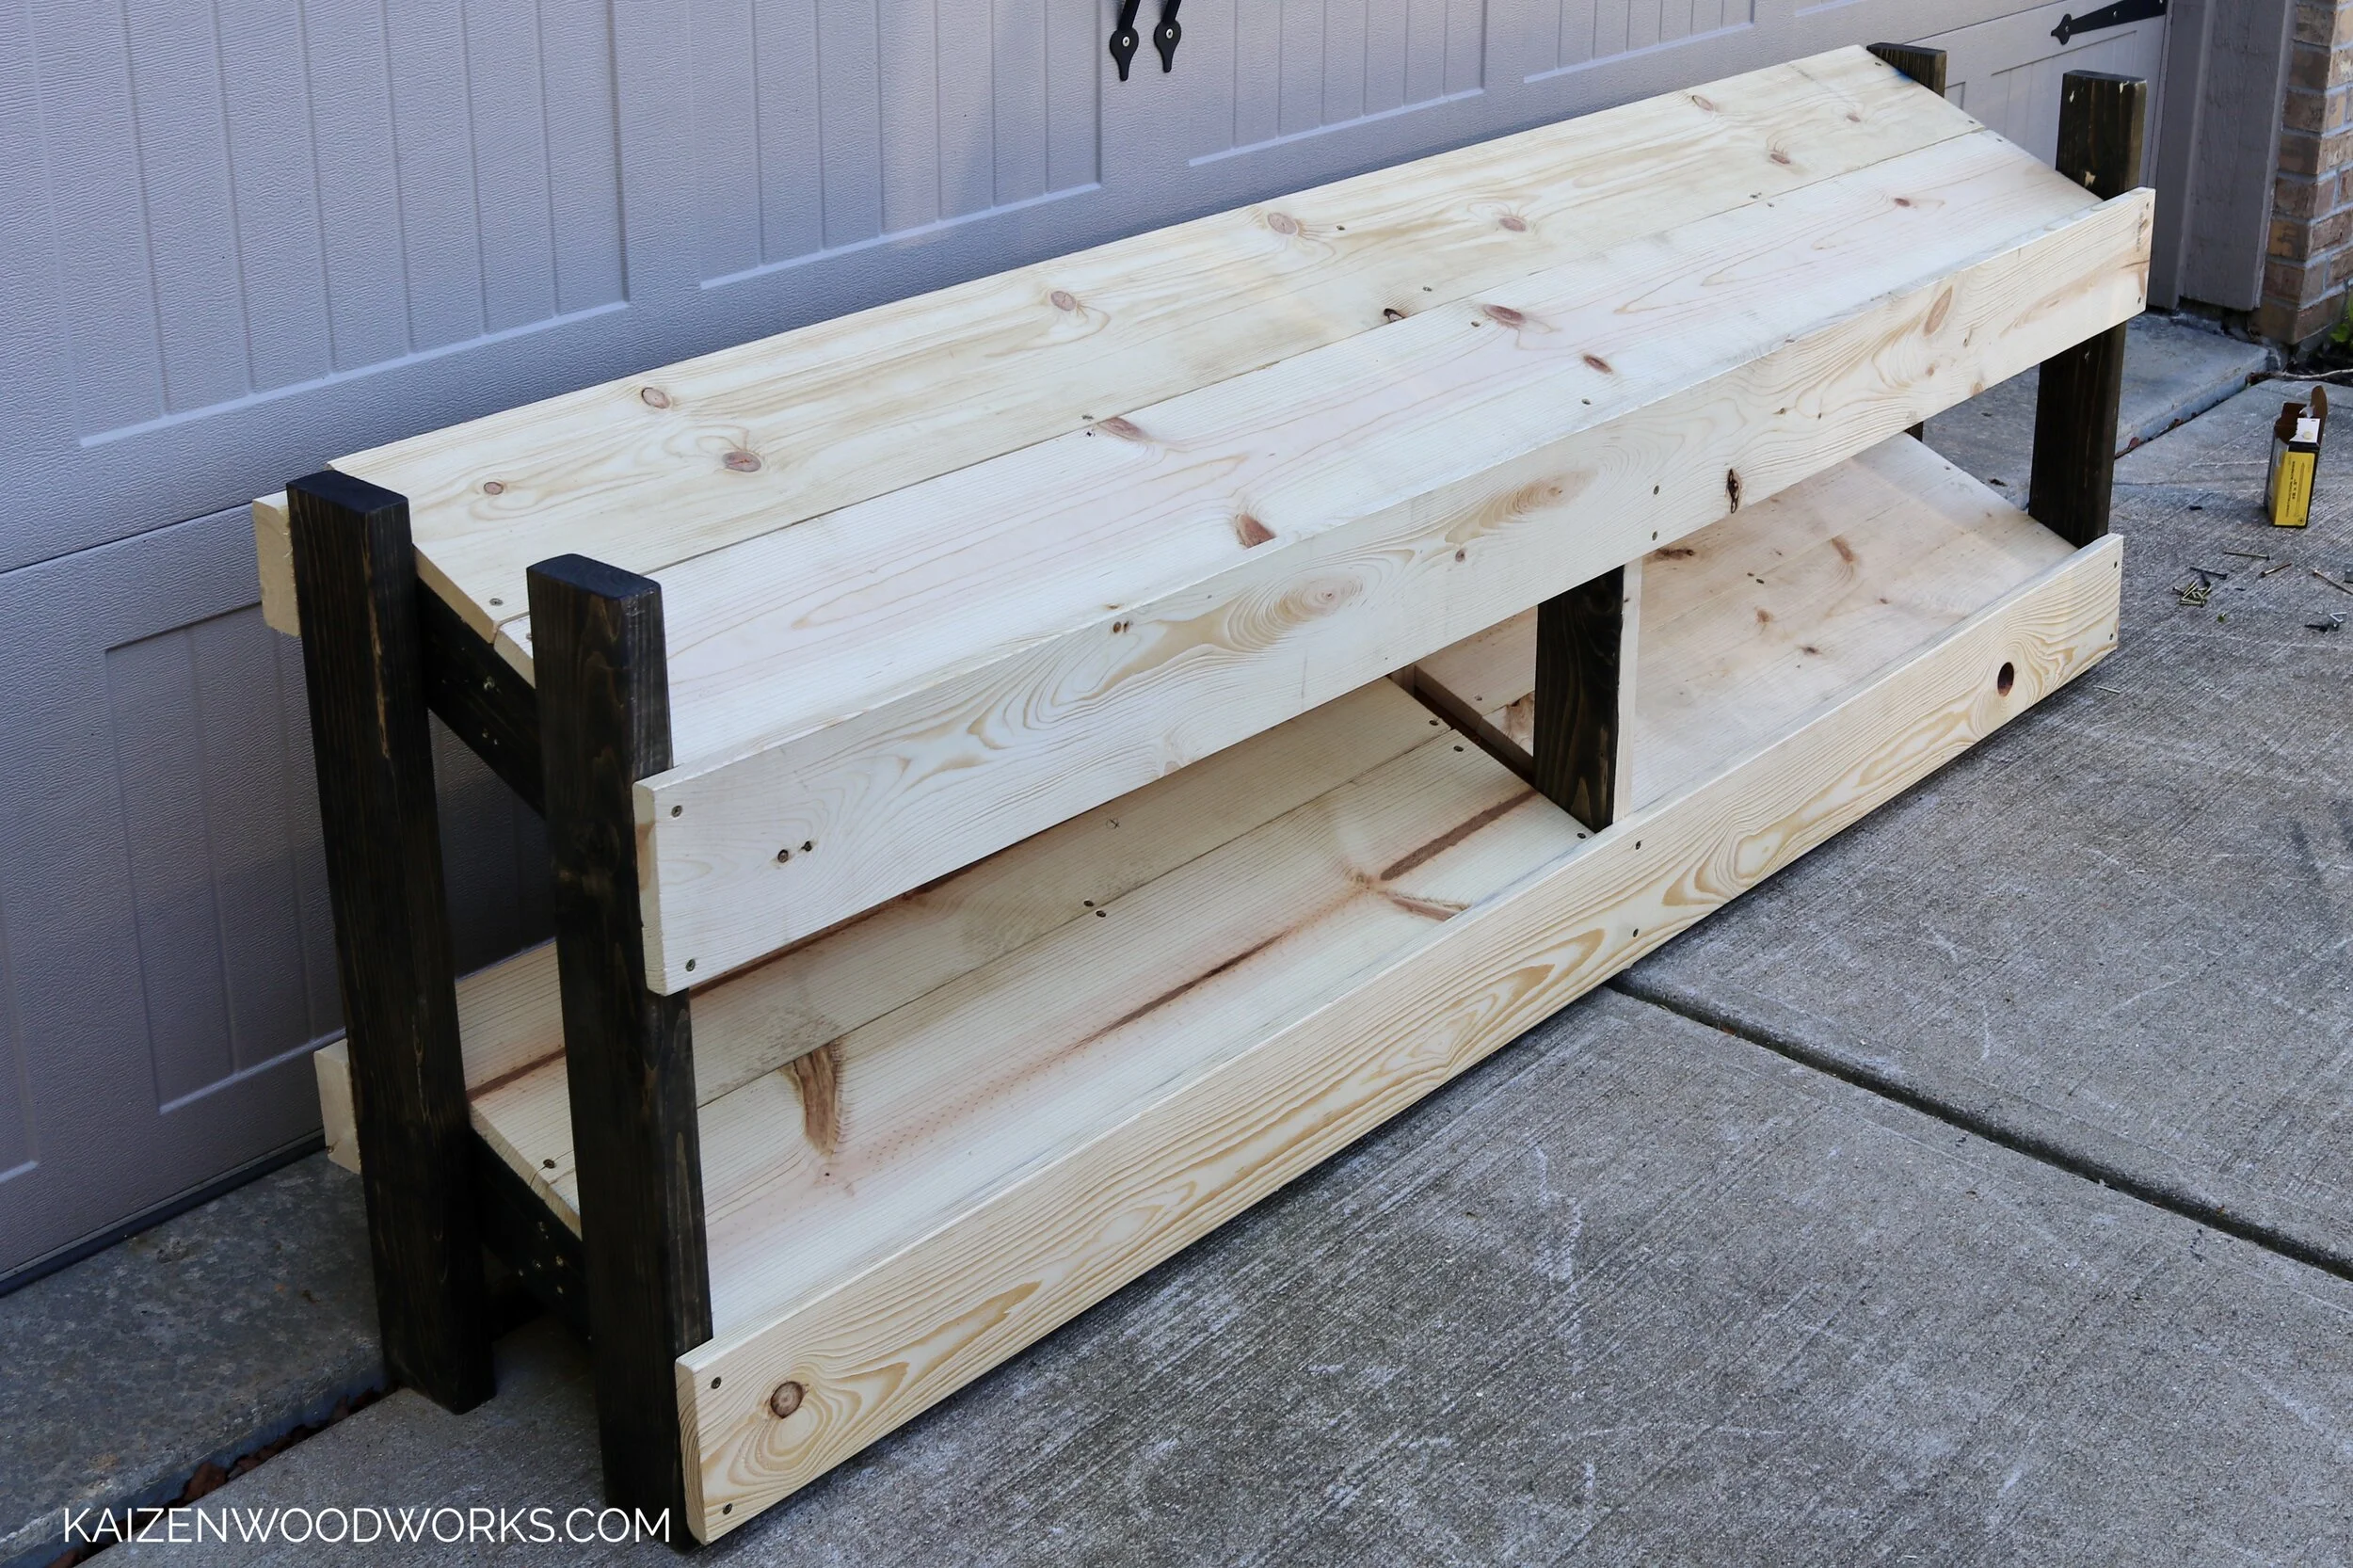
My original build was 55”x27”x13”. My biggest regret about it is the length, no extra space for additional dumbbells, and of course, I added dumbbells after finishing. The new rack will be 84”x27”x15”, this will be big enough to hold 10-50 rubber dumbbells and have extra space for future expansion. I have also decided to change the design slightly to have a wider top shelf and add more support under the shelves.
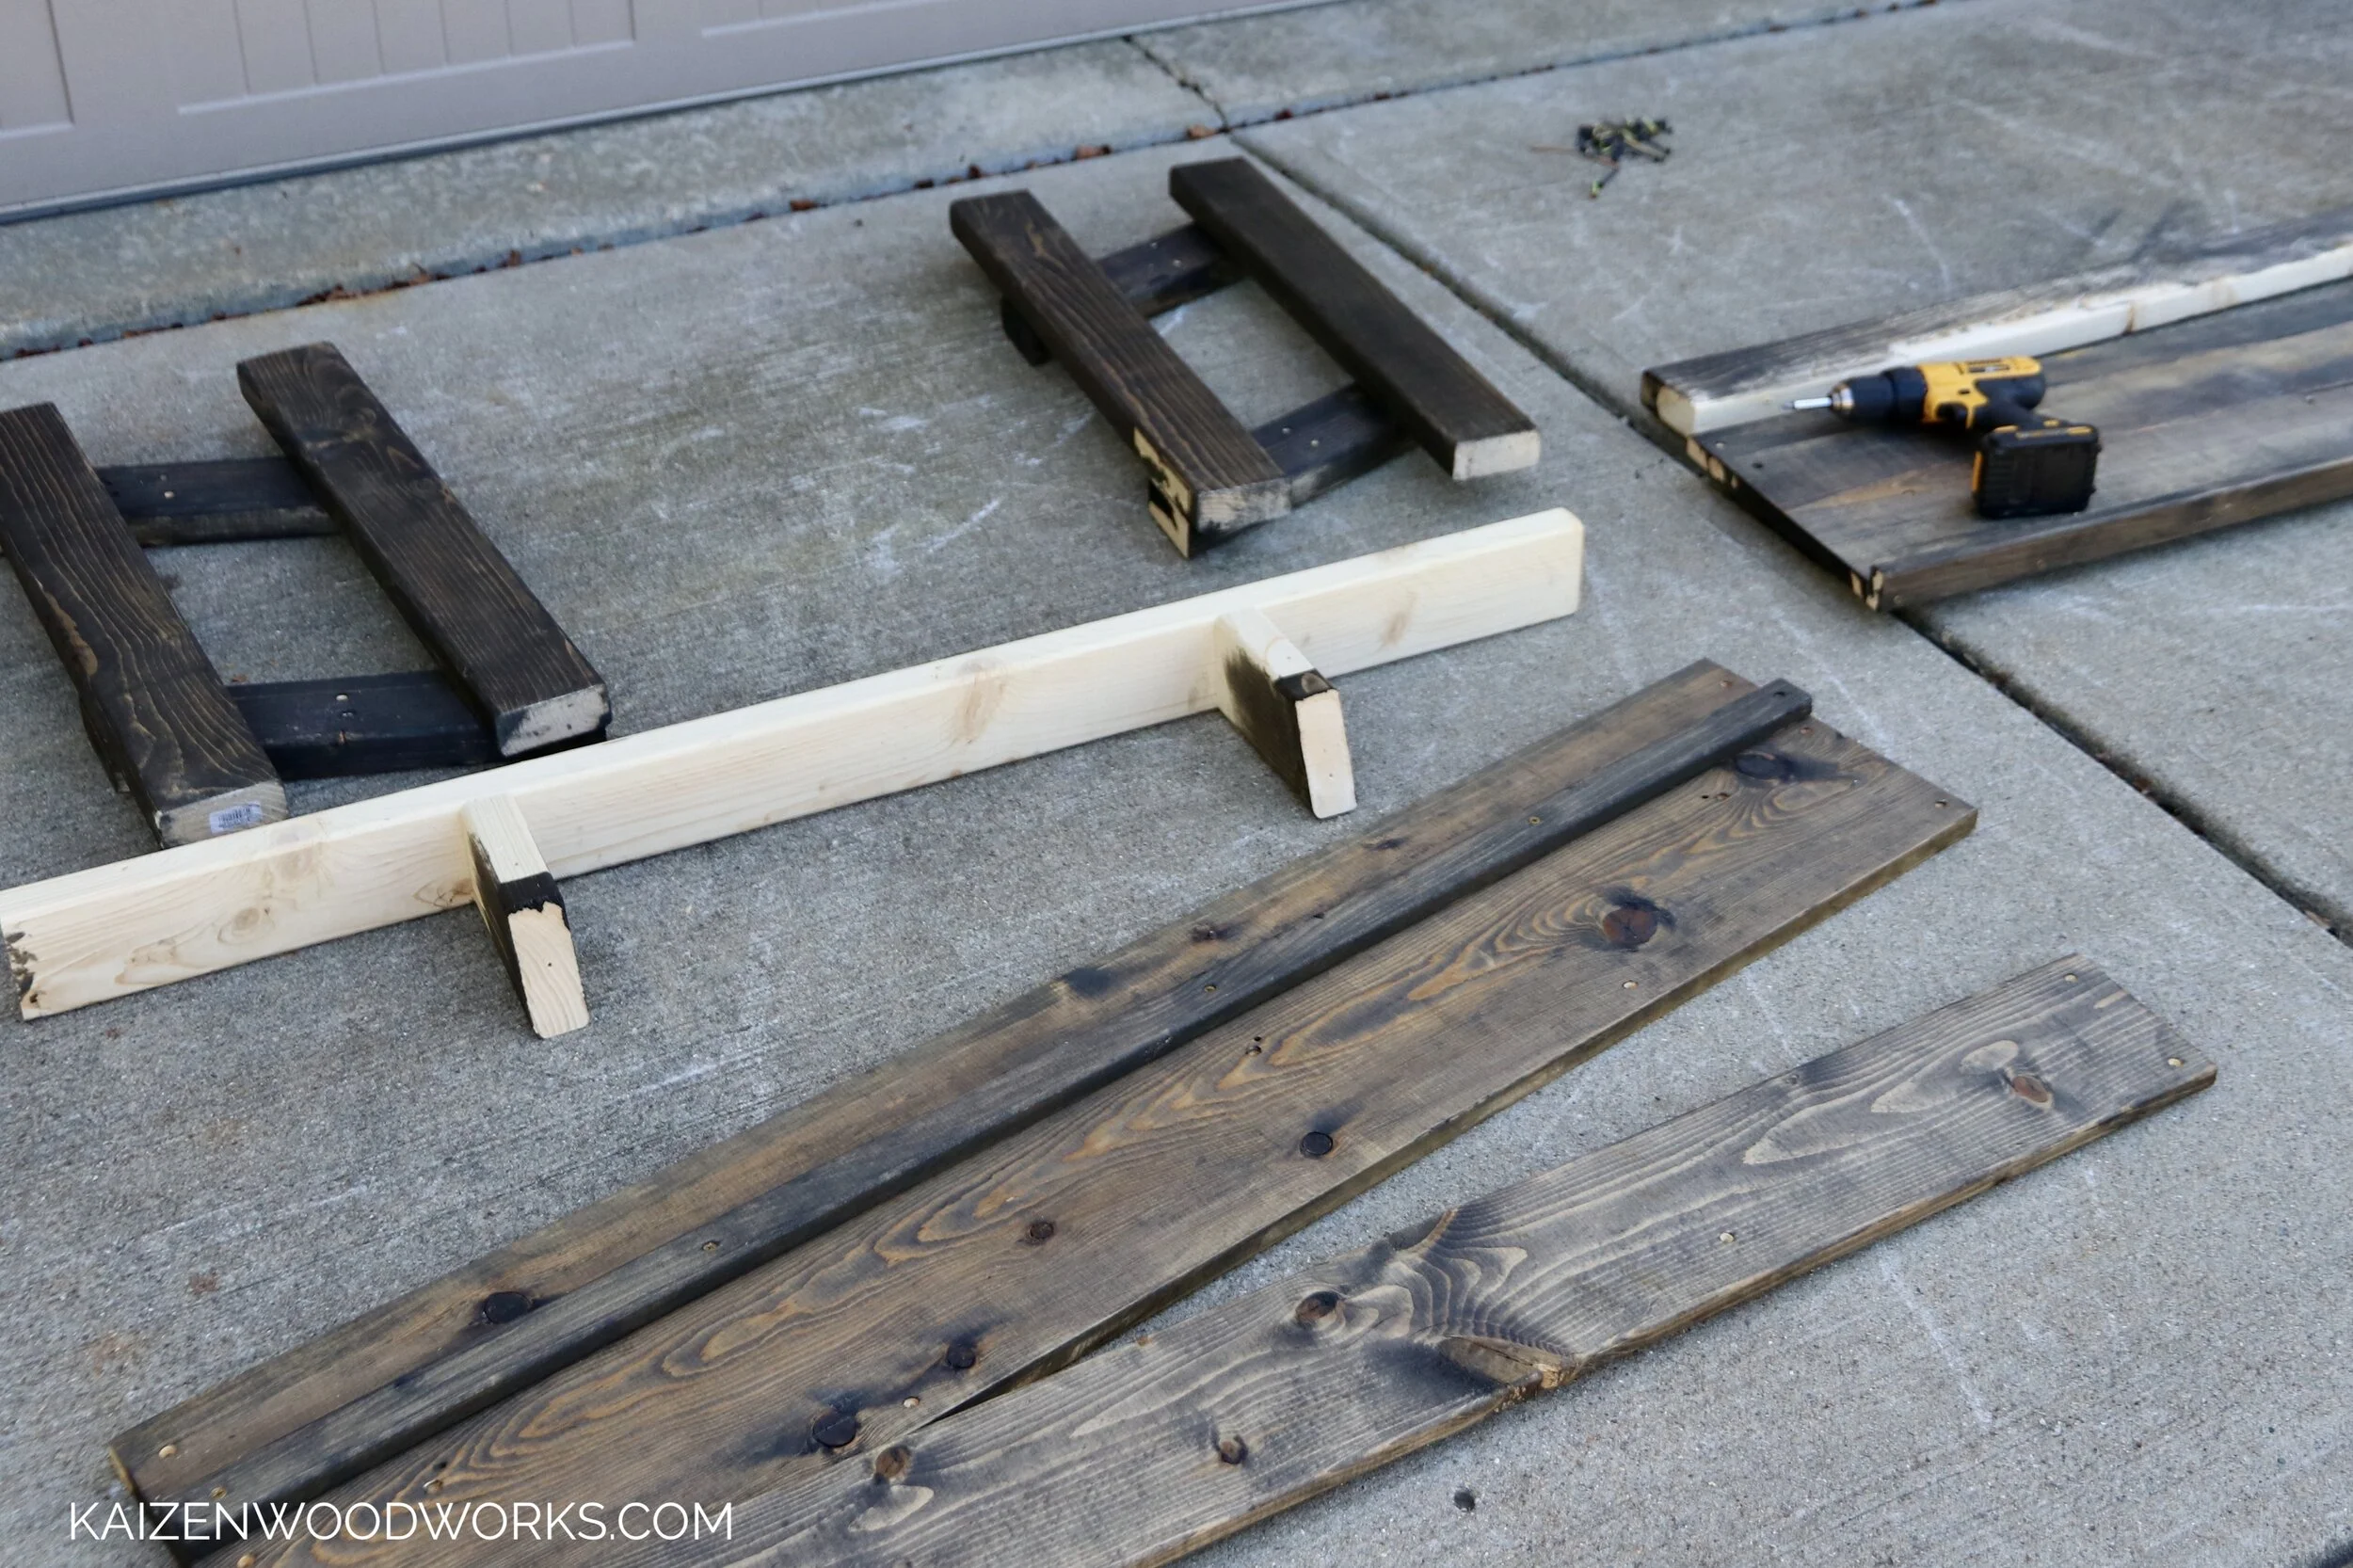
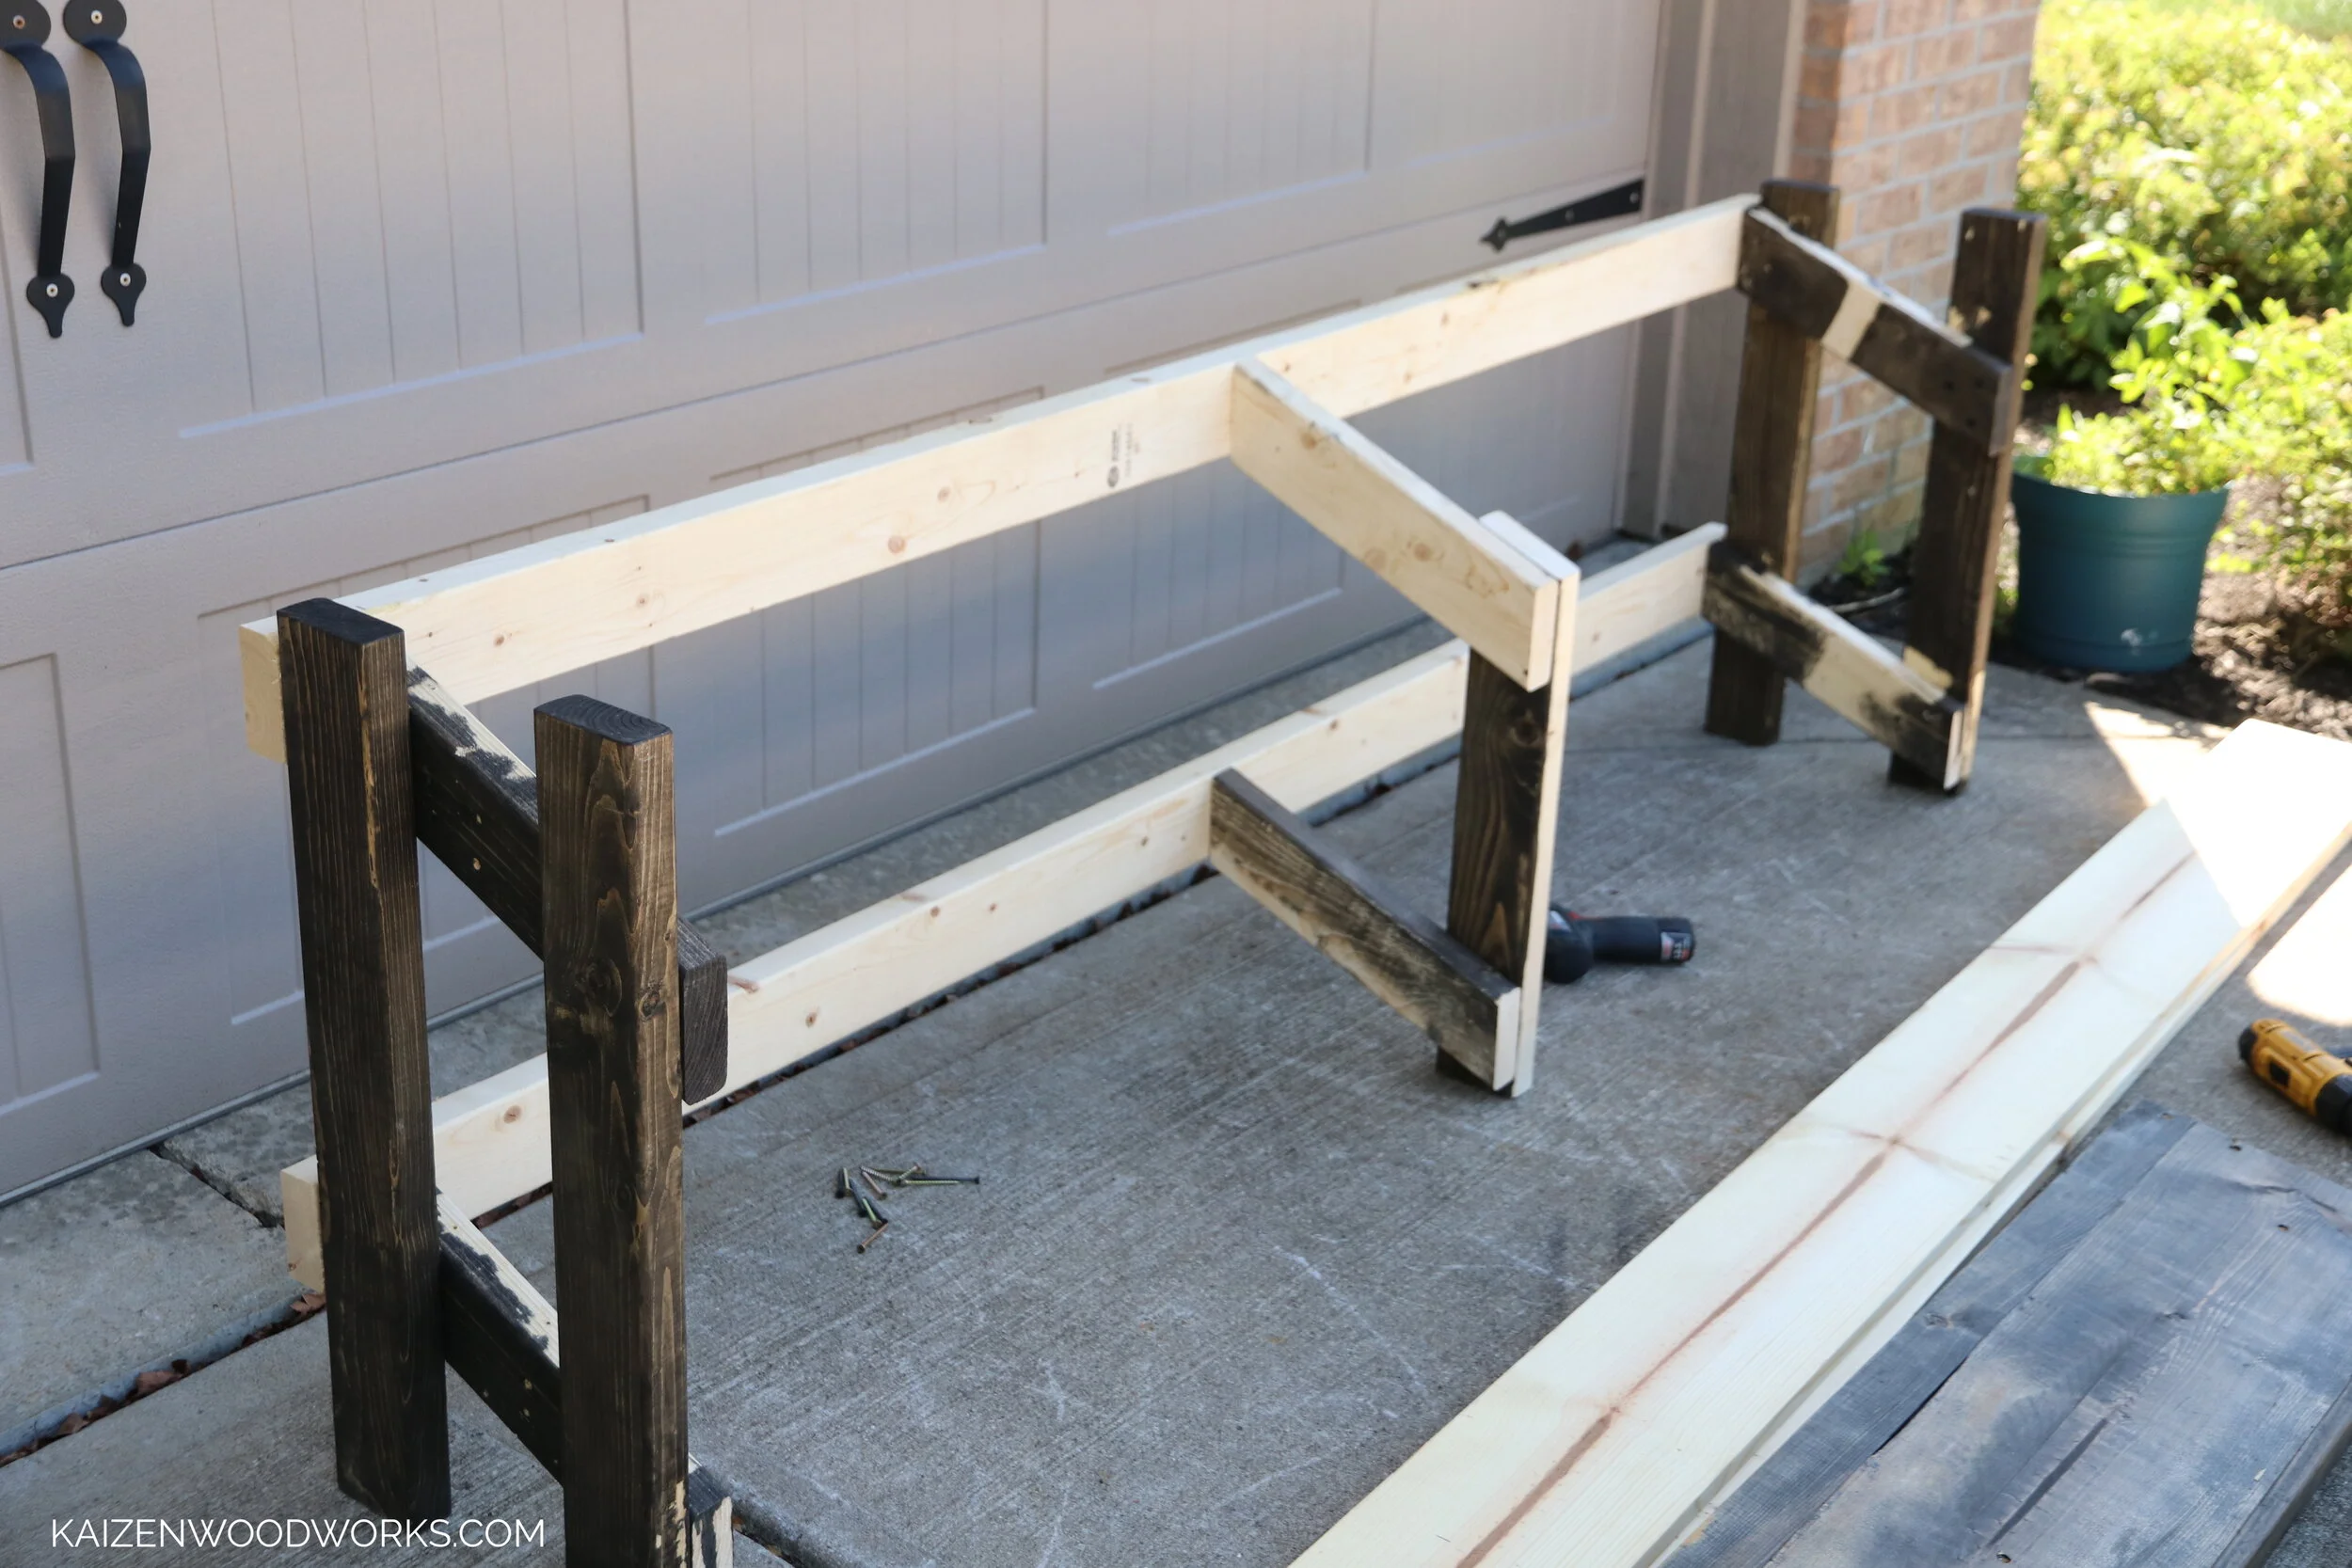
After disassembling, the only pieces I’ll be able to reuse are the sides. To help support the additional length, I have added 2x4’s along the back.

With the increase in length, it was essential to add more support legs in the middle. The shelves on the previous build were great, so I kept the the shelves angled at 70º.

I add two 84” long 1x6’s to the front. I used a round over bit on the table router to round the edges before attaching.
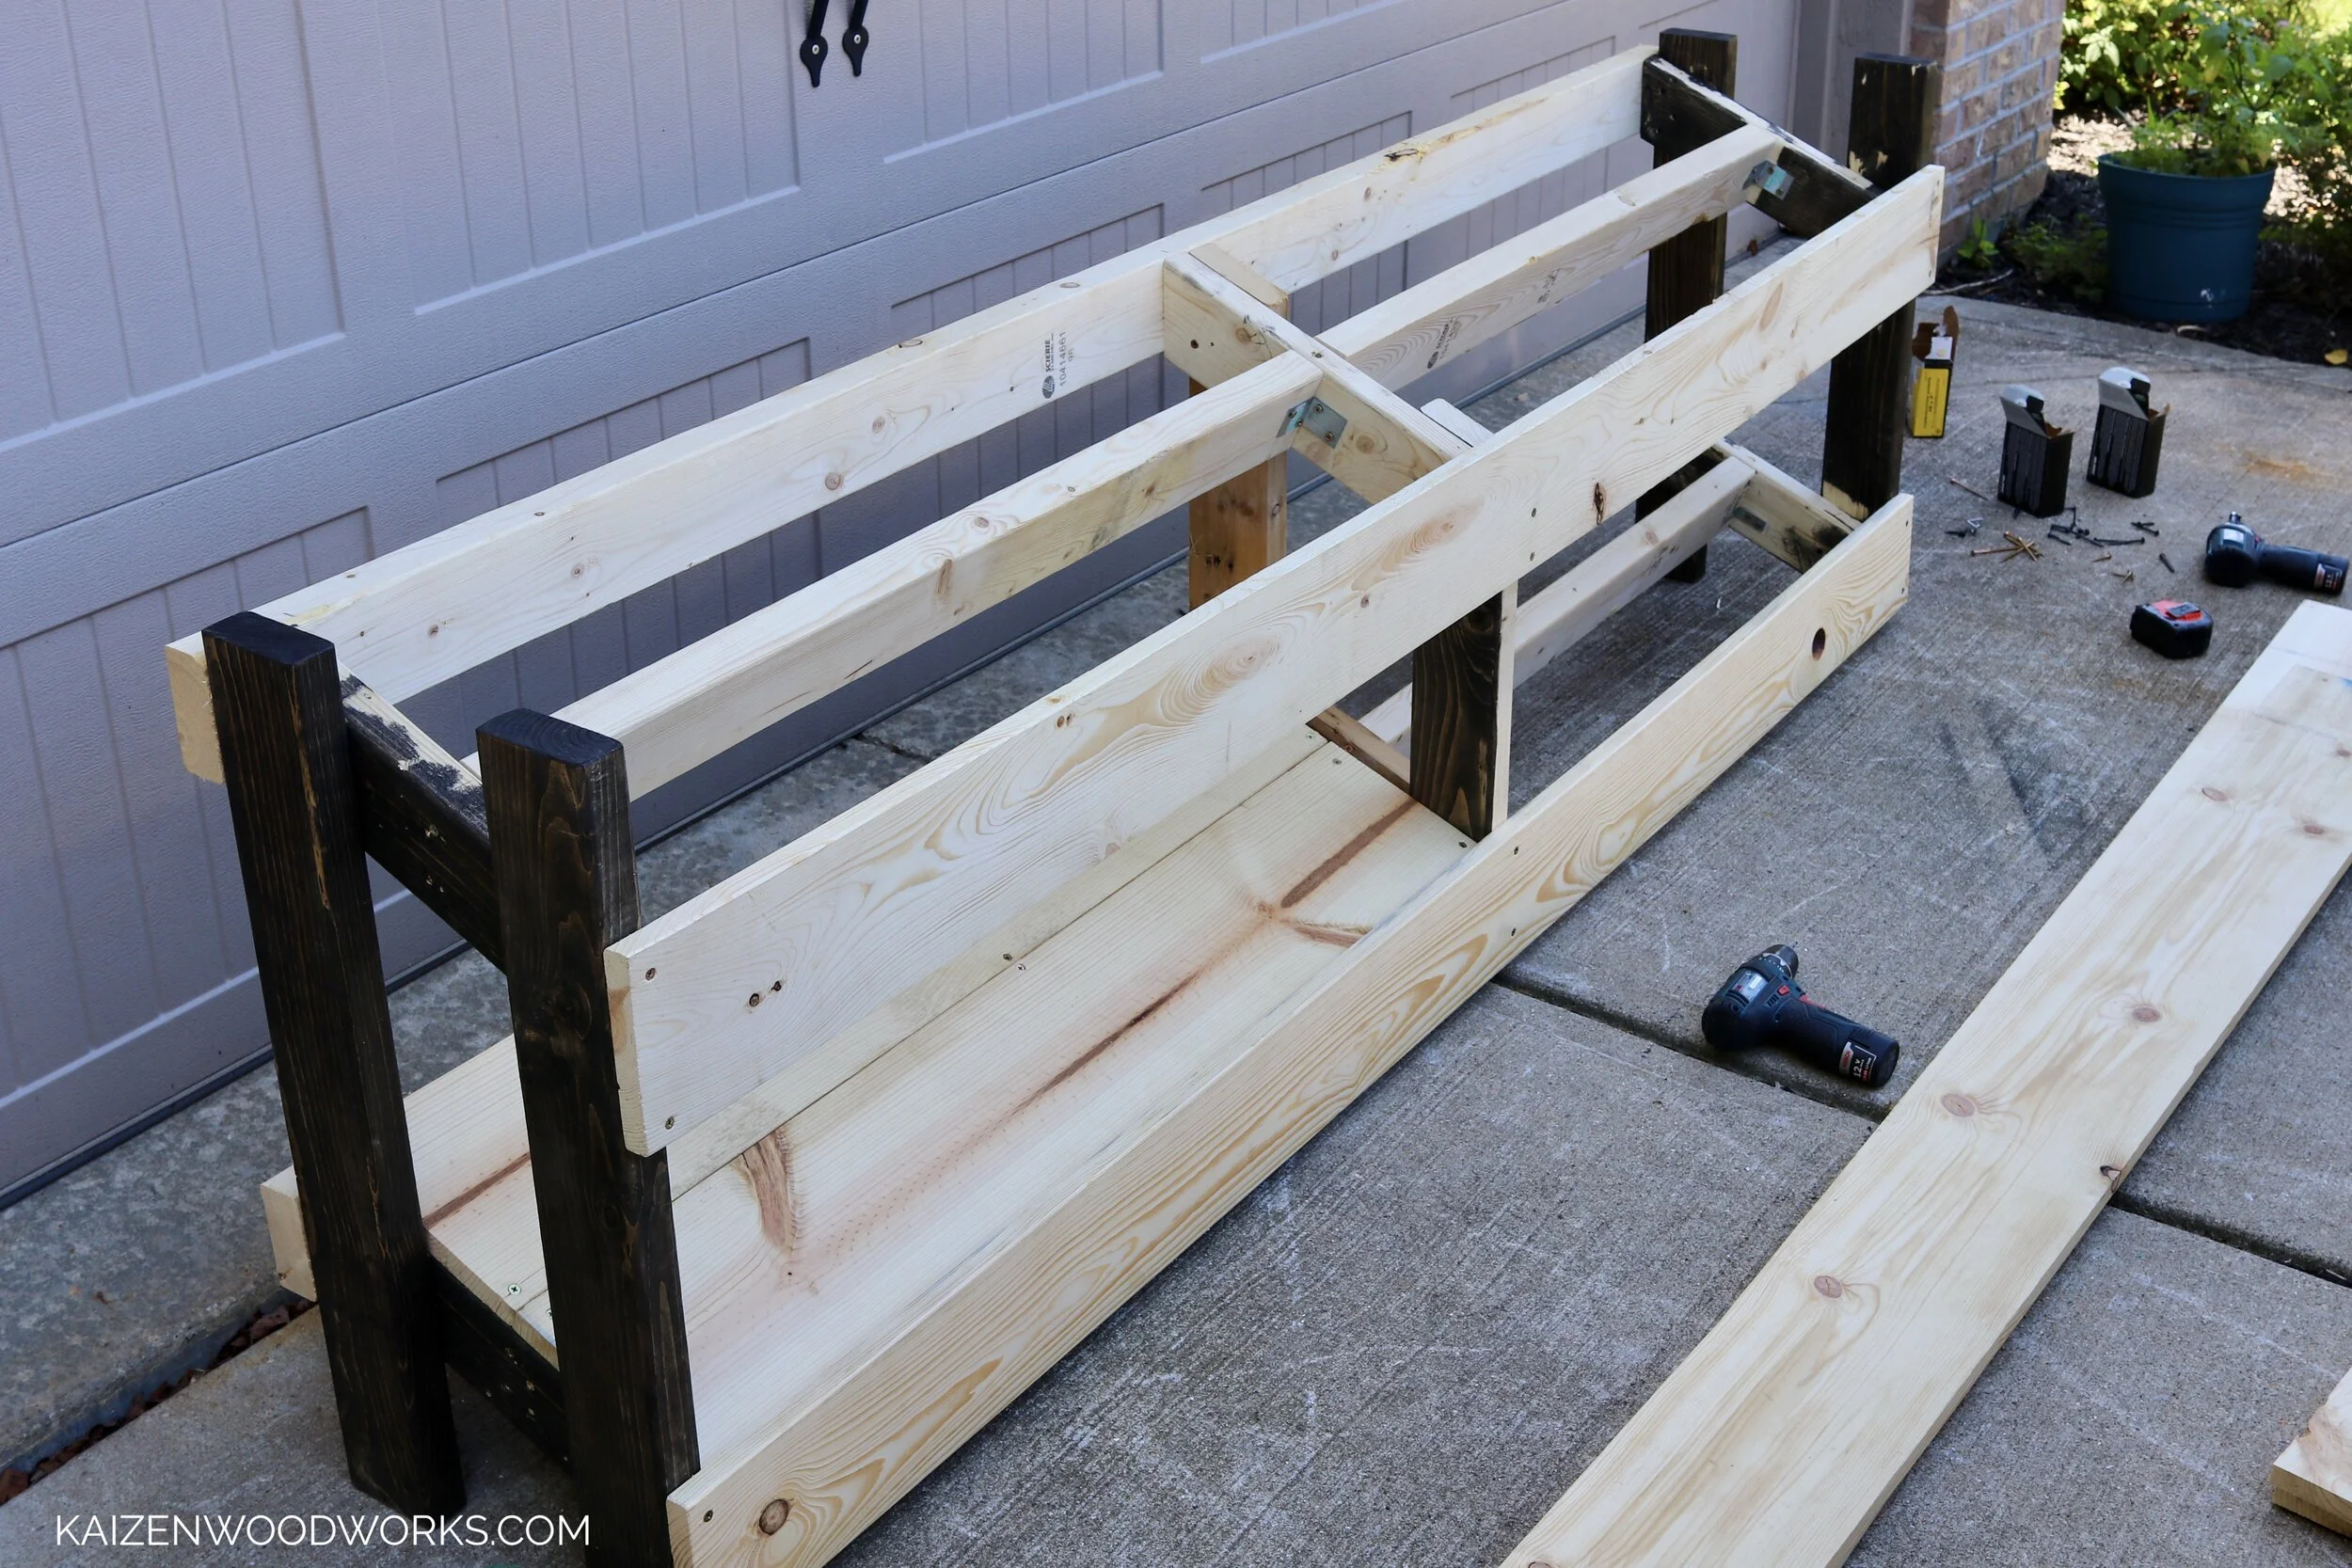
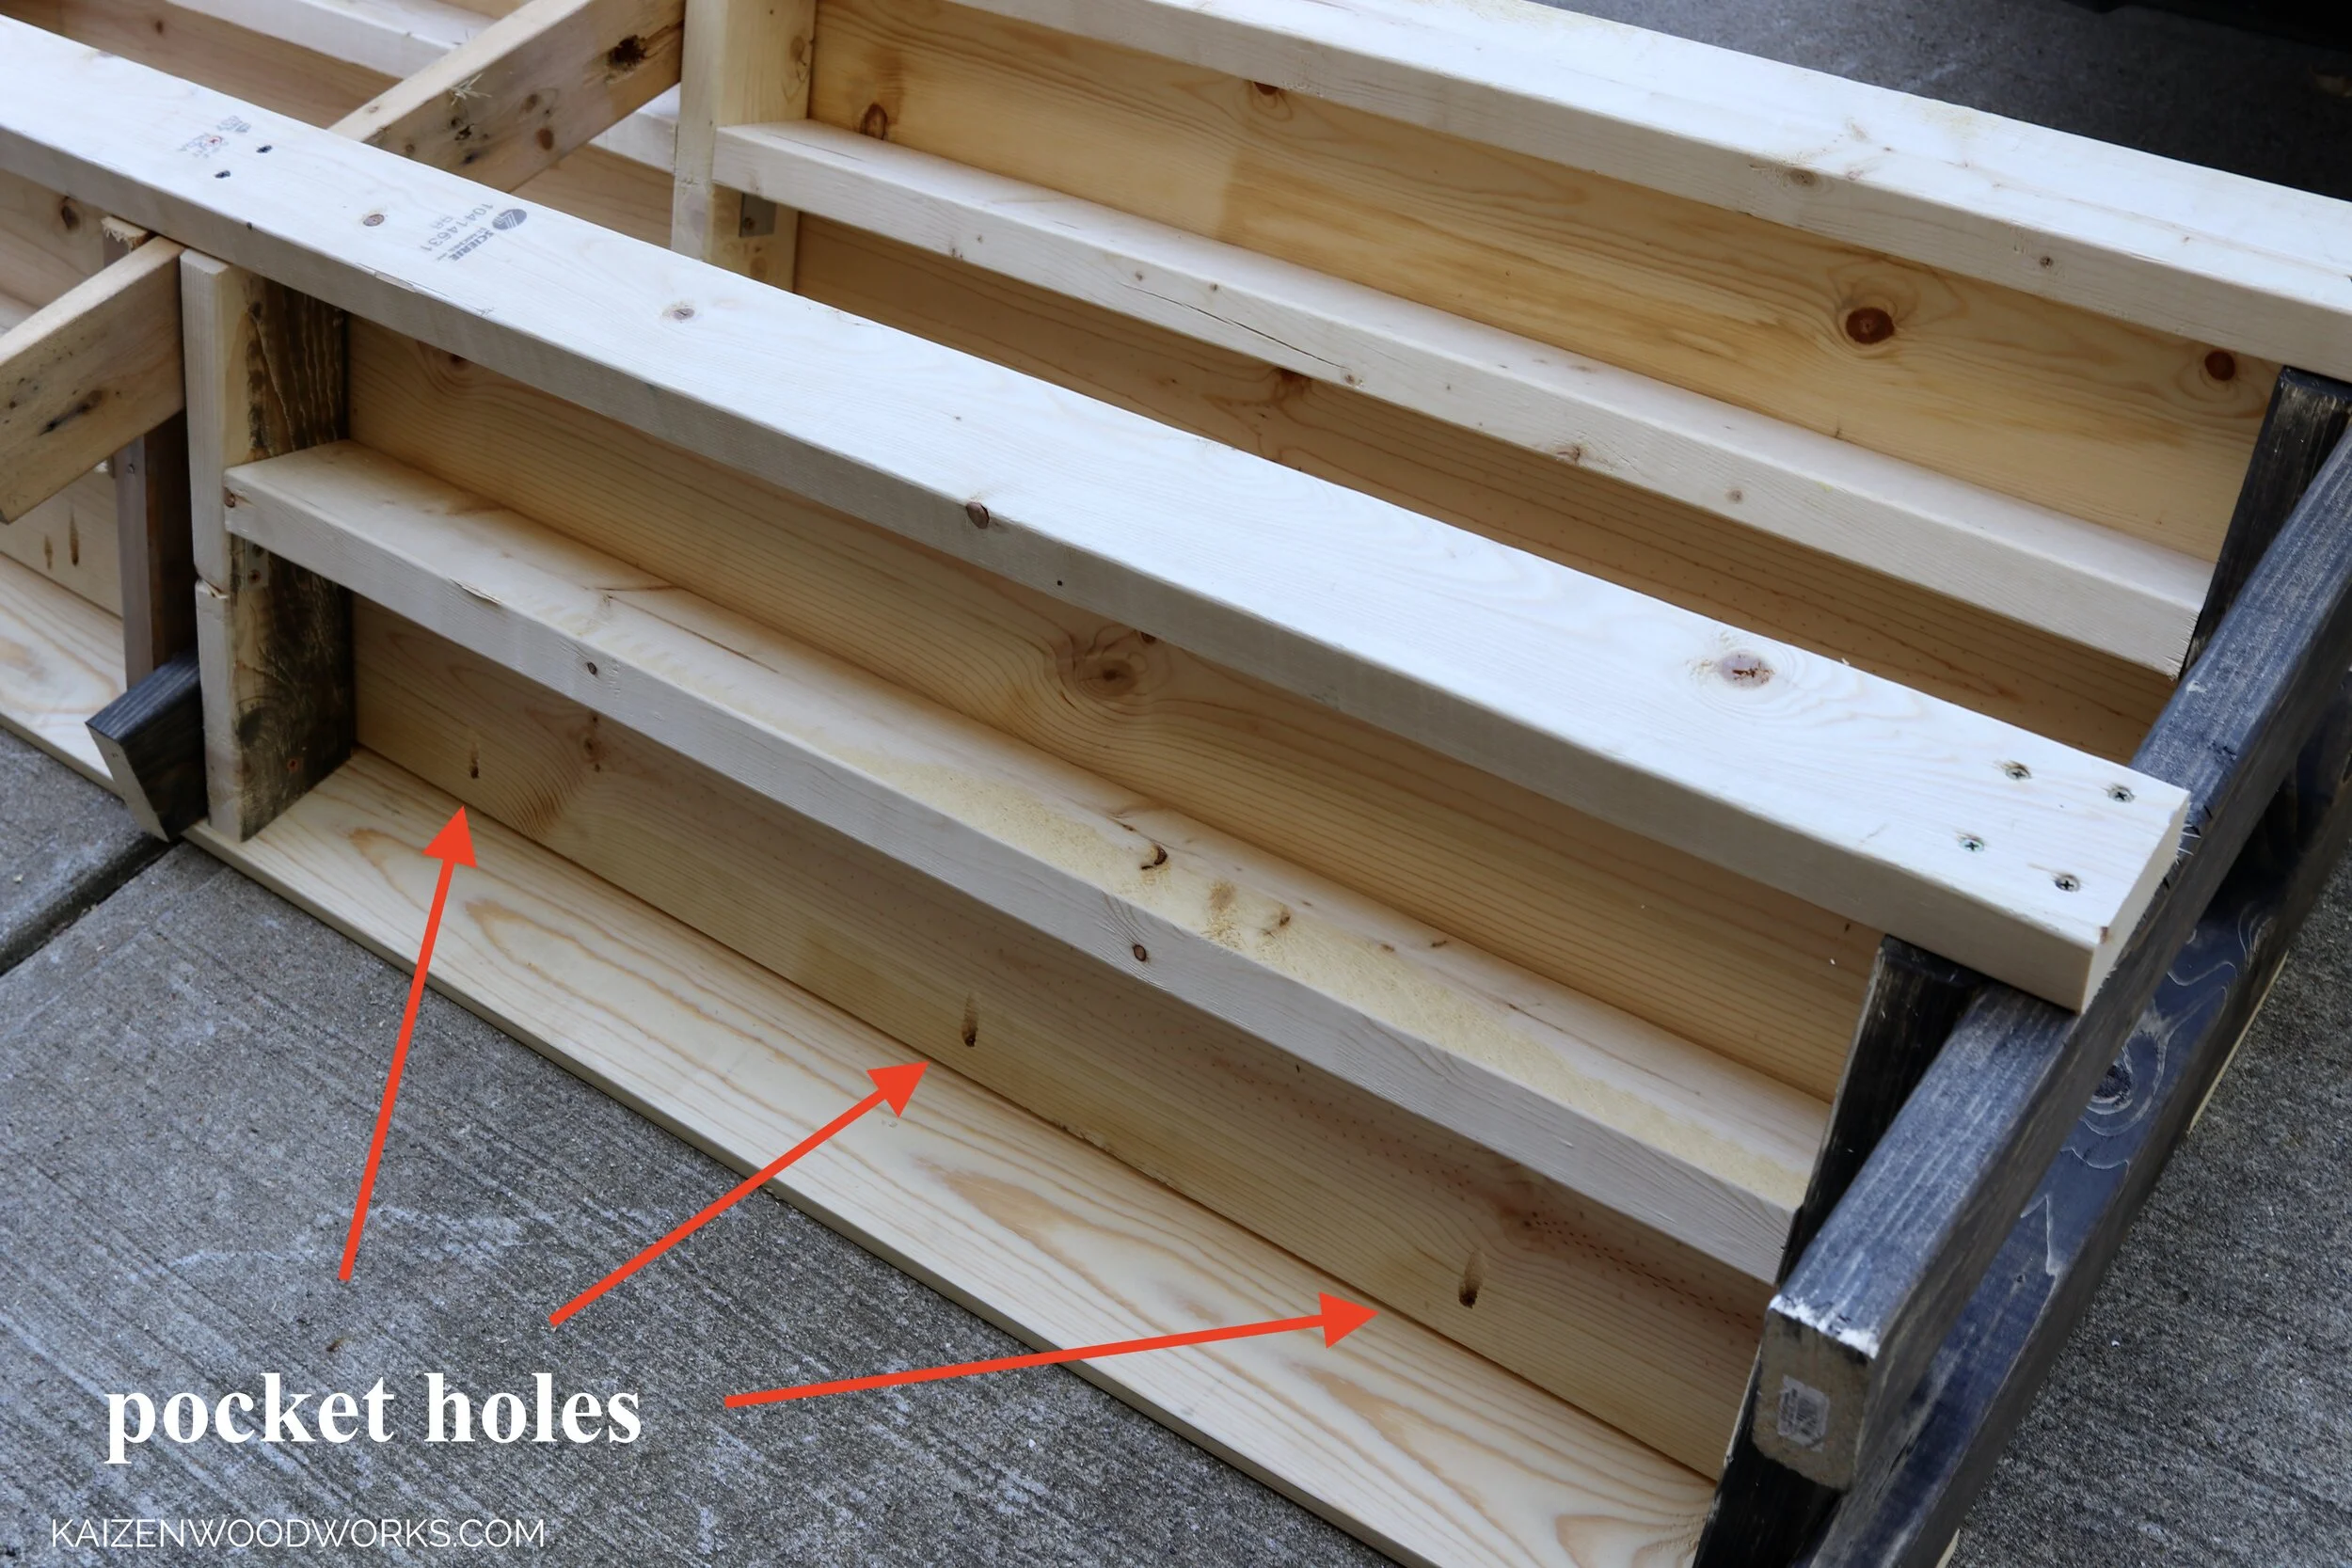
On this version I decided to increase the width of the shelves. I used 1”x8” boards, which have an actual width of 7.25”, I lined up the 2x4 on the underside on the seam of where the 1x8’s meet.
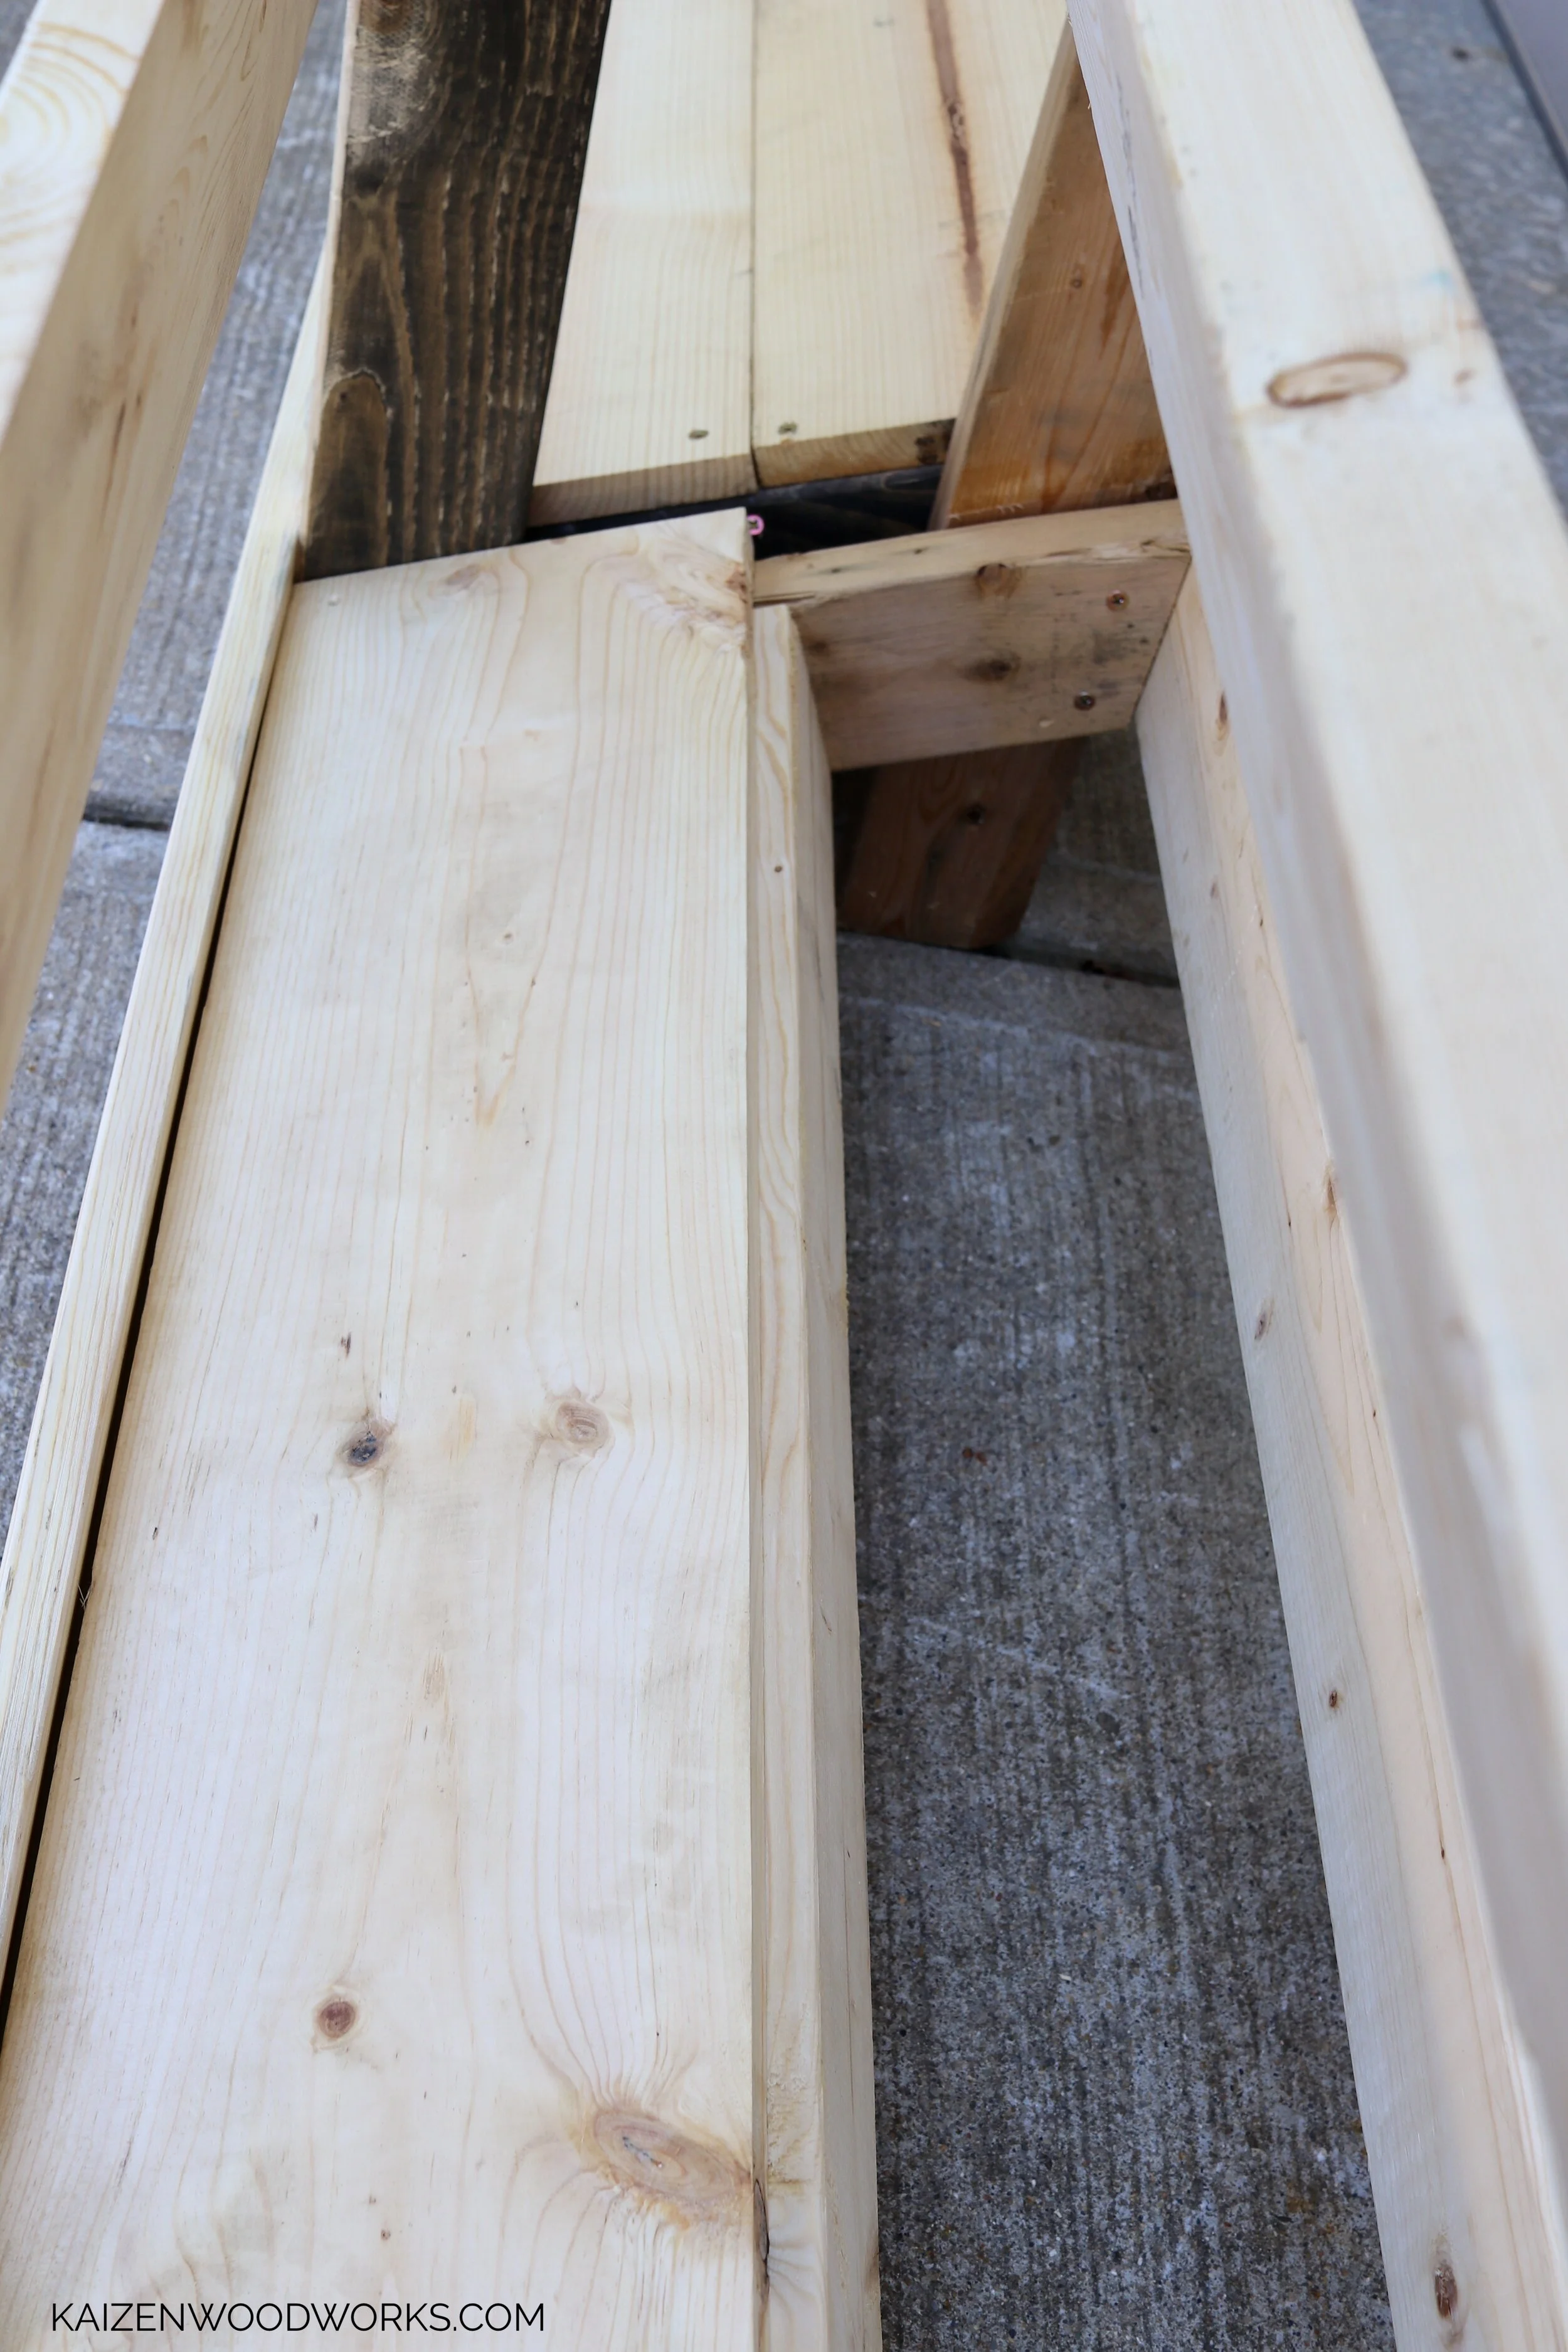
I added some pocket holes under the shelving to attach to the front 1x6’s
In order to match the wood that is already stained, I’ll be using Minwax’s Ebony color. It is a nice dark, almost black color but still lets the wood grain show through. Perfect for a home gym.
When I stain, I make sure to apply to all visible areas, I don’t really worry too much about the underside.
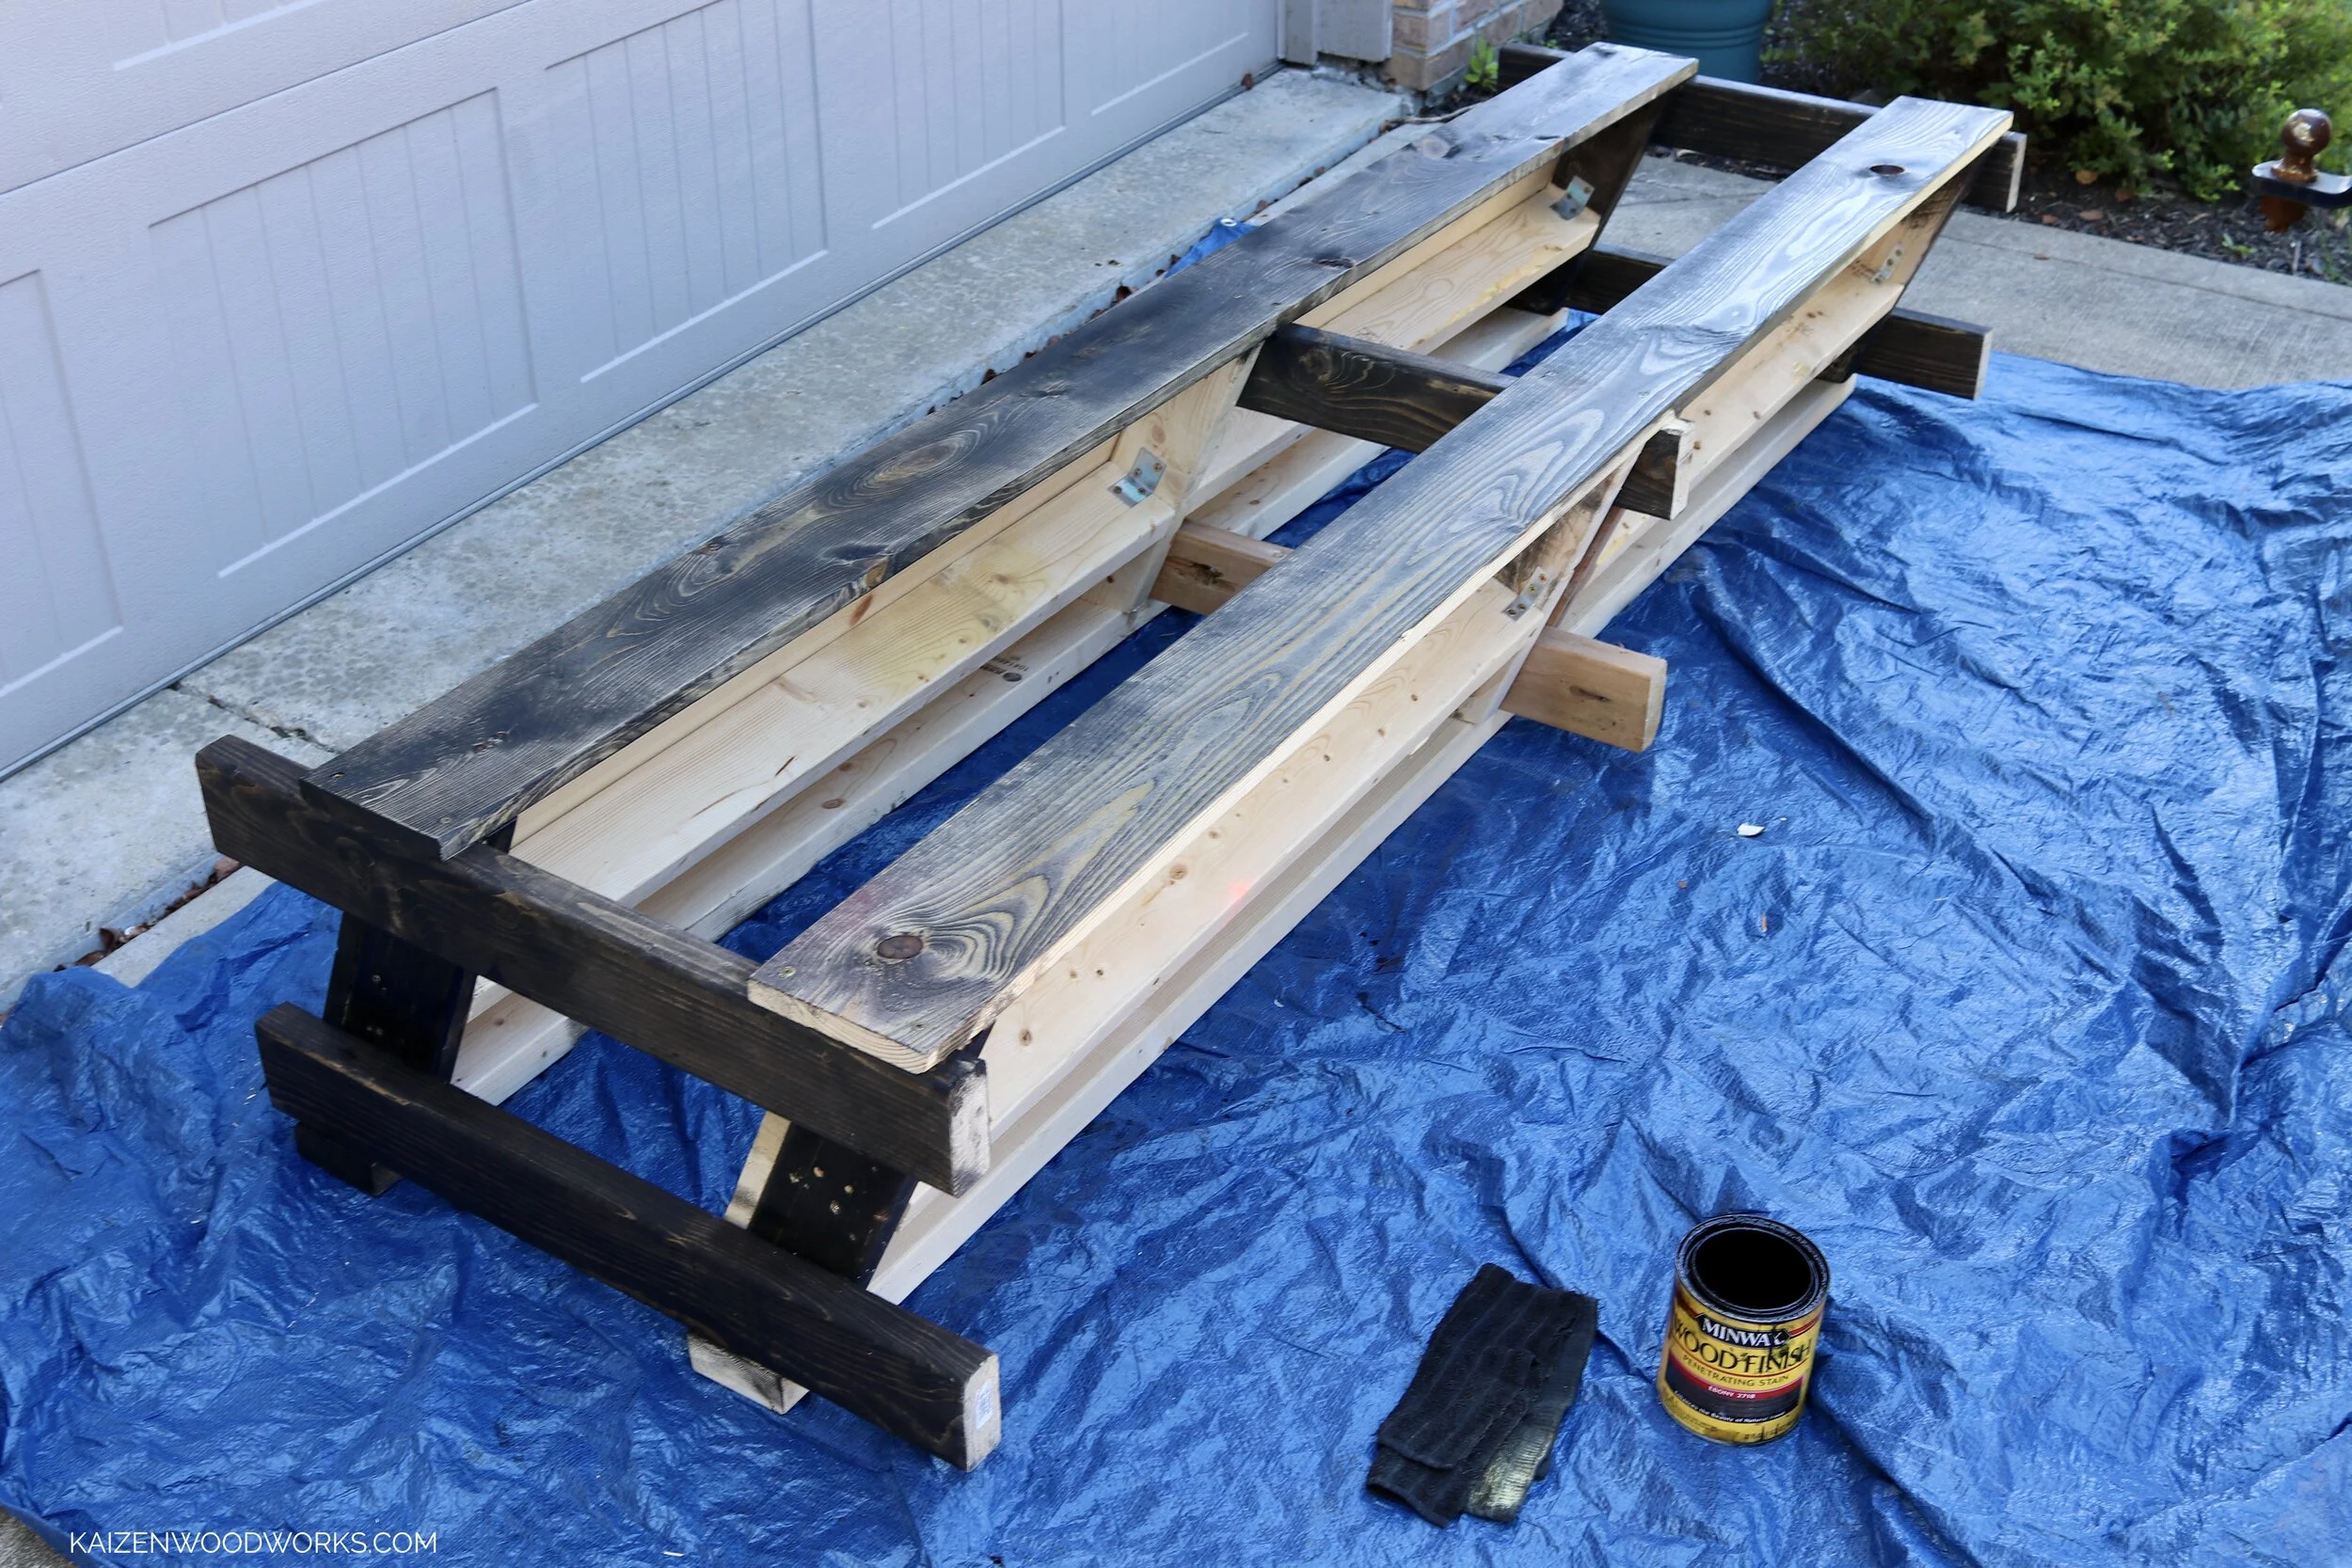
Gotta let it dry overnight and then it’ll be ready for the finishing touch.
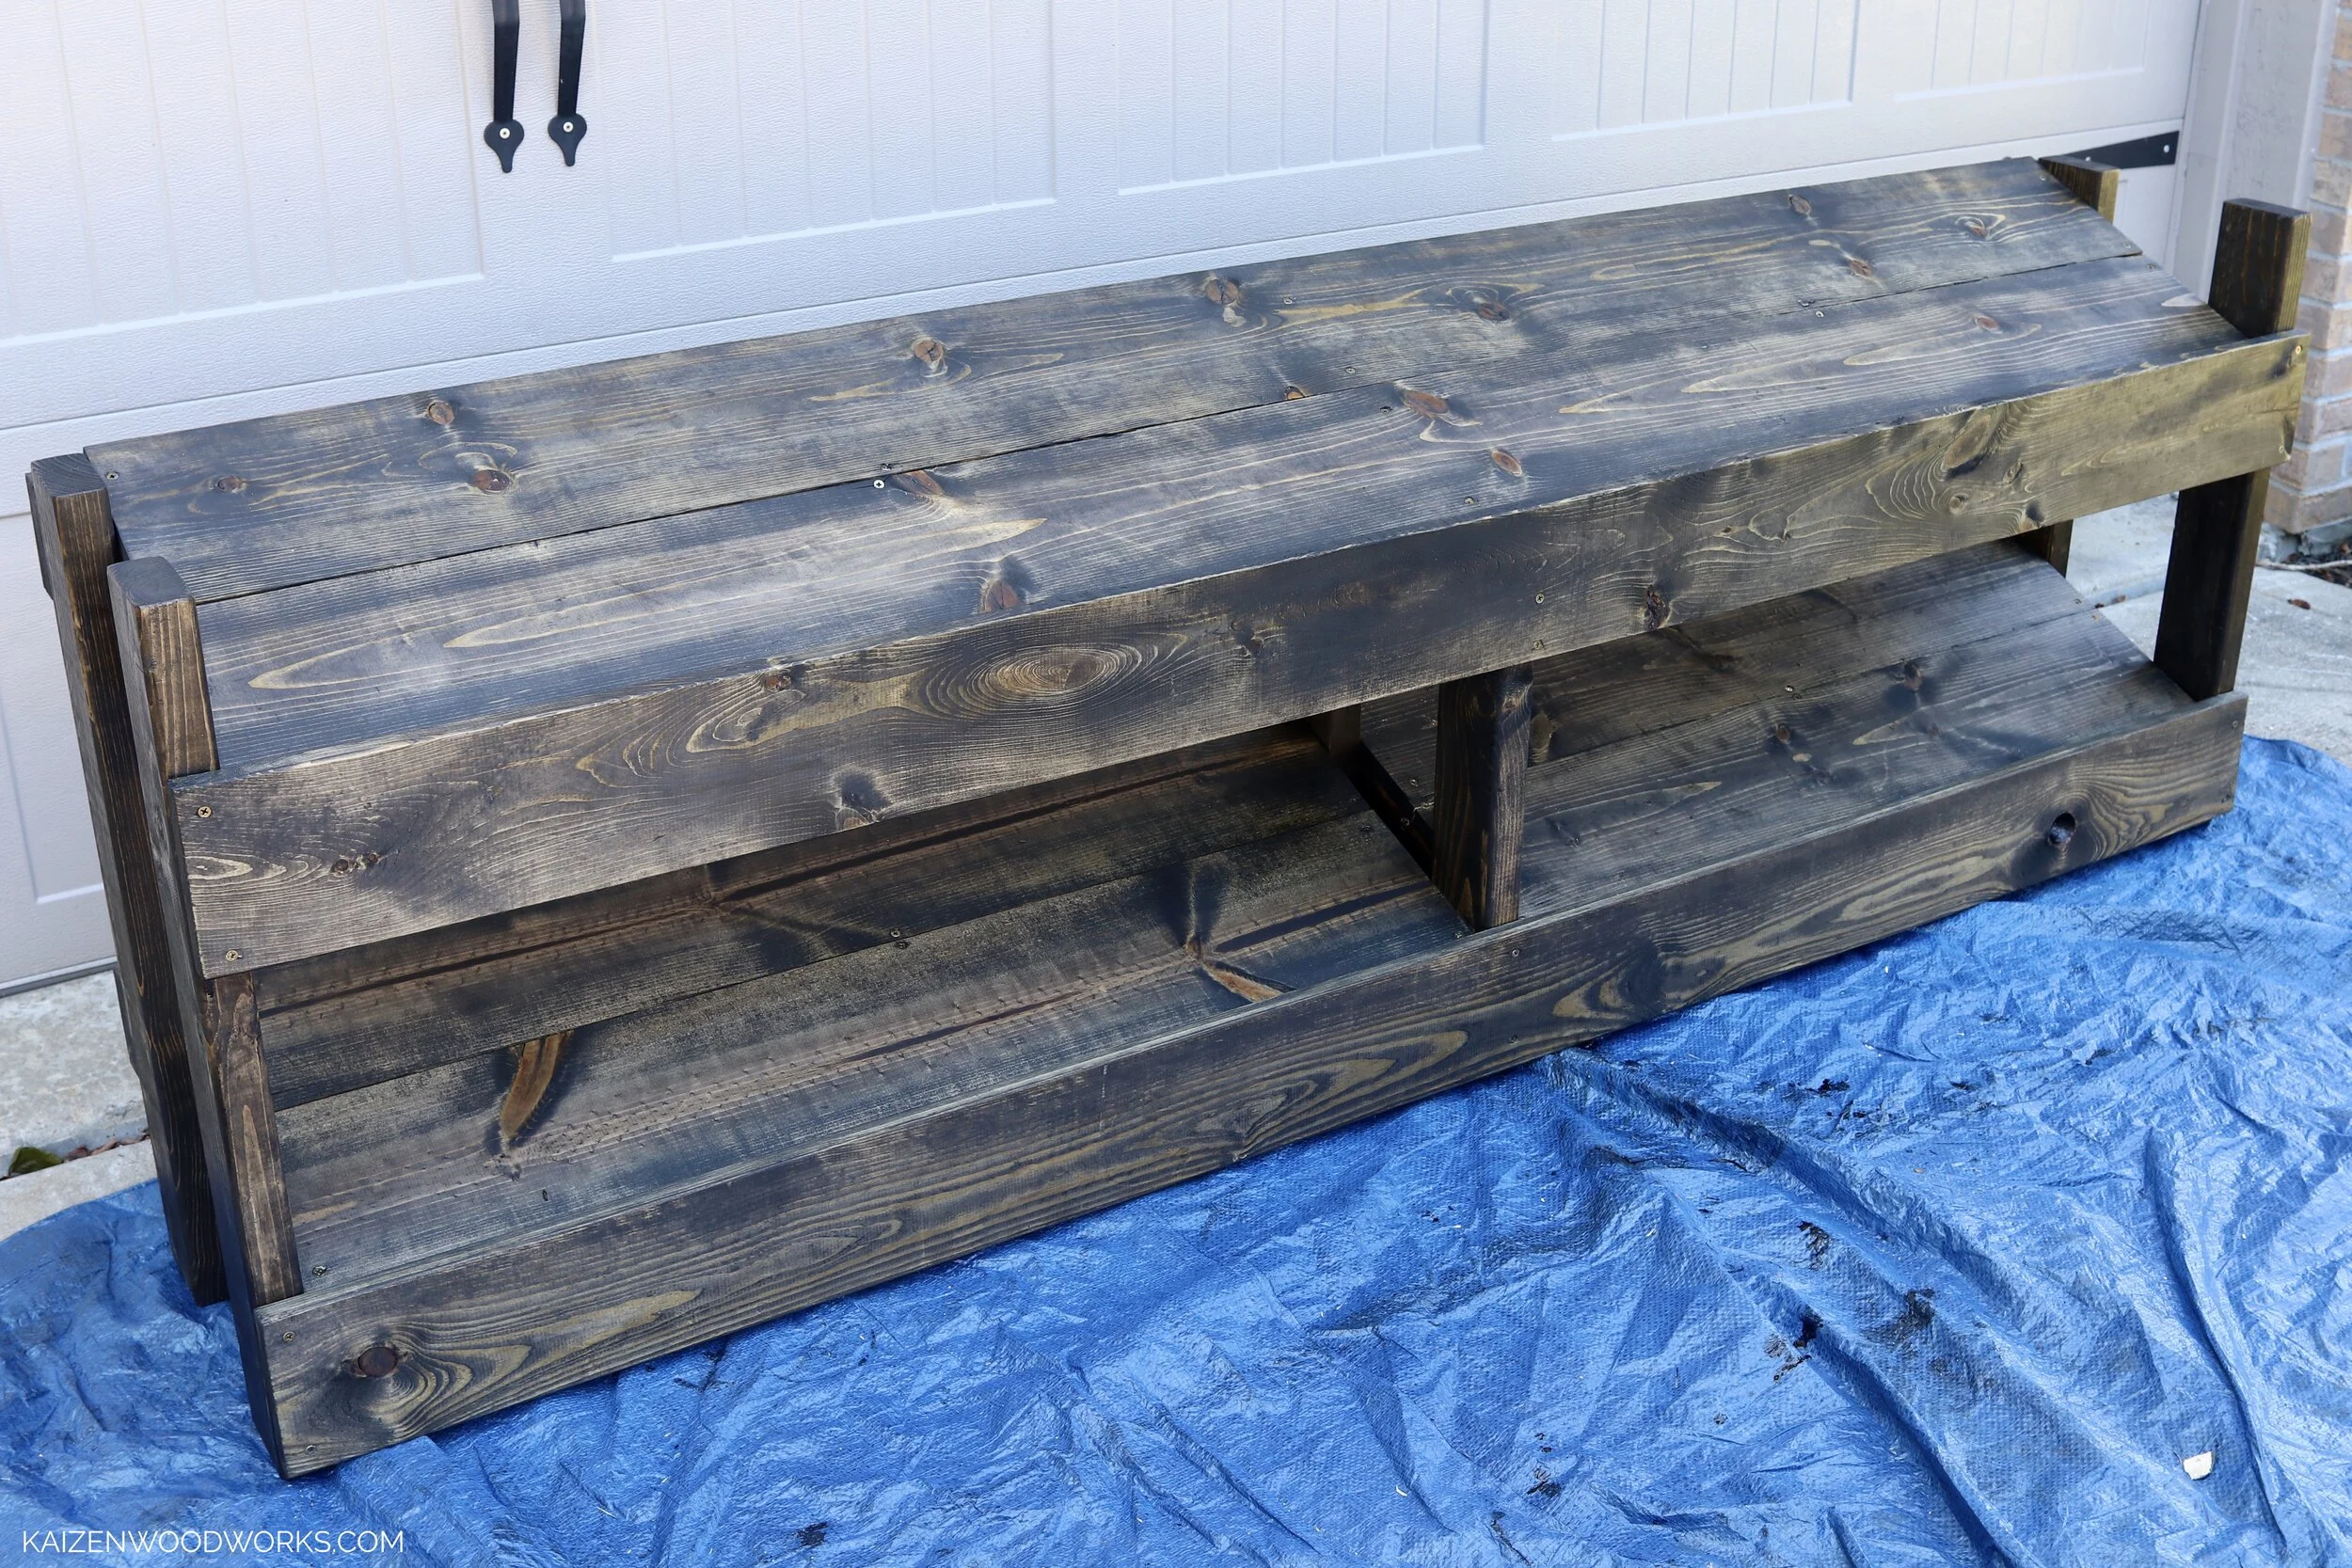
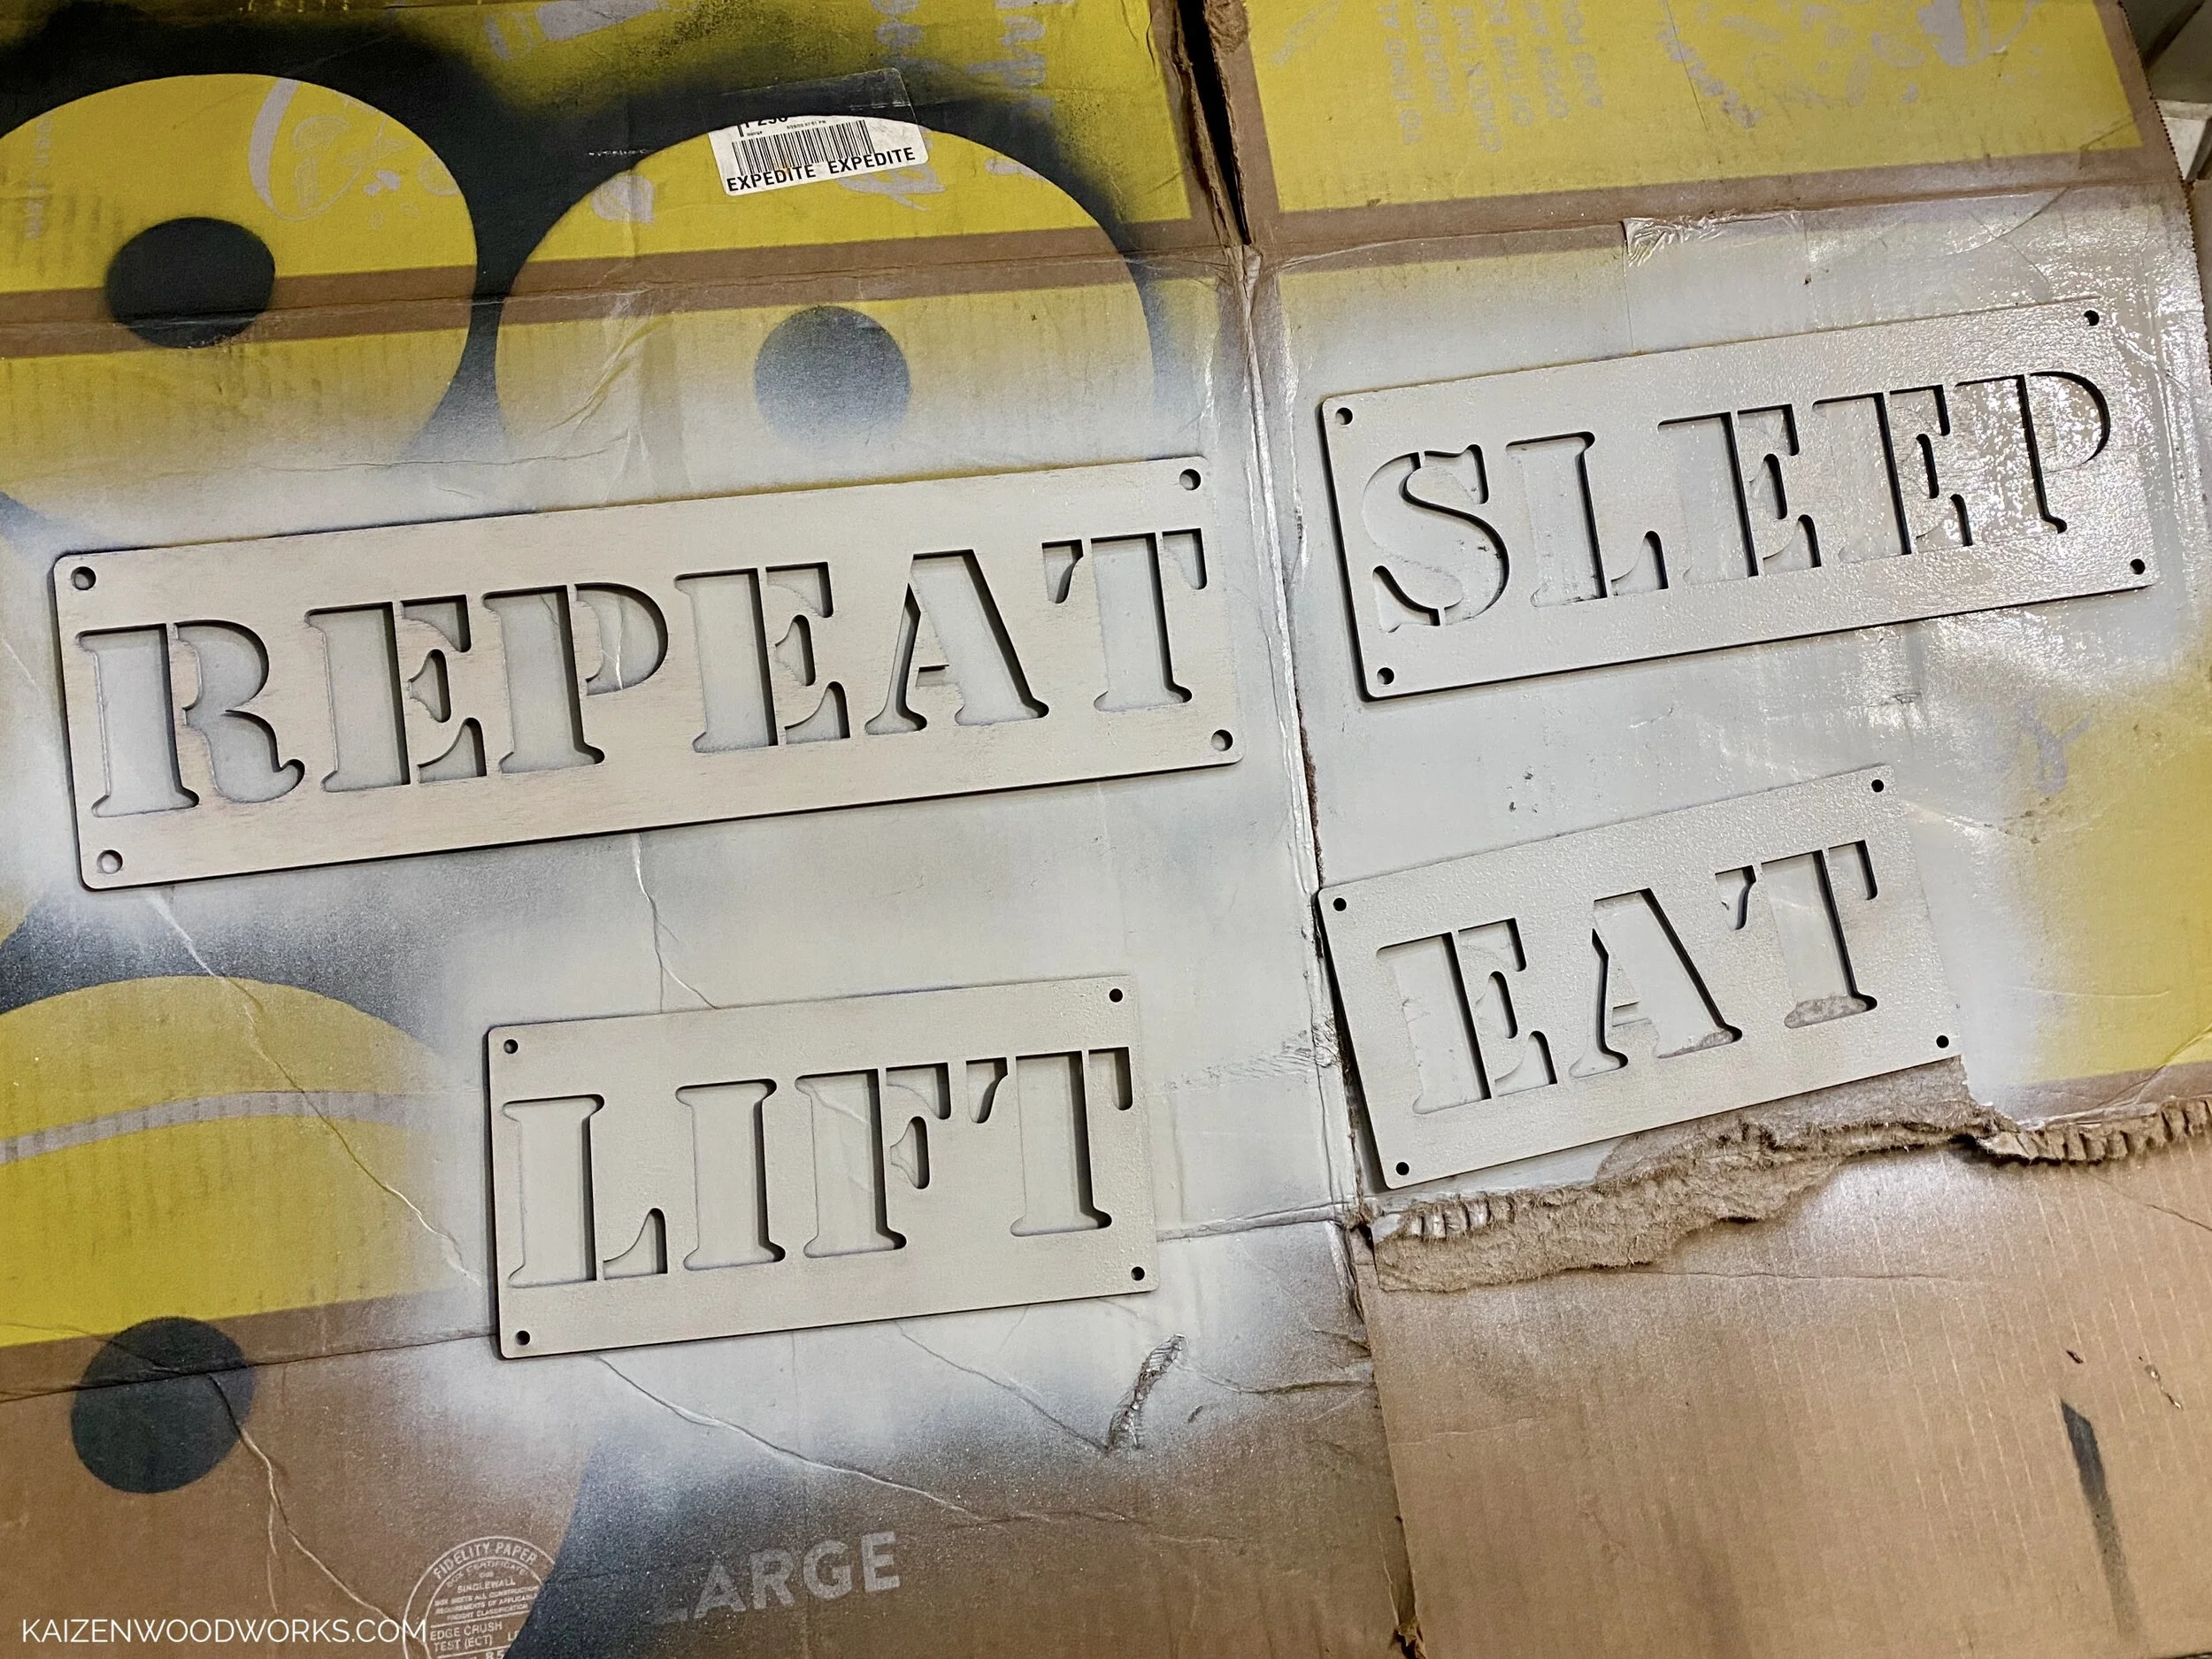
I use my Glowforge to cut some motivational words to attach to the front. If you’d like to do this, the digital cut files are available for free download. I use 1/8” Baltic Birch, but it could just as easily be done with vinyl on a Cricut or even spray paint and stencils.
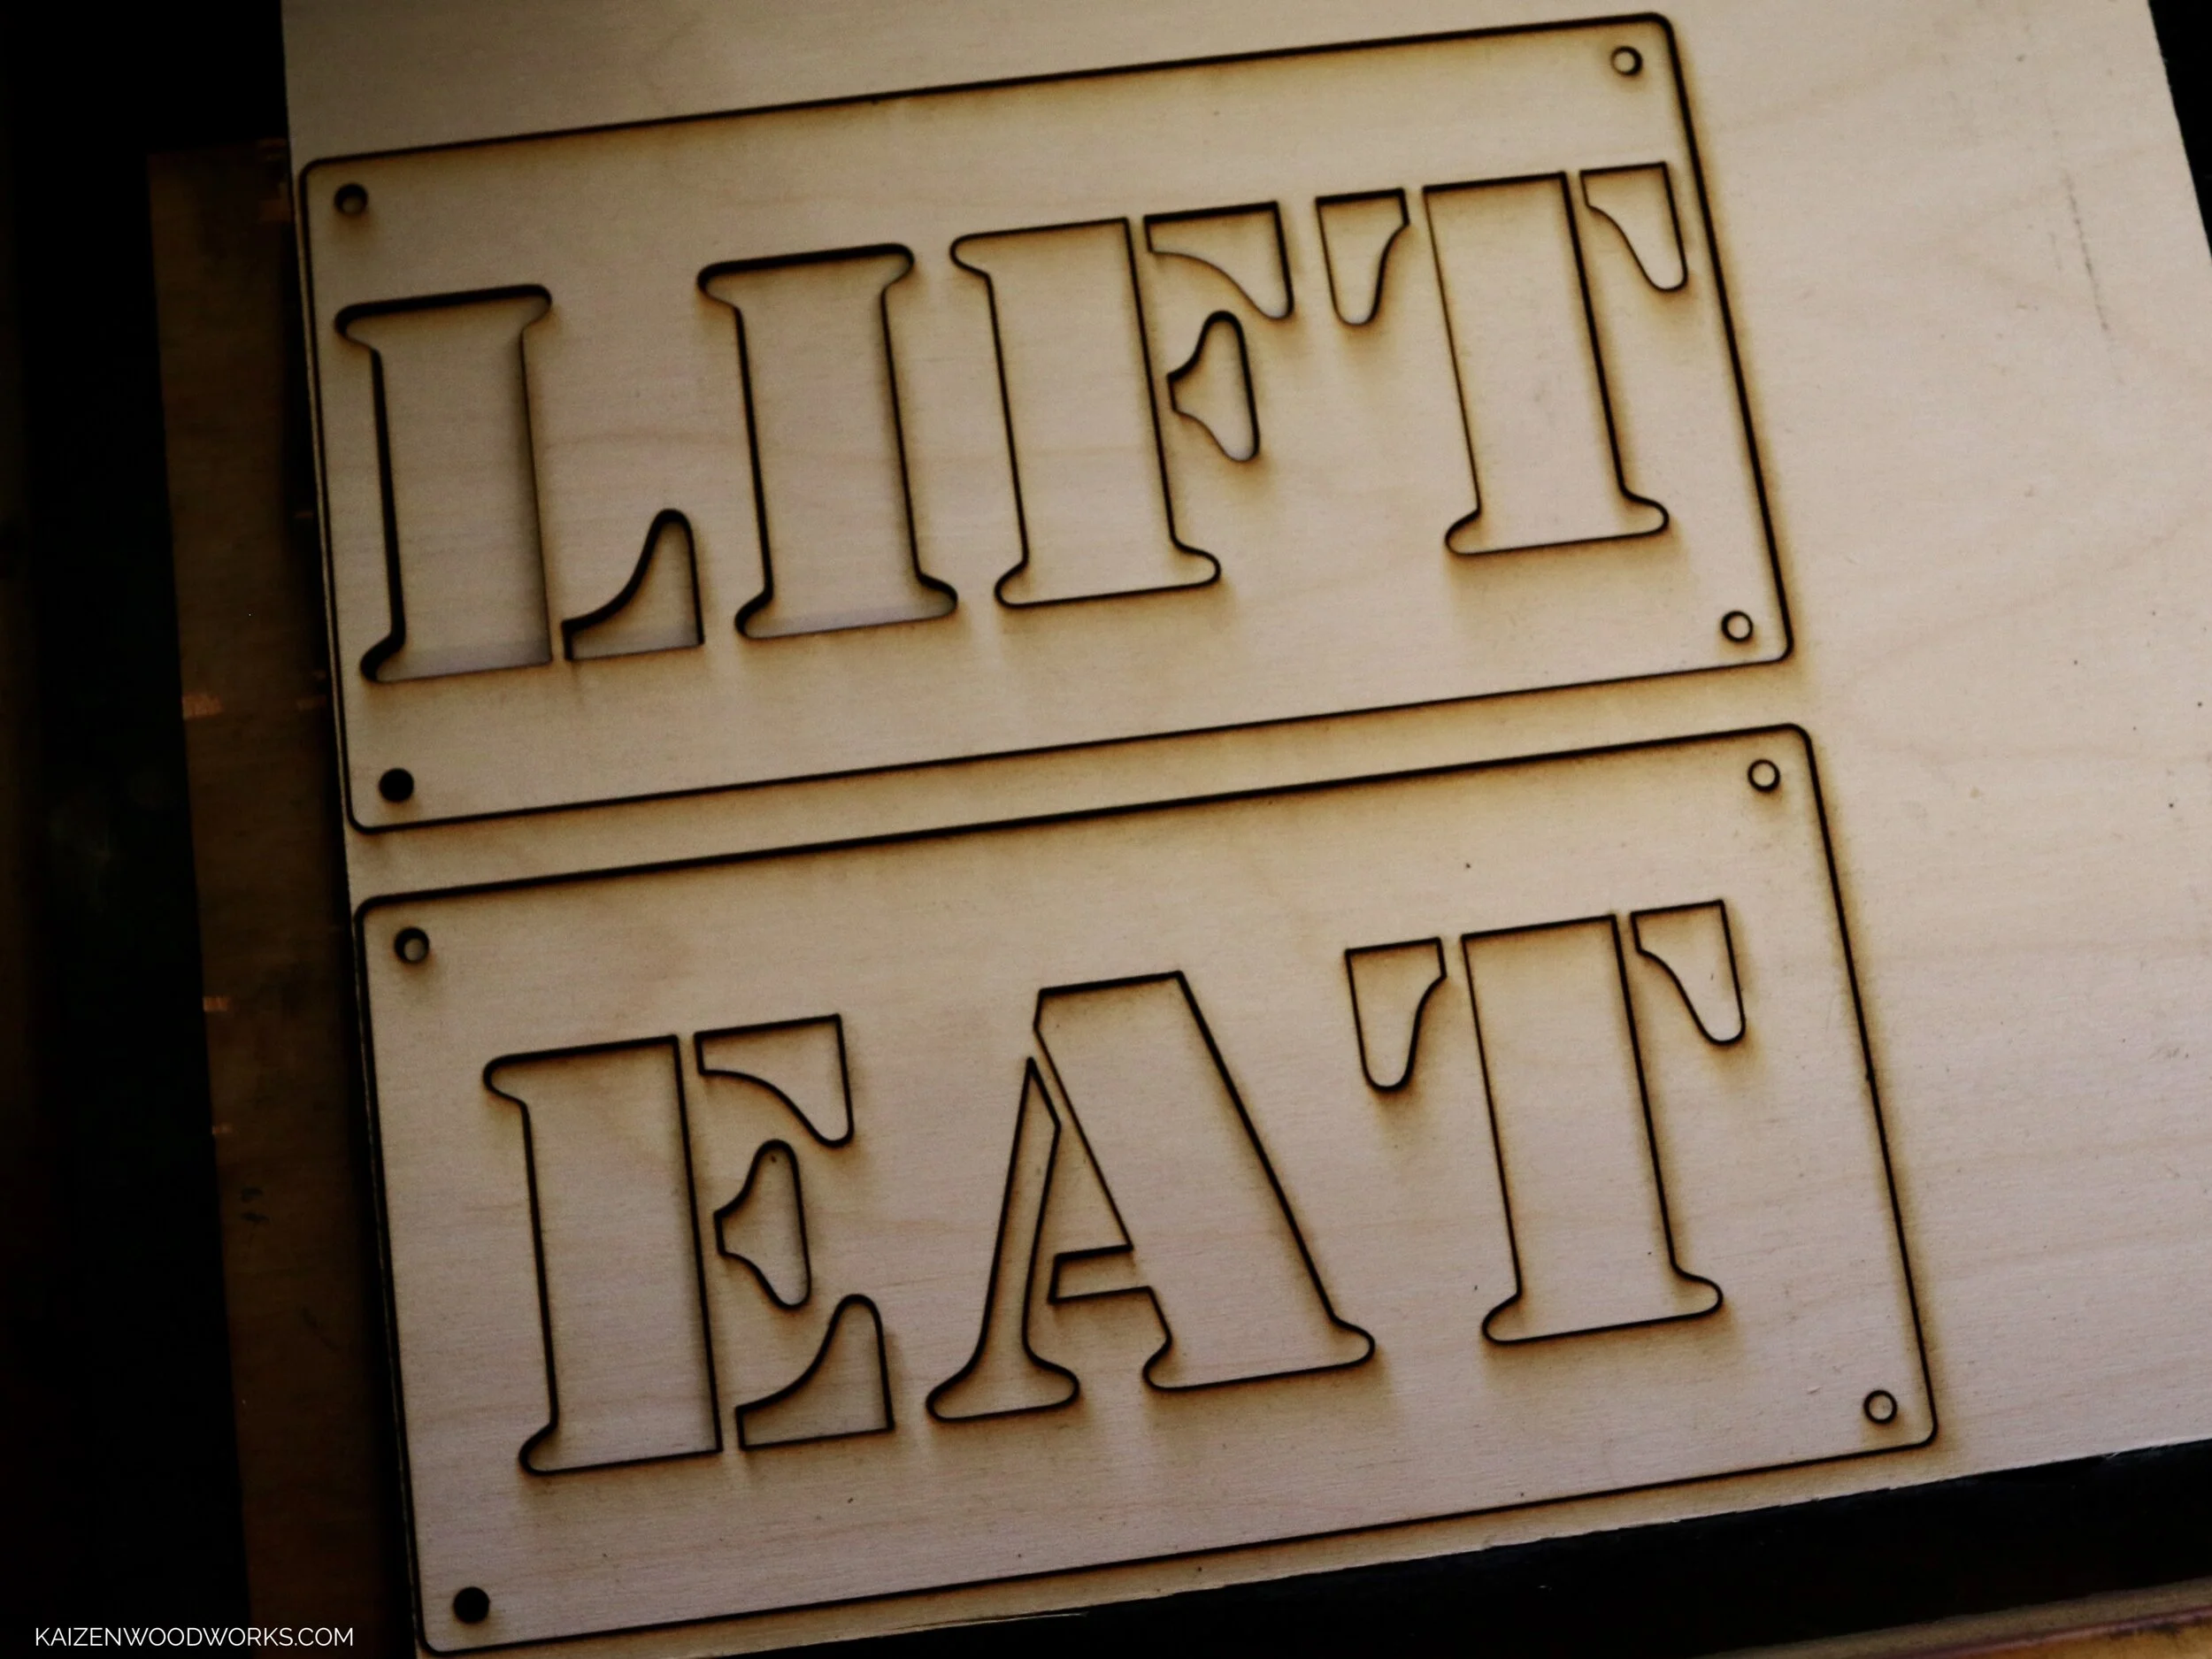
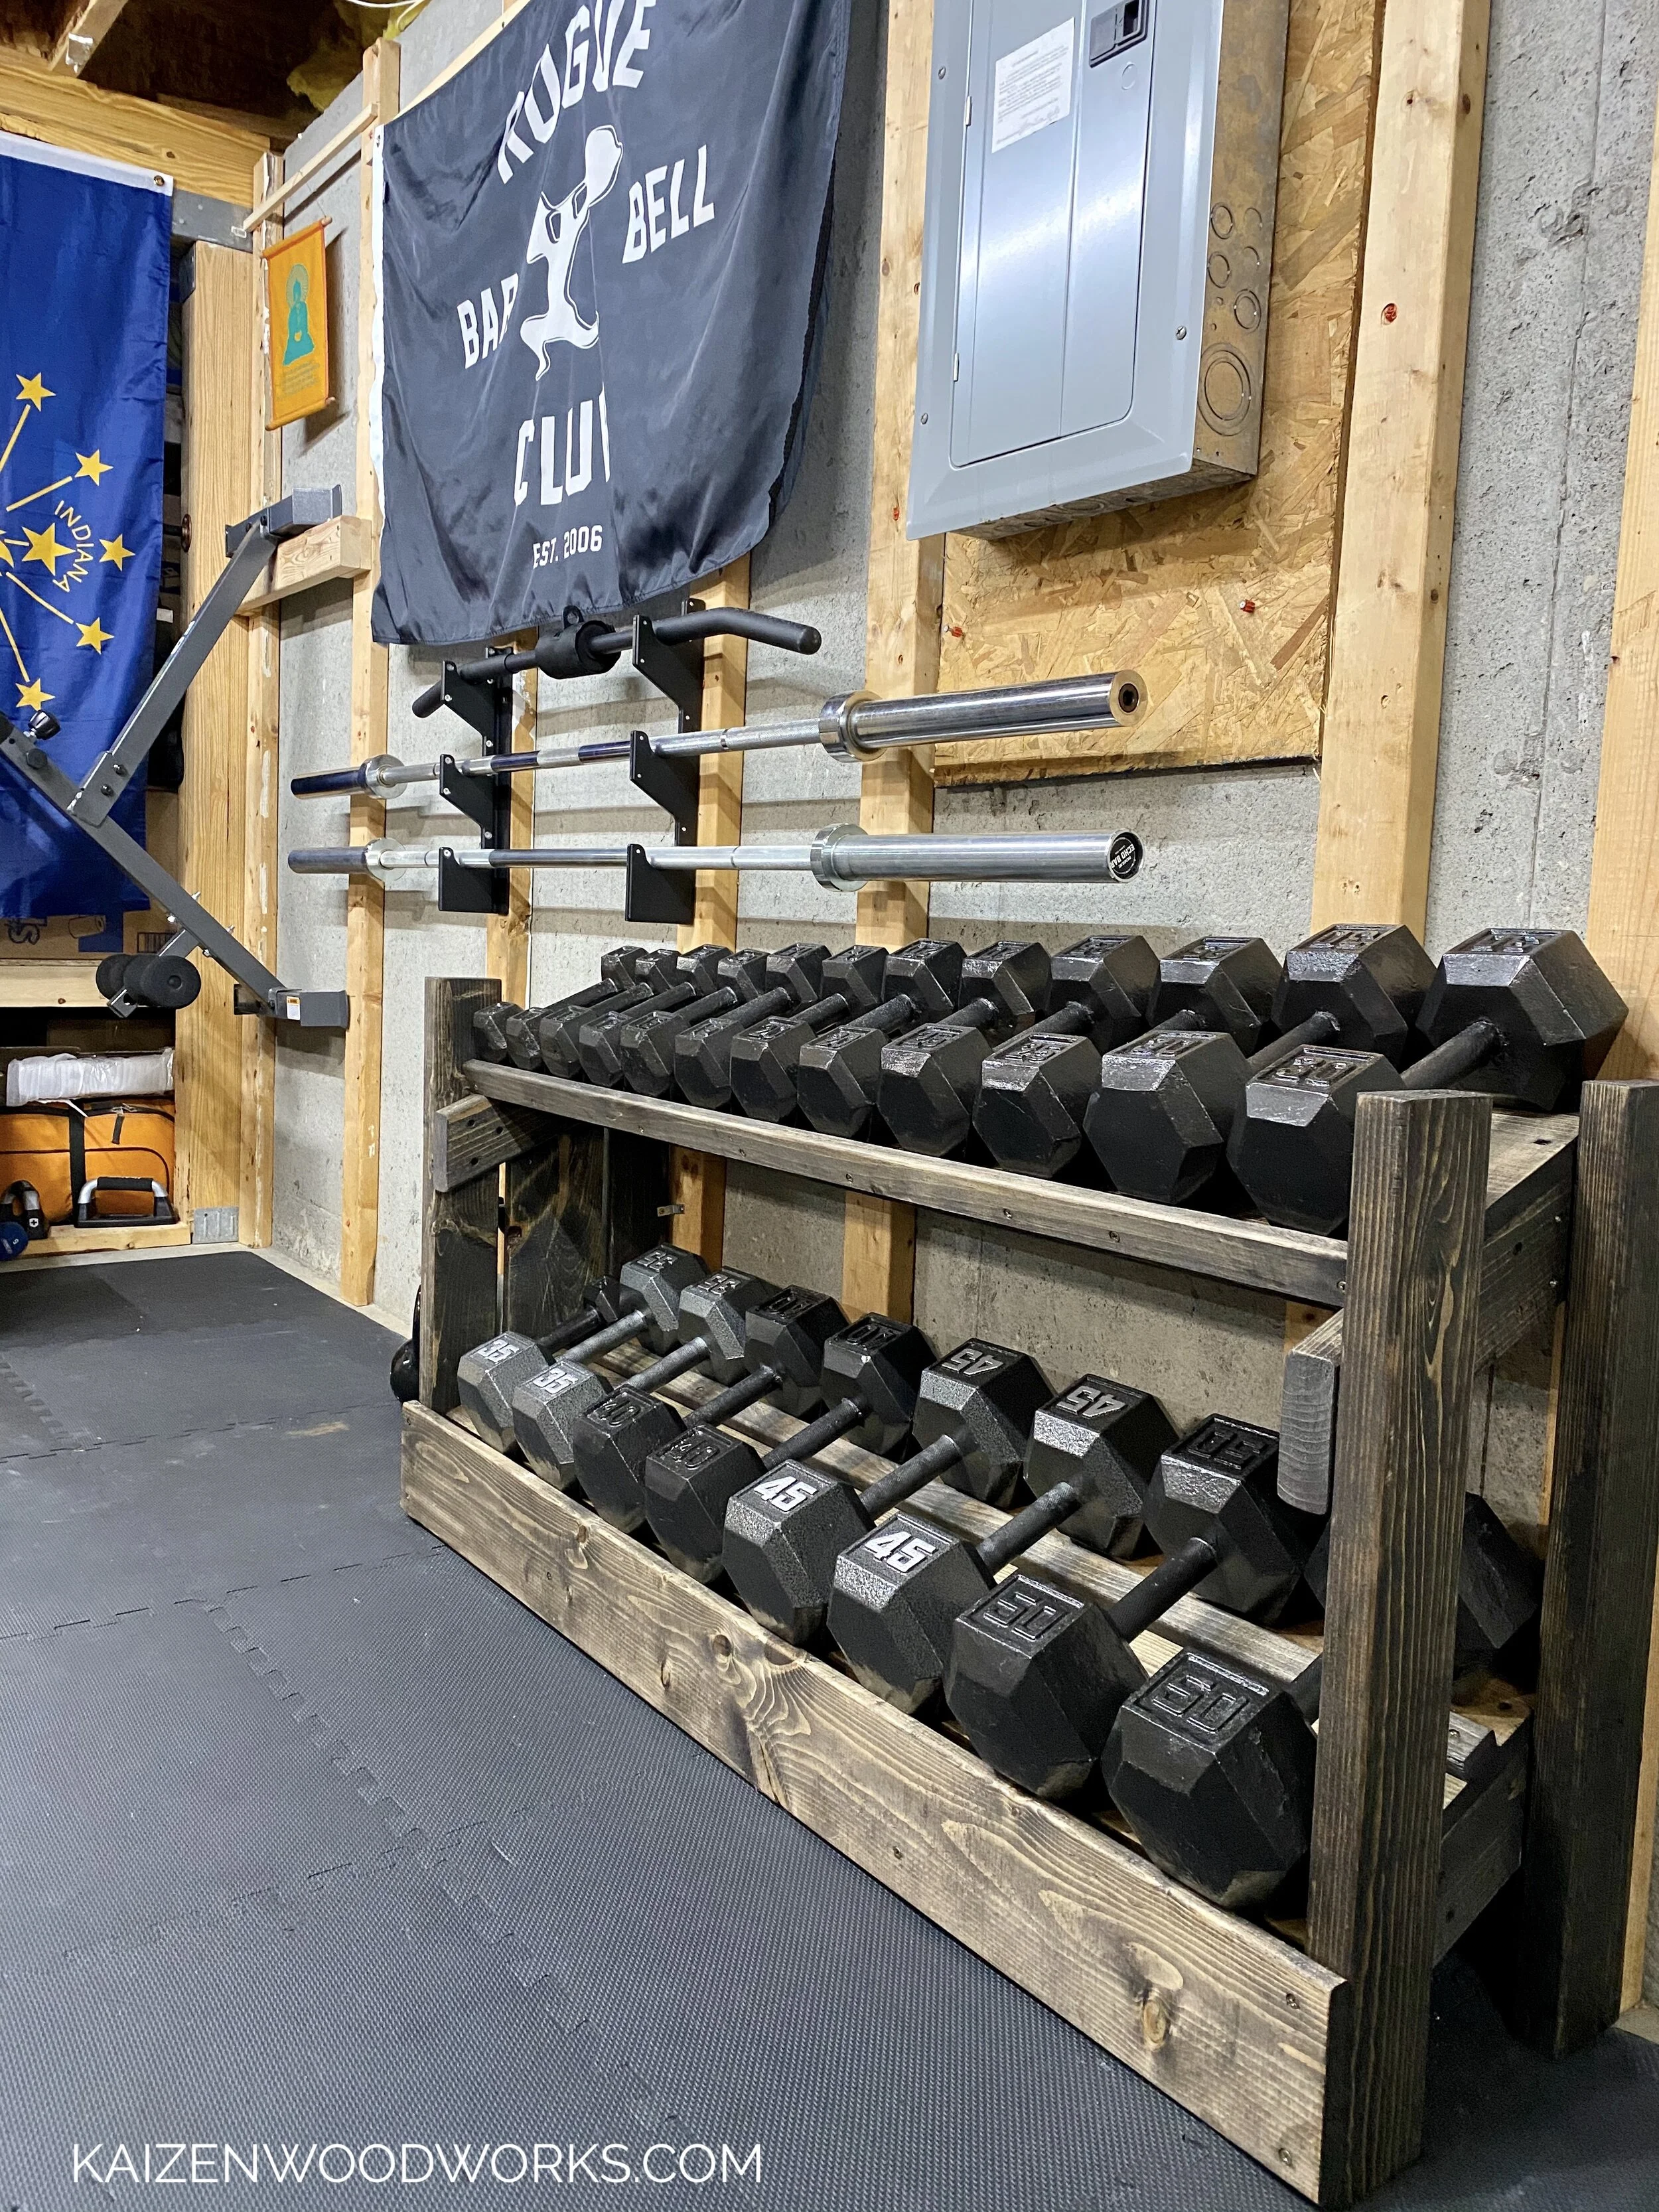
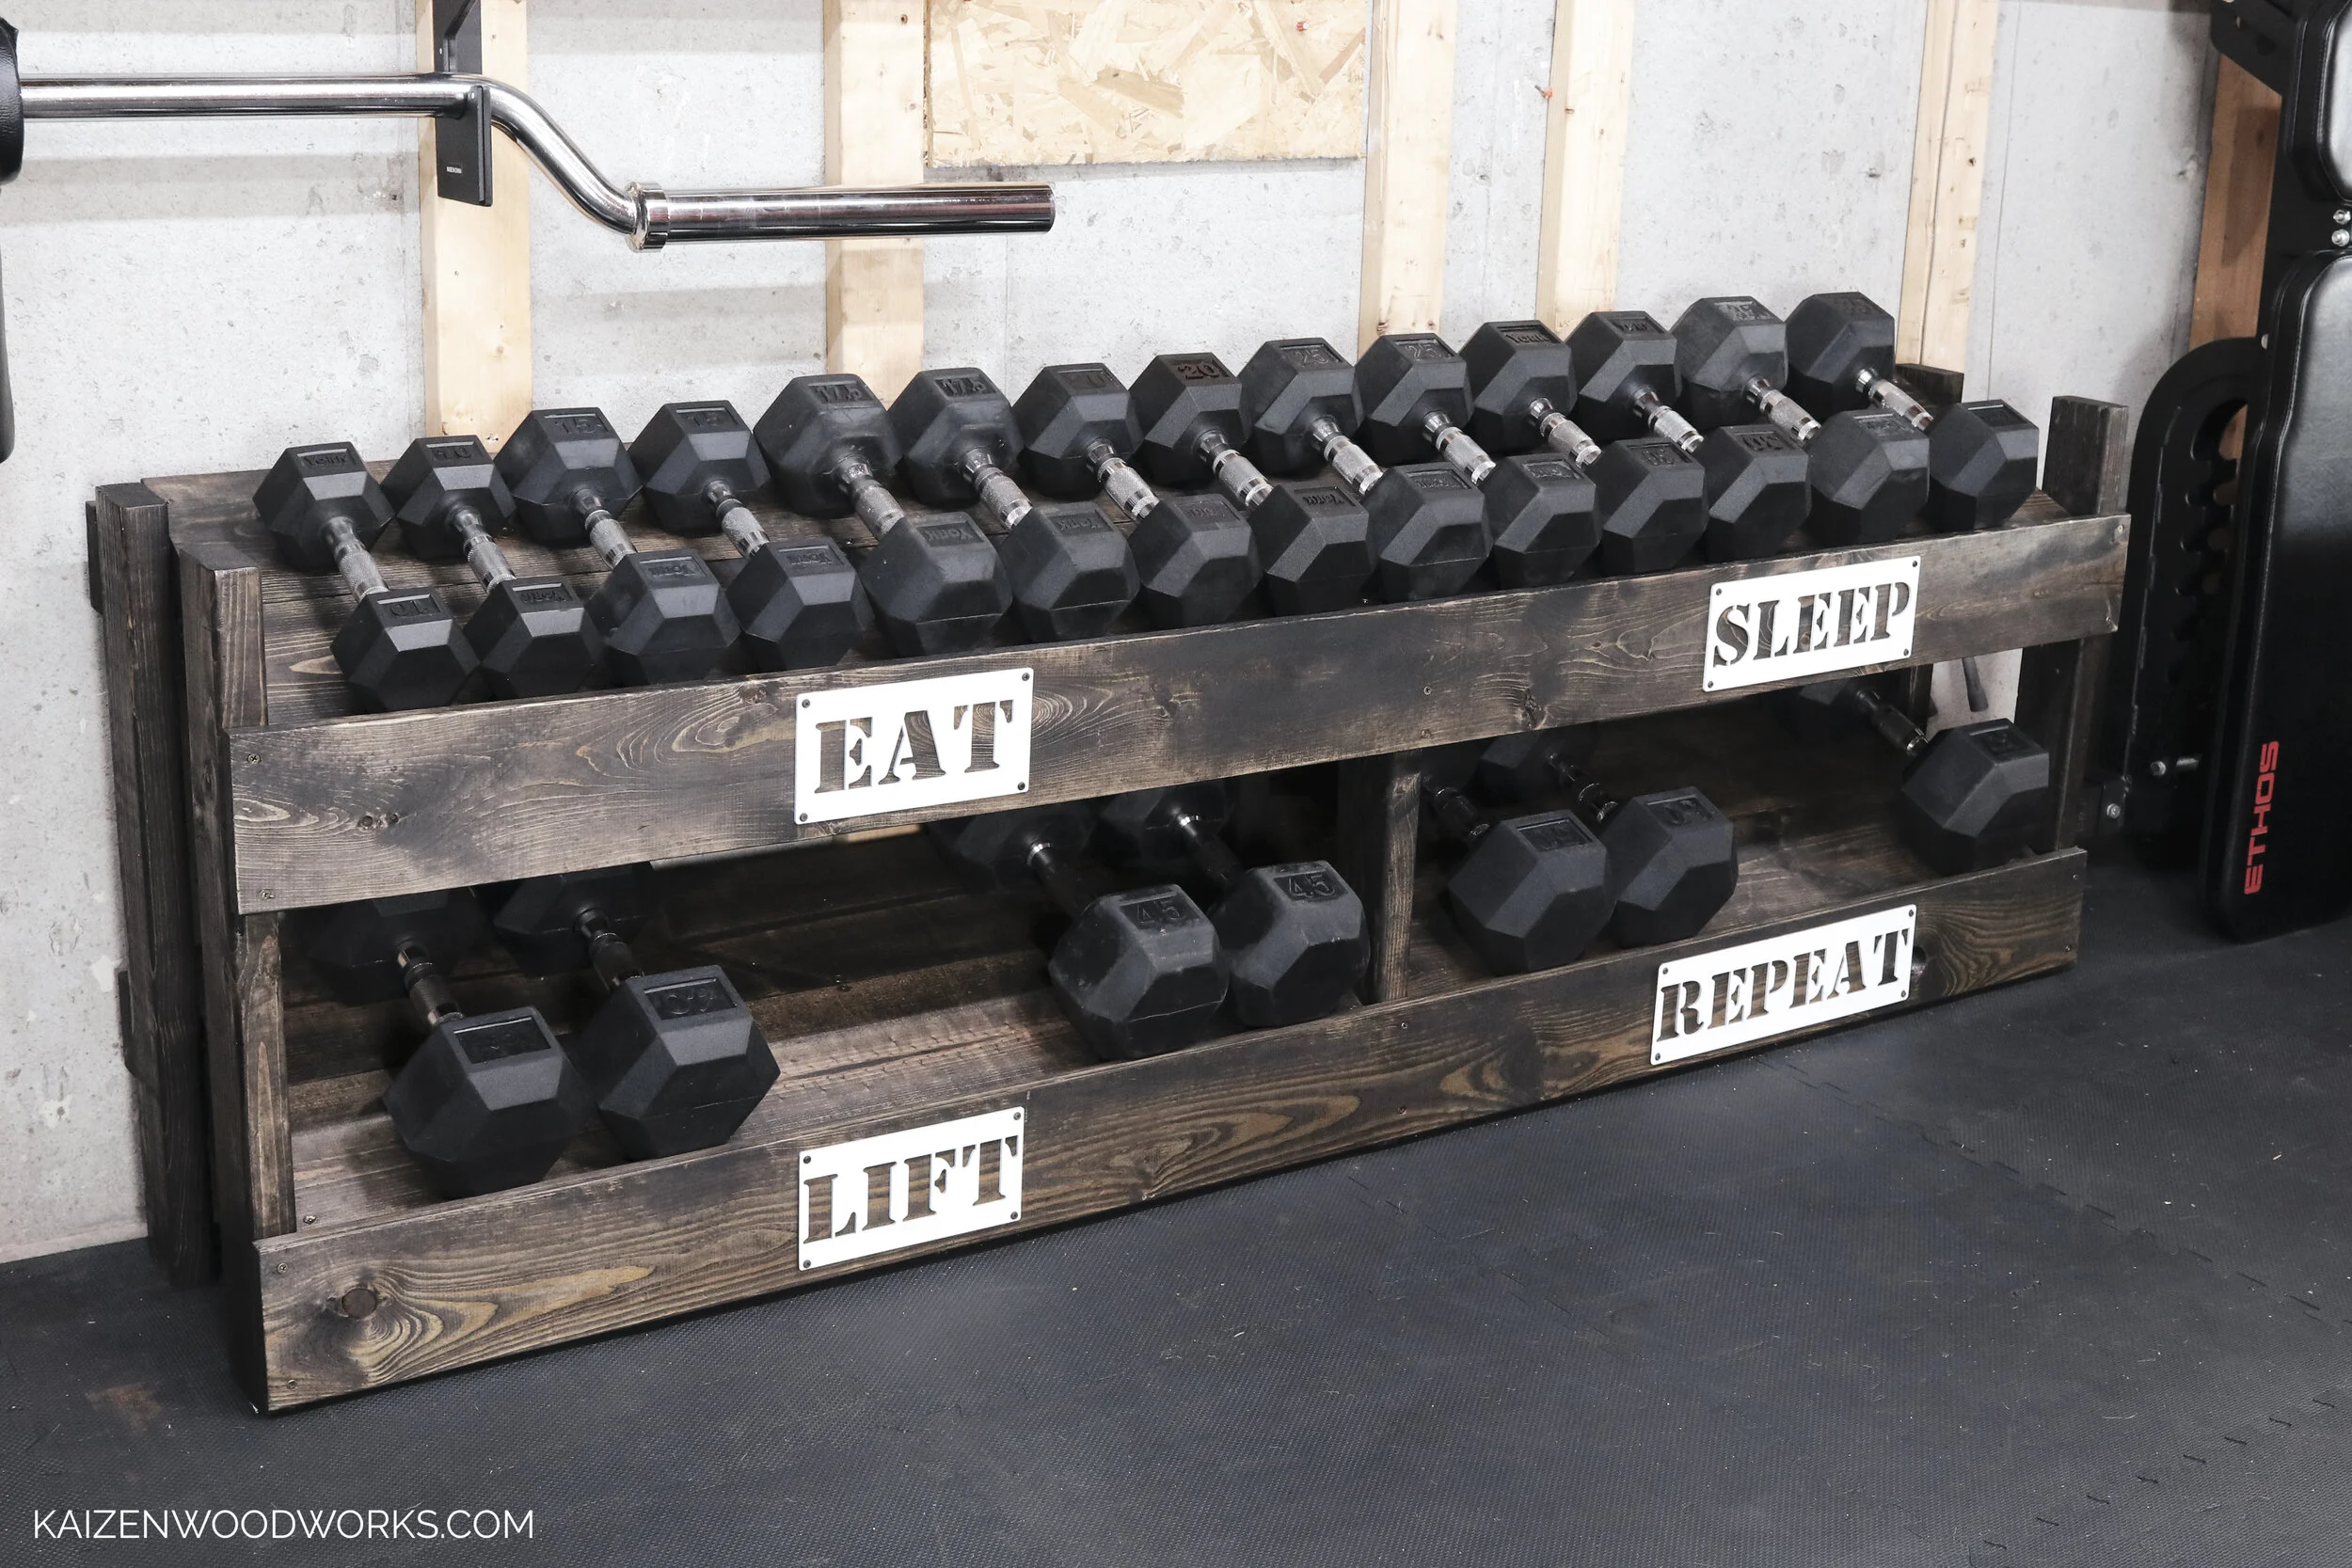
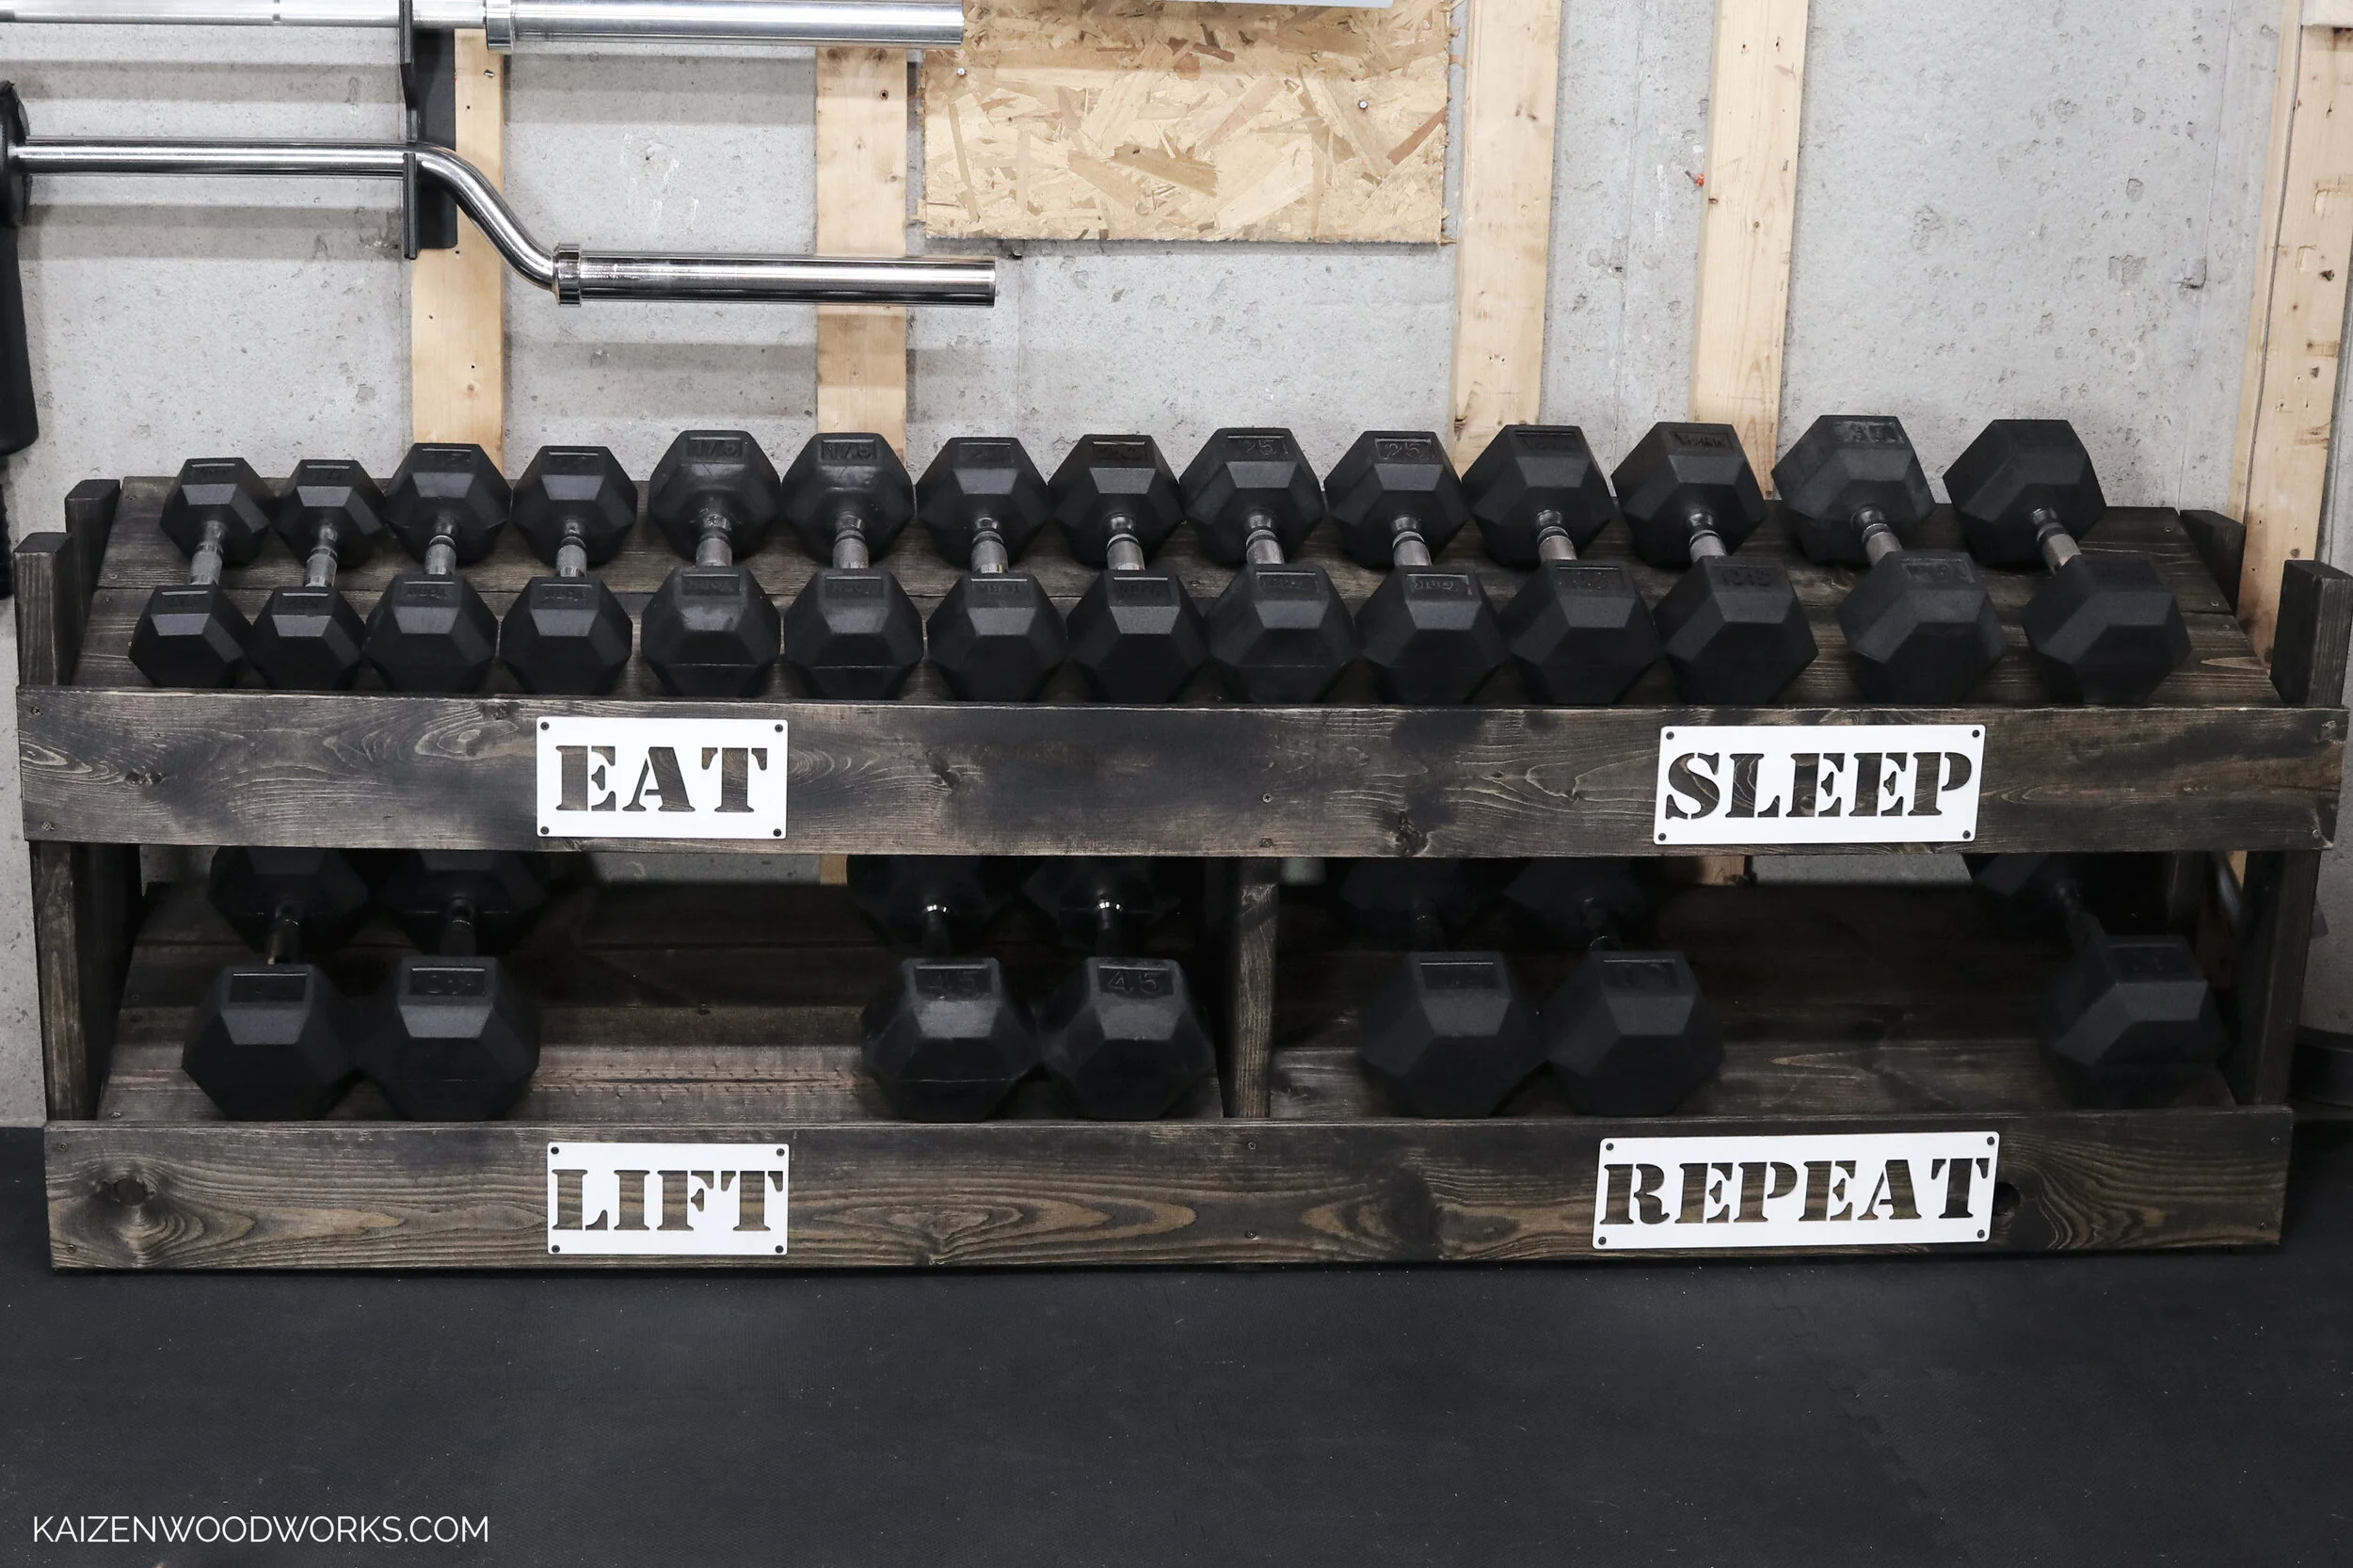
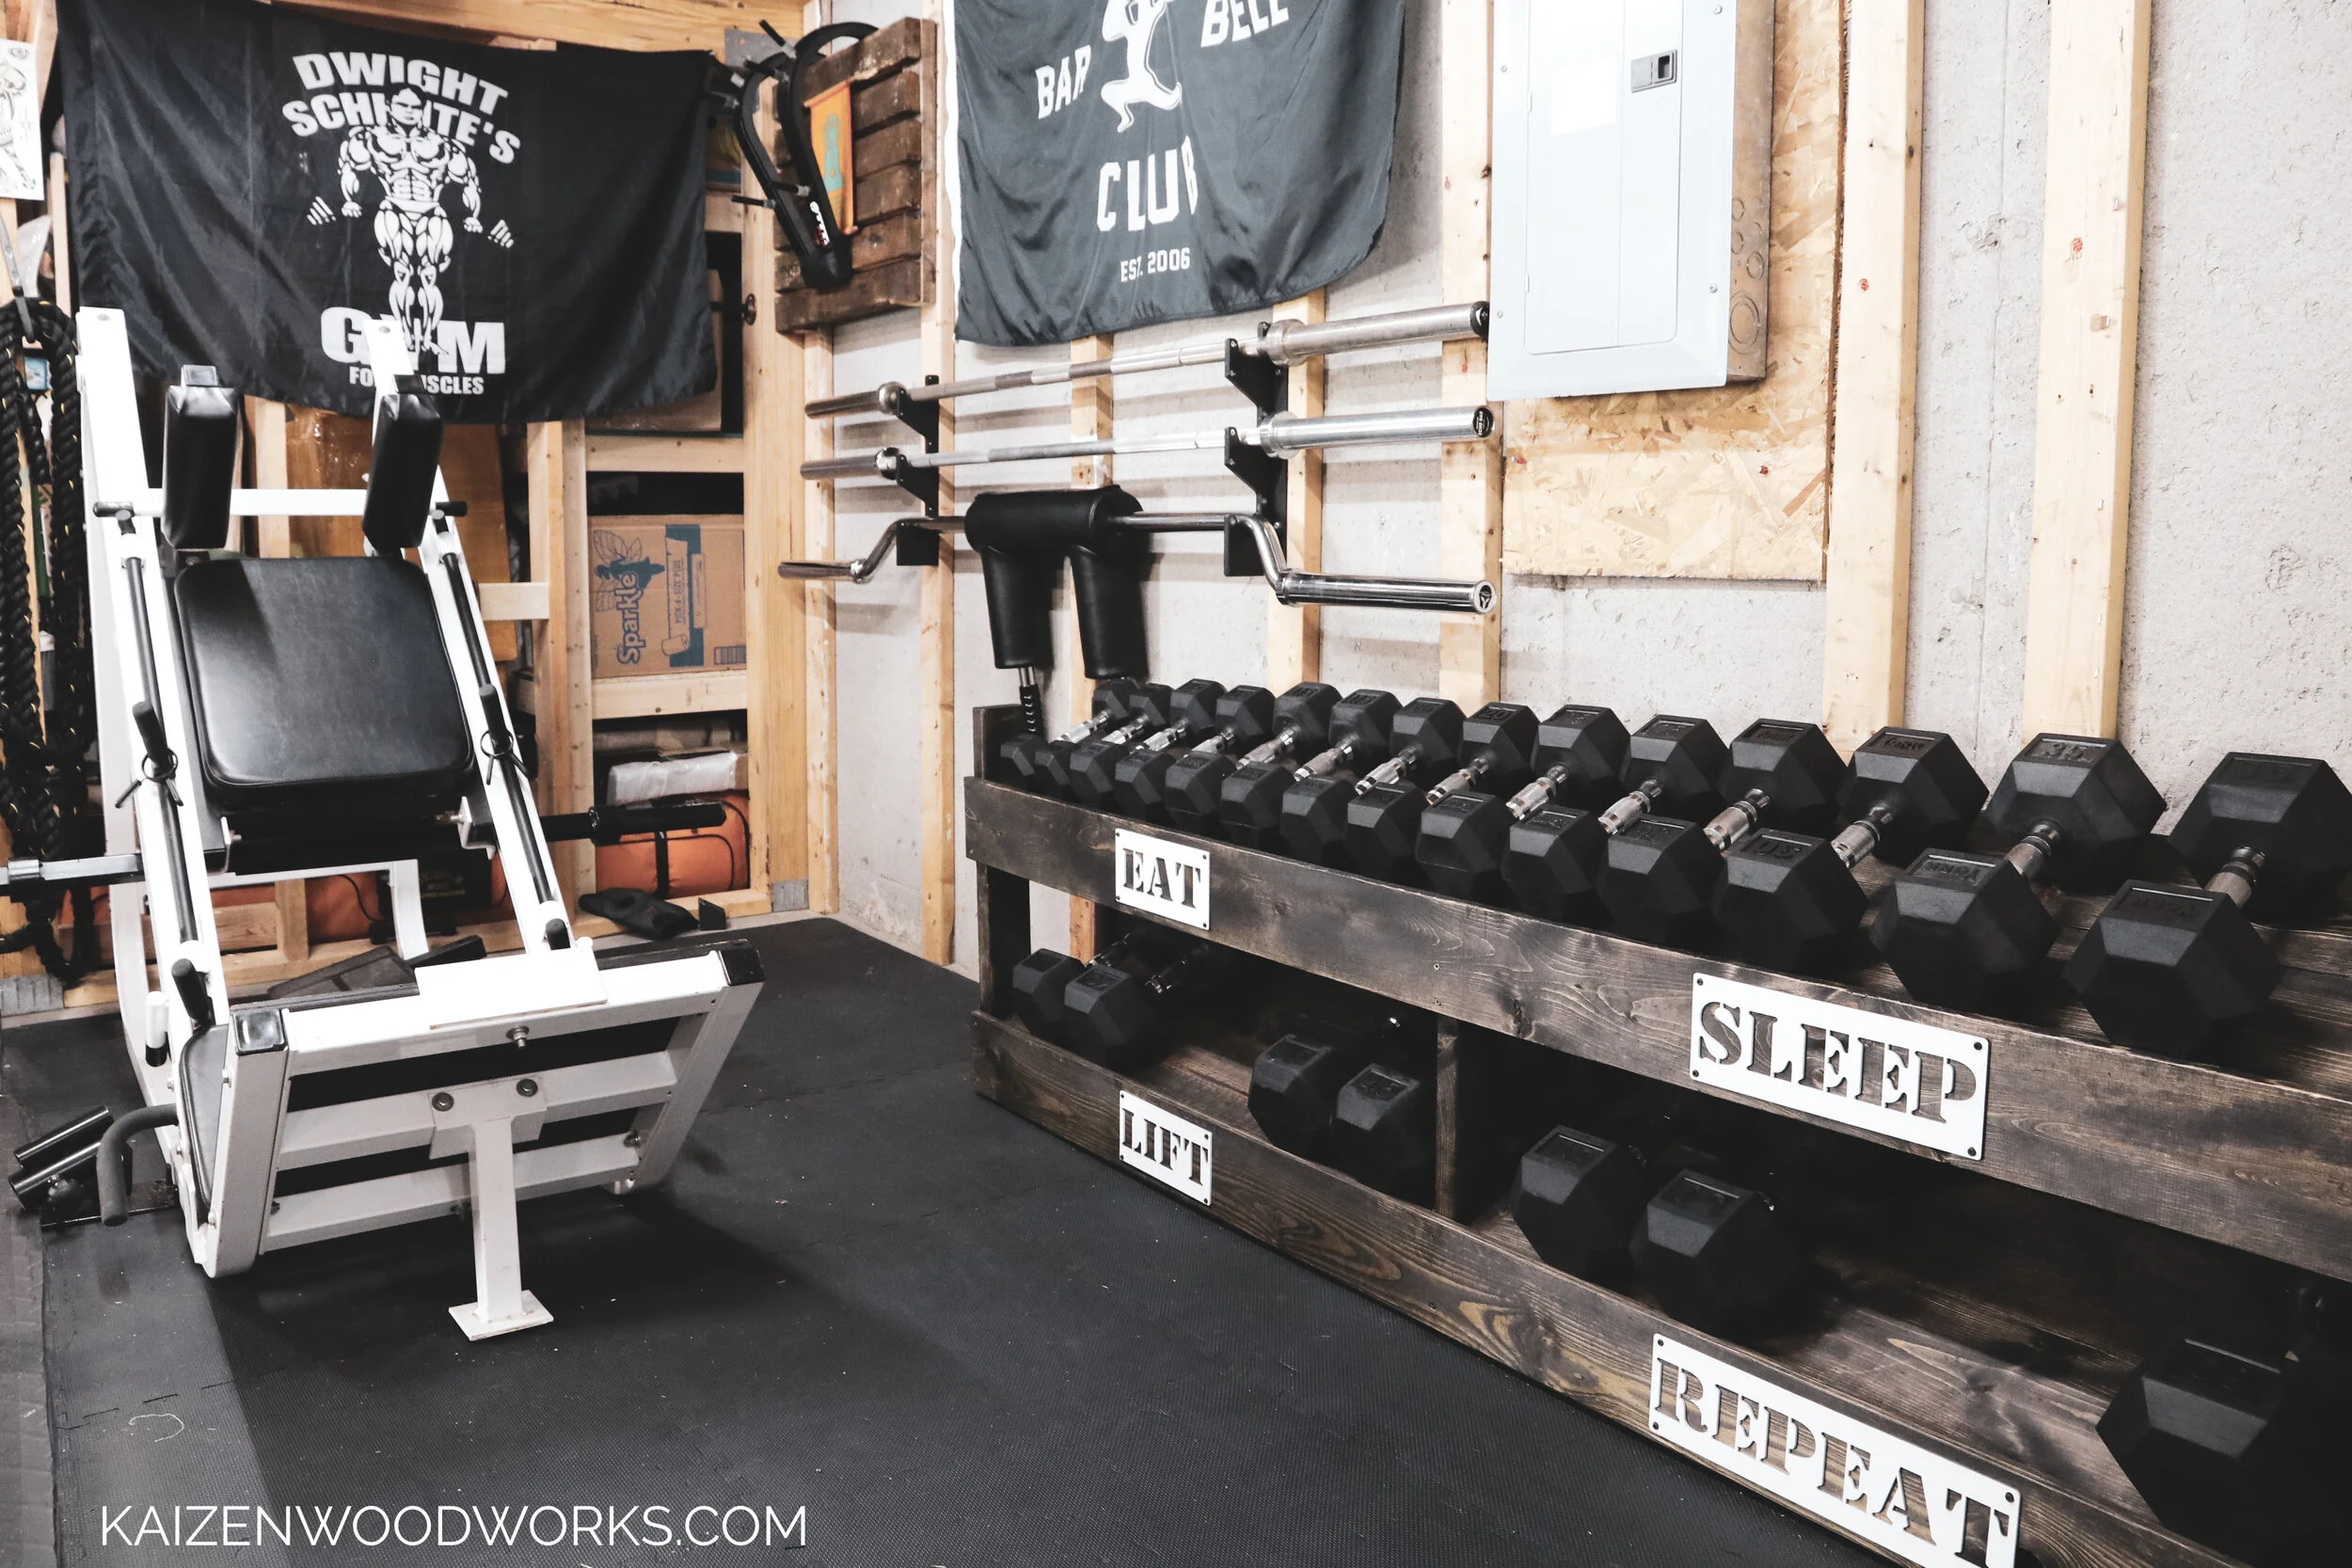
After attaching with screws, I am extremely happy with the finished product.
If this seems like too much work and you’d rather buy a dumbbell rack, or you built yours and need the dumbbells to go with it, check out the current inventory at Rogue Fitness.
This post is not sponsored. Some of the links are affiliates which means if you purchase through the link, I’ll receive a small commission.
If you like this, check out my other home gym diy projects.
Do you have an idea for my next build? Leave a comment below!
If you build this, I’d love to see it! Tag #kaizendiygym on Instagram and I’ll feature it on my page!
https://www.instagram.com/kaizendiygym
@kaizendiygym