
DIY weight stack pin olympic plate adapter
I have a quick project that doesn’t cost much and will add a lot of variety to weight stacks. What is it? Well, on the internet it goes by many names: Power Pin, Stacked Weight Pin, Gym Pin, or my favorite…

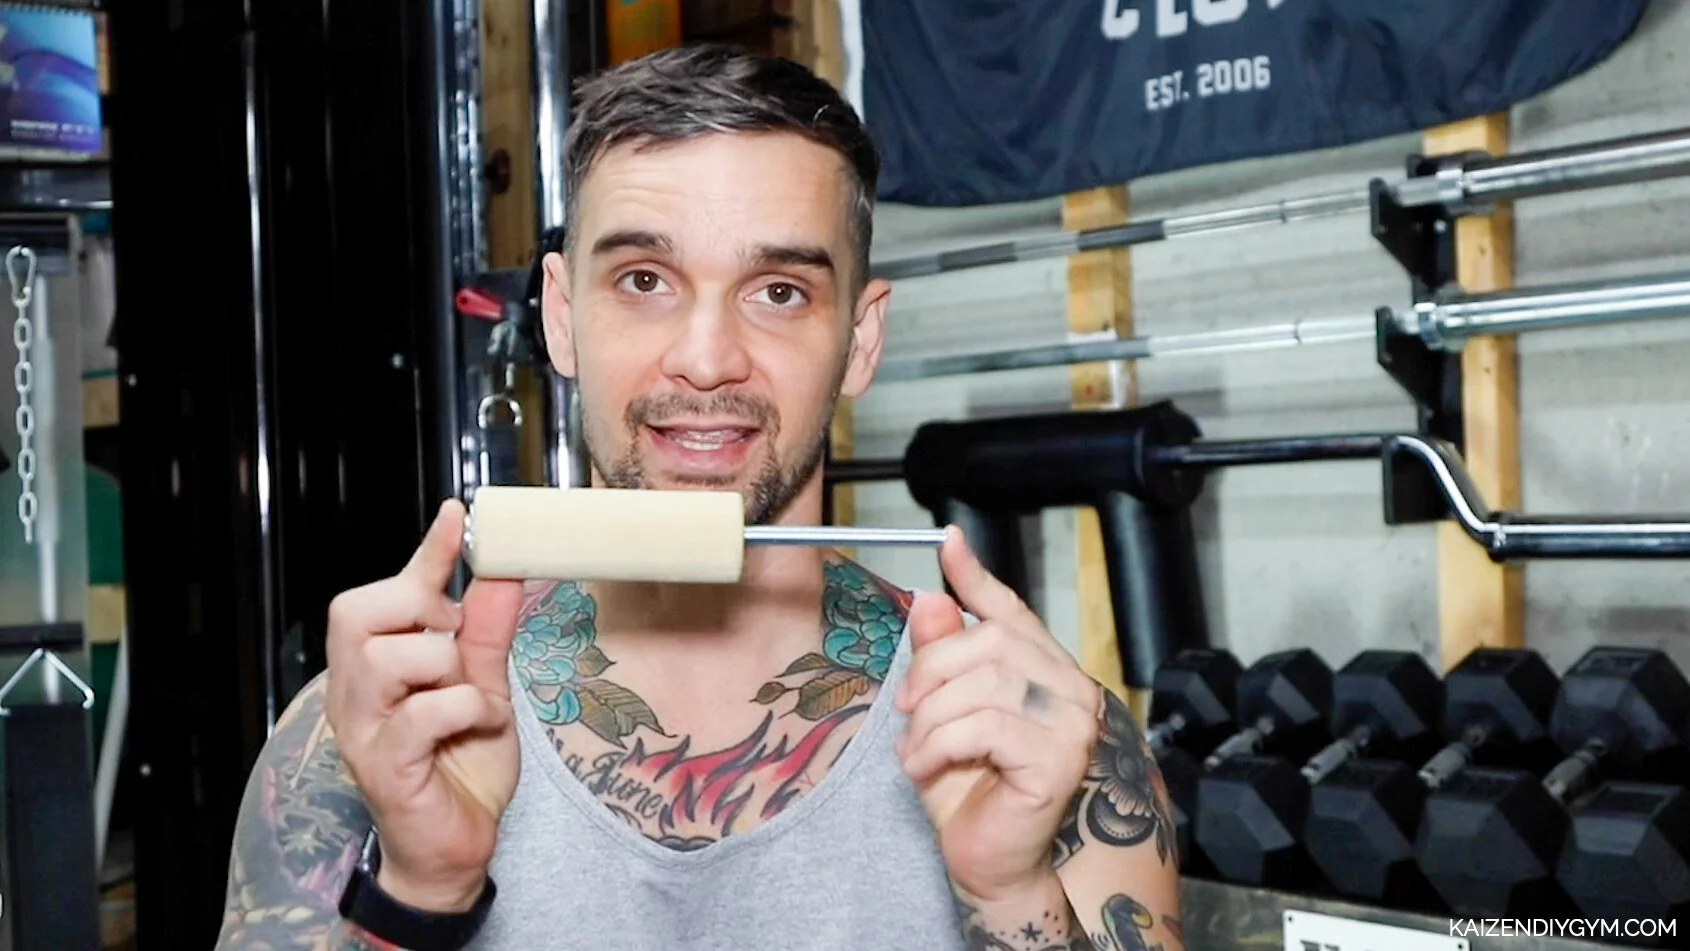
The Weight Stack Pin Olympic Plate Adapter or WSPOPA!
Why would someone want one of these?
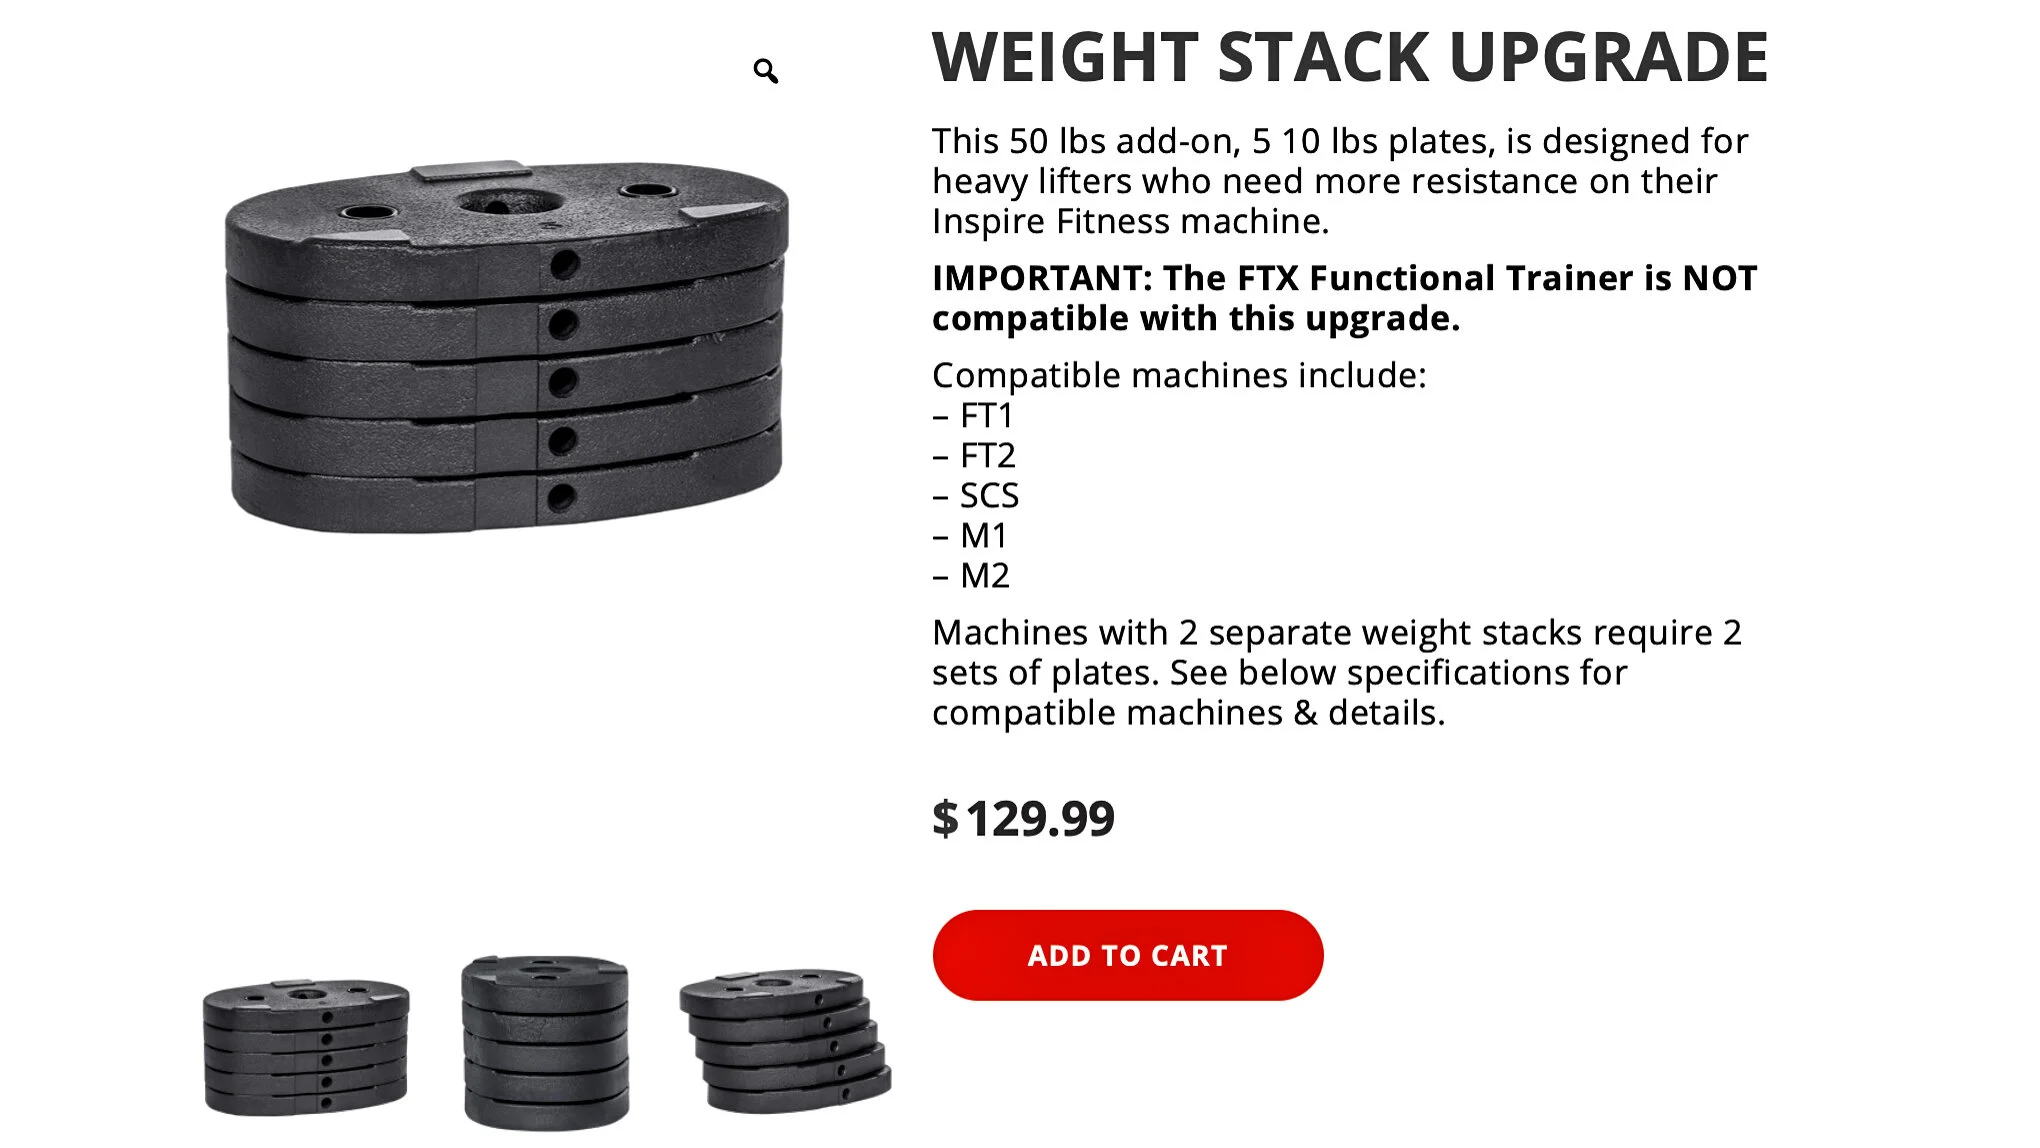
I have a functional trainer with two 150 pound weight stacks. I can increase the weight of each one by 50 pounds through the manufacturer. The cost to do this is $130 each plus shipping. There’s a lot of other equipment I’d rather spend $260 on.
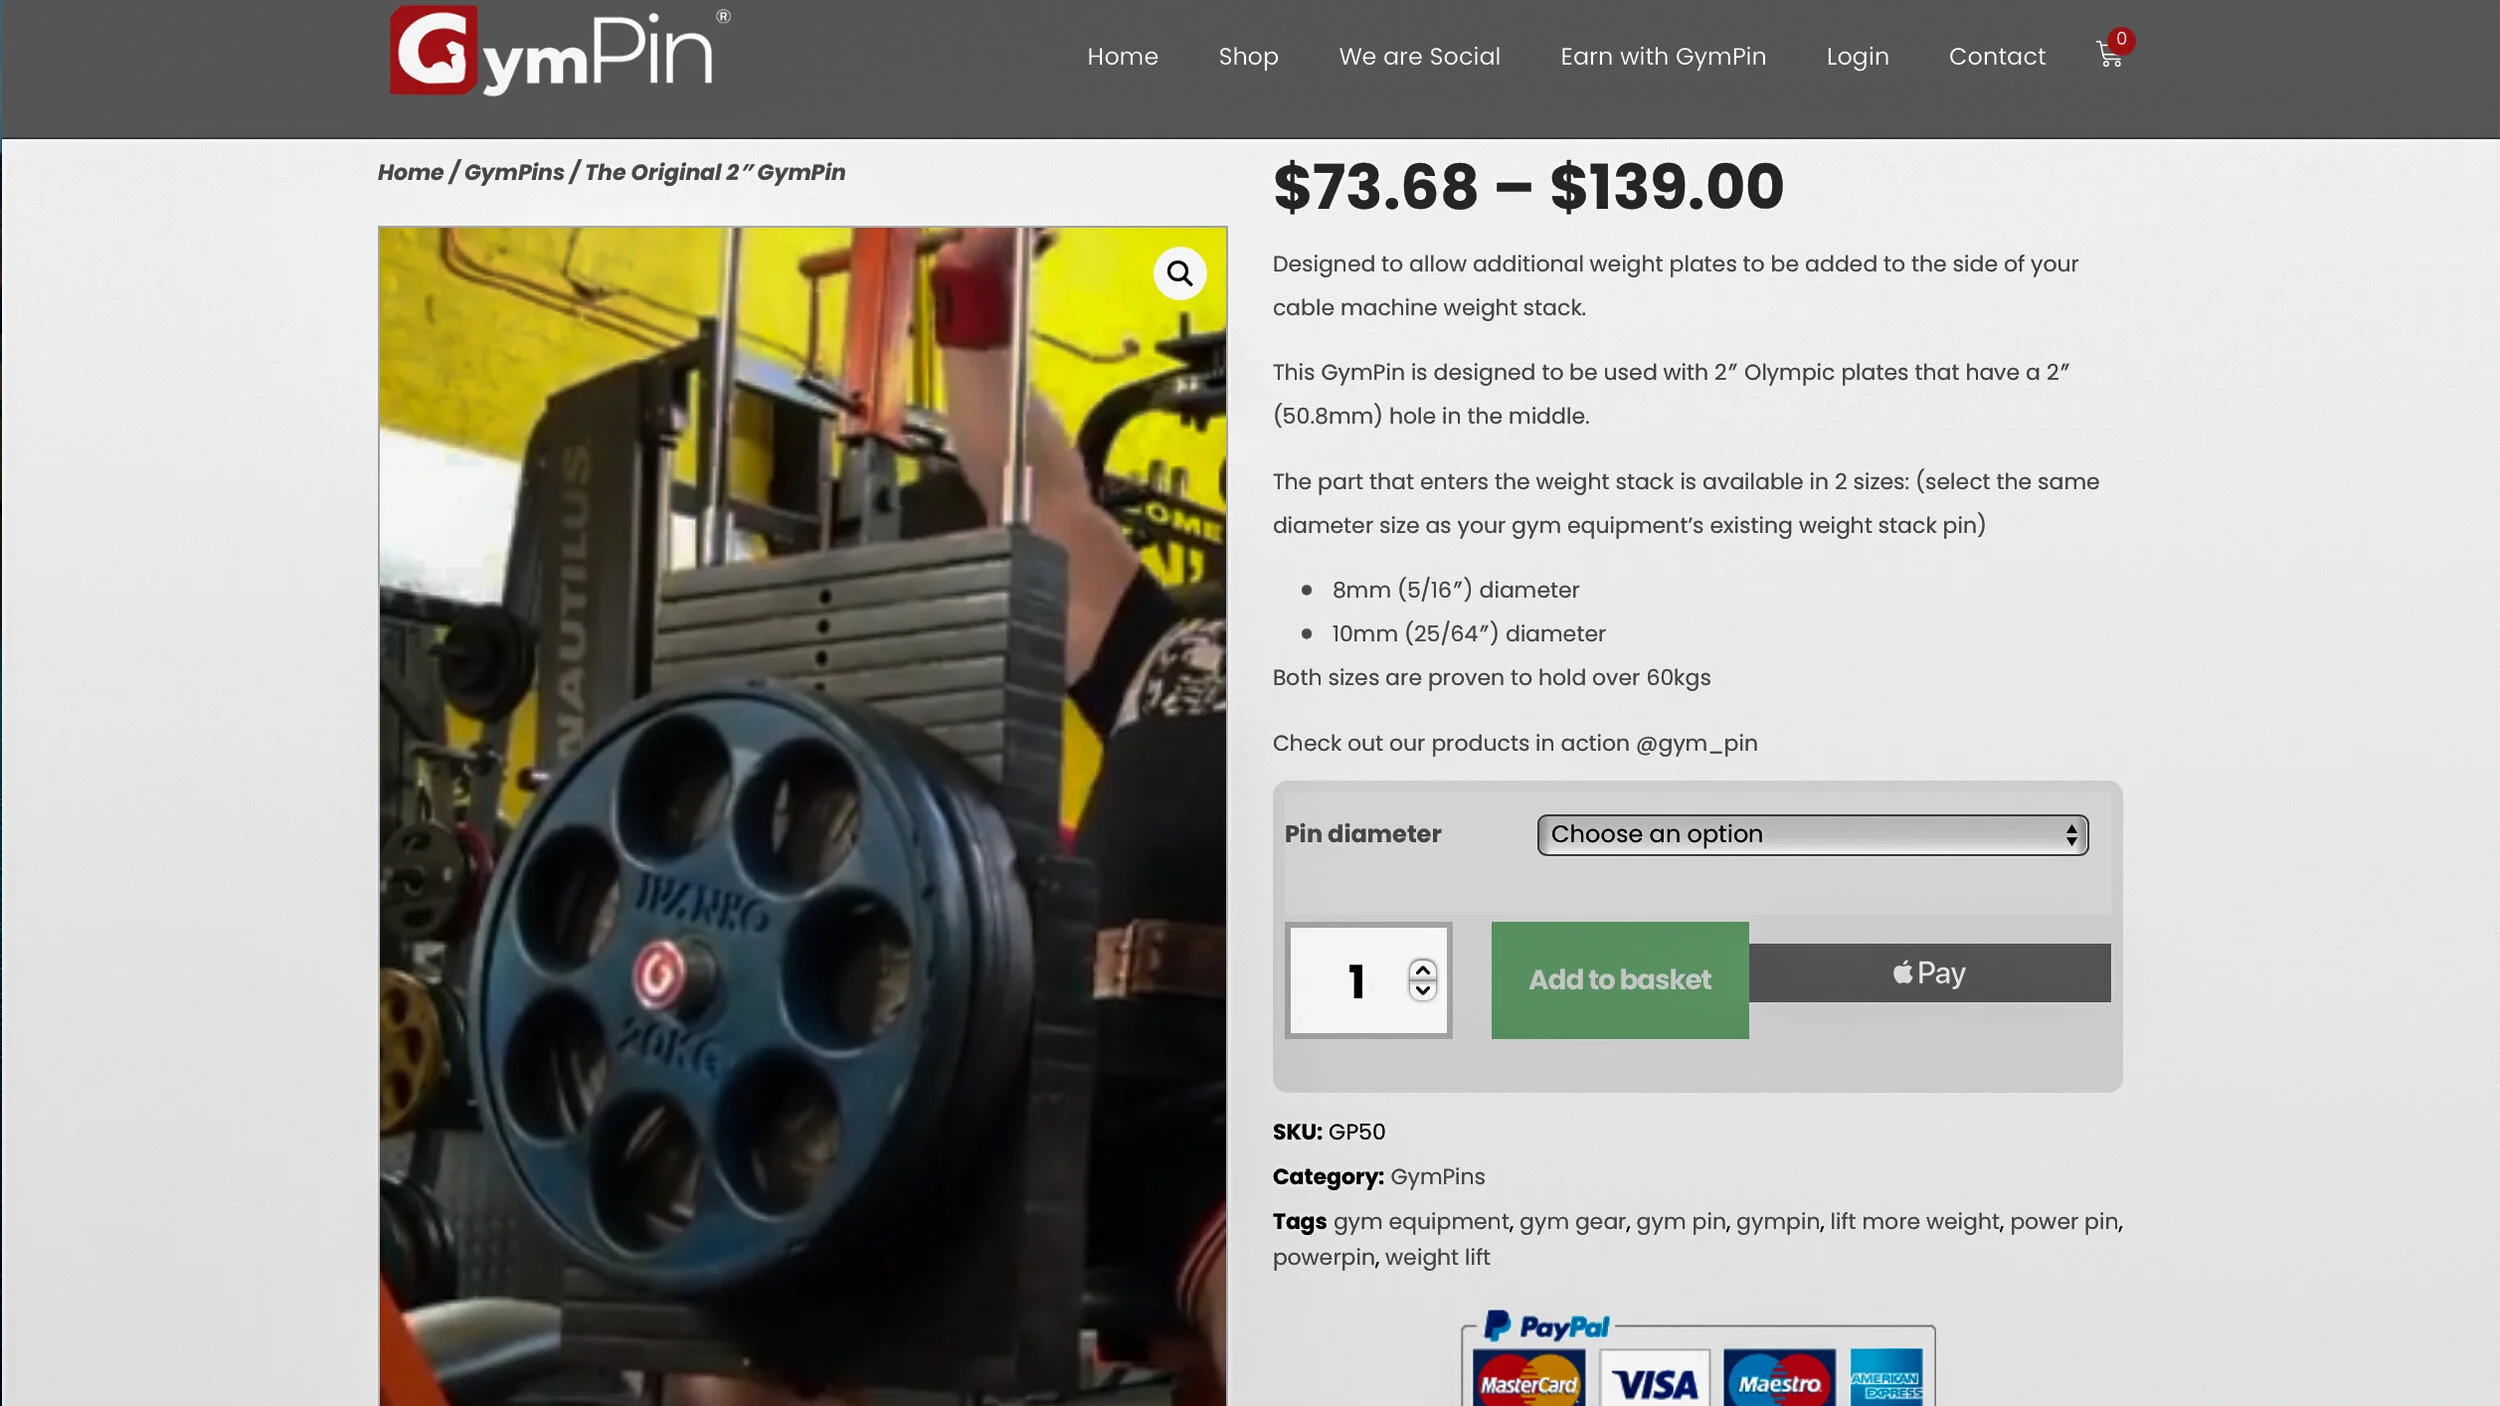
The solution? A few companies have popped up recently with this brilliant idea of using a weight pin that can also hold weights. These range in price but mostly start out around $70 each.
Lucky for you, I have come up with 3 diy options.
Cost of materials will vary based on fluctuating lumber prices and your location.
There are lots of options on what tools and materials can be used to make this, here’s what I used:
Tools:
Dewalt sliding mitre saw - Amazon link (https://amzn.to/3pdqFe3), Home Depot link (https://homedepot.sjv.io/3P7GRB)
Dewalt cordless drill - Amazon link (https://amzn.to/3g2VM7L), Home Depot link (https://homedepot.sjv.io/doRm3K)
Drill press - Amazon link (https://amzn.to/3wh8beK), Home Depot link (homedepot.sjv.io/doRm3K) - alternatively, the holes can also be drilled using a cordless drill
1 inch forstner bit - Amazon link (https://amzn.to/3uJm44s), Home Depot link (homedepot.sjv.io/LPDQoZ)
Glowforge 3D laser printer -Glowforge link (https://glowforge.com/?kid=YZPNDIUF)
Dewalt random orbit sander - Amazon link (https://amzn.to/3vUK2Ku), Home Depot link (https://homedepot.sjv.io/gbo2L9)
13/32 drill bit - Amazon link (https://amzn.to/2VBqyhJ), Home Depot link (https://homedepot.sjv.io/e4rxqO)
Angle grinder - Amazon link (https://amzn.to/3Cu1fPB), Home Depot link (https://homedepot.sjv.io/JrLYLq)
Belt sander - Amazon link (https://amzn.to/3ArRmA9), Home Depot link (https://homedepot.sjv.io/0JxBxR)
Materials:
1 inch dowel
1.5 inch dowel (https://homedepot.sjv.io/n1nGPM)
1.75 inch round dowel (or 1.5 inch dowel if you can’t find 1.75) - Home Depot link (https://homedepot.sjv.io/n1nGPM)
1.75 dome wood disc
8 inch 3/8 carriage bolt
3/8 Torque washer
3/8 washer
3/8 locking washer
3/8 nut
3/8 steel rod, cut into 8 inch pieces
Locktite epoxy
Black spray paint (https://amzn.to/34EKOzZ), Home Depot link (https://homedepot.sjv.io/2rKAJQ)
Option 1 is the quickest and least expensive. All in, it probably cost $2-3.

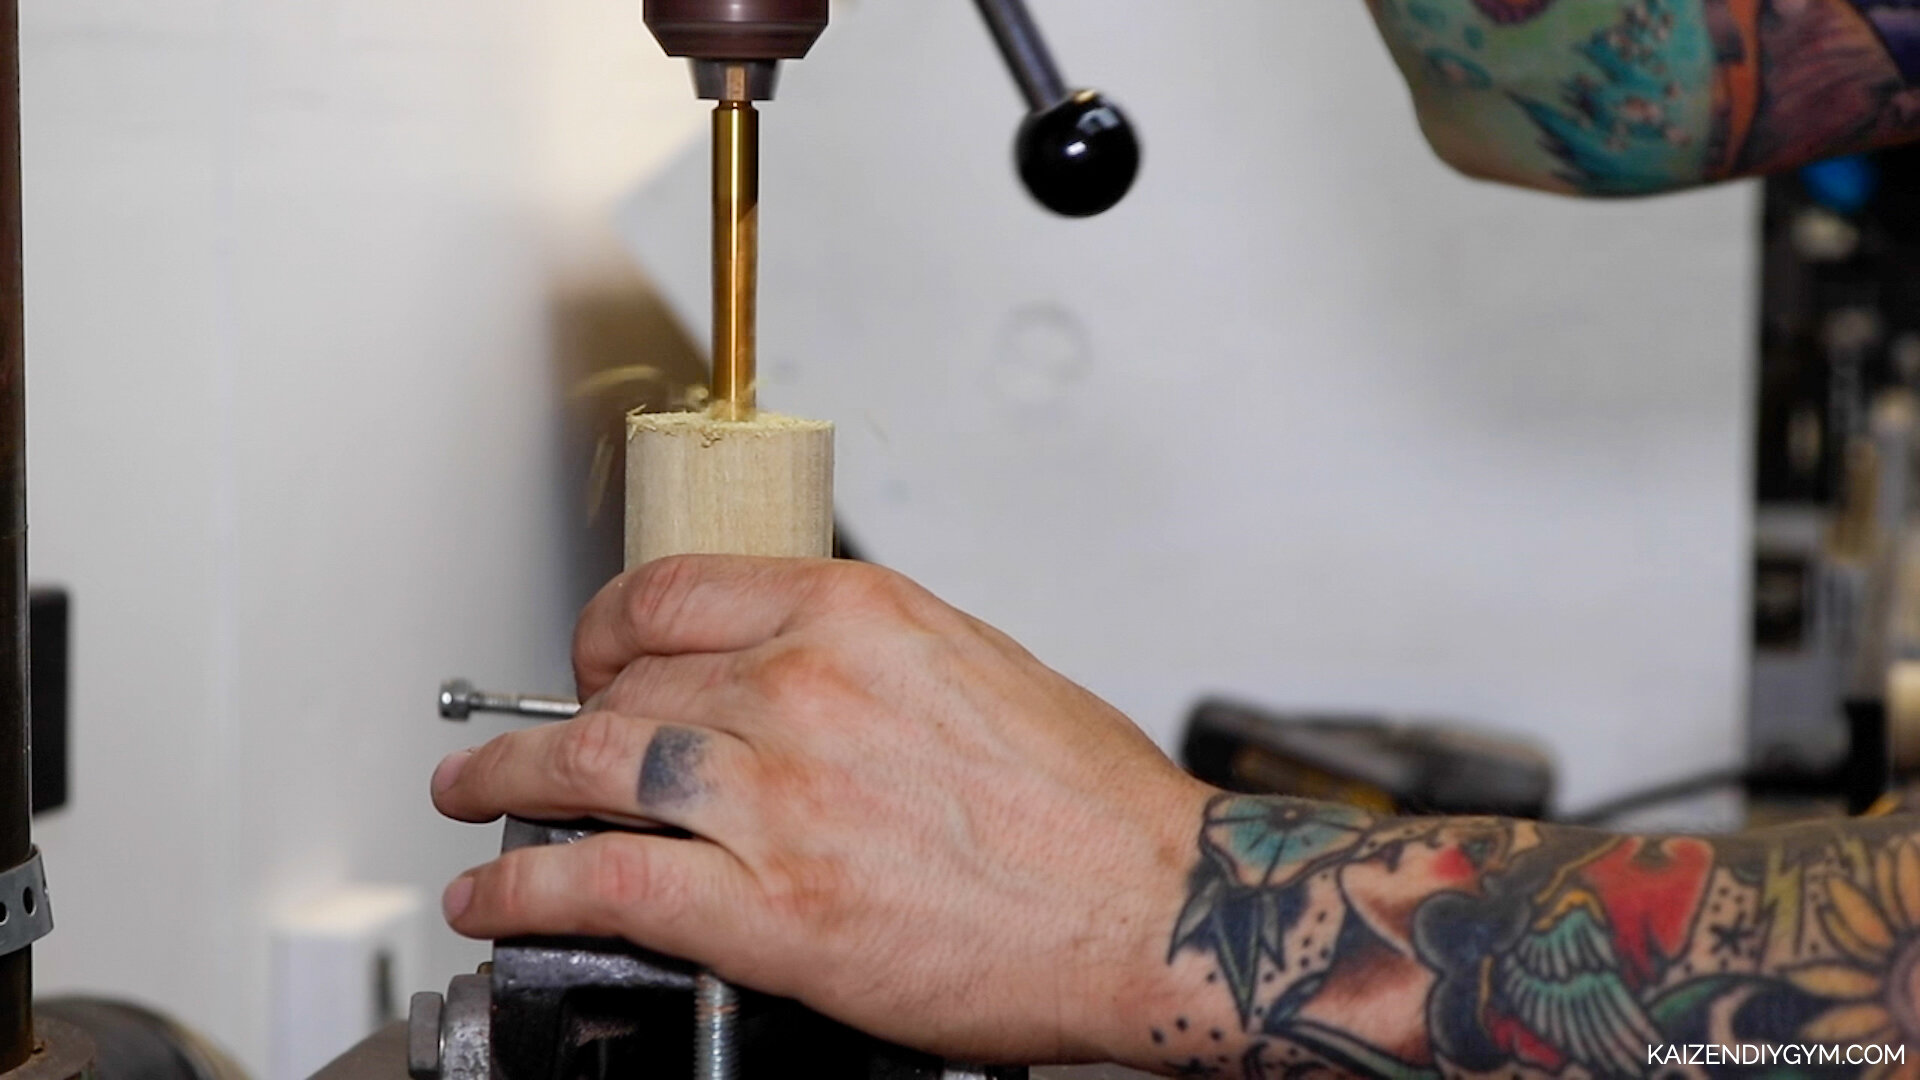
I use a 1 inch dowel for this and cut it to 4 and a half inches. I take a drill bit and drill directly through the center of the dowel. I didn’t calculate where center is, I just sort of eyeballed it.
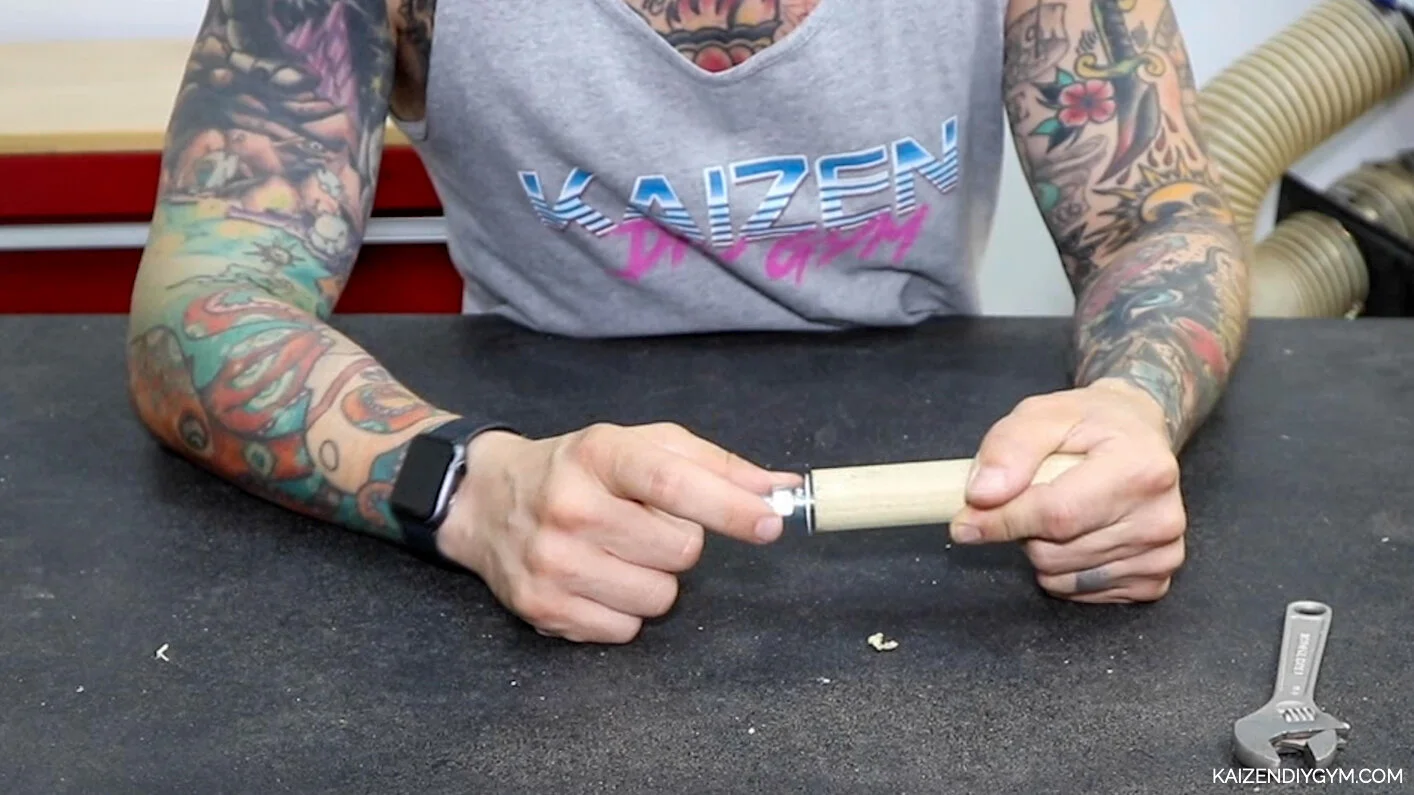
Insert the carriage bolt, add washers to the other end and tighten the nut.
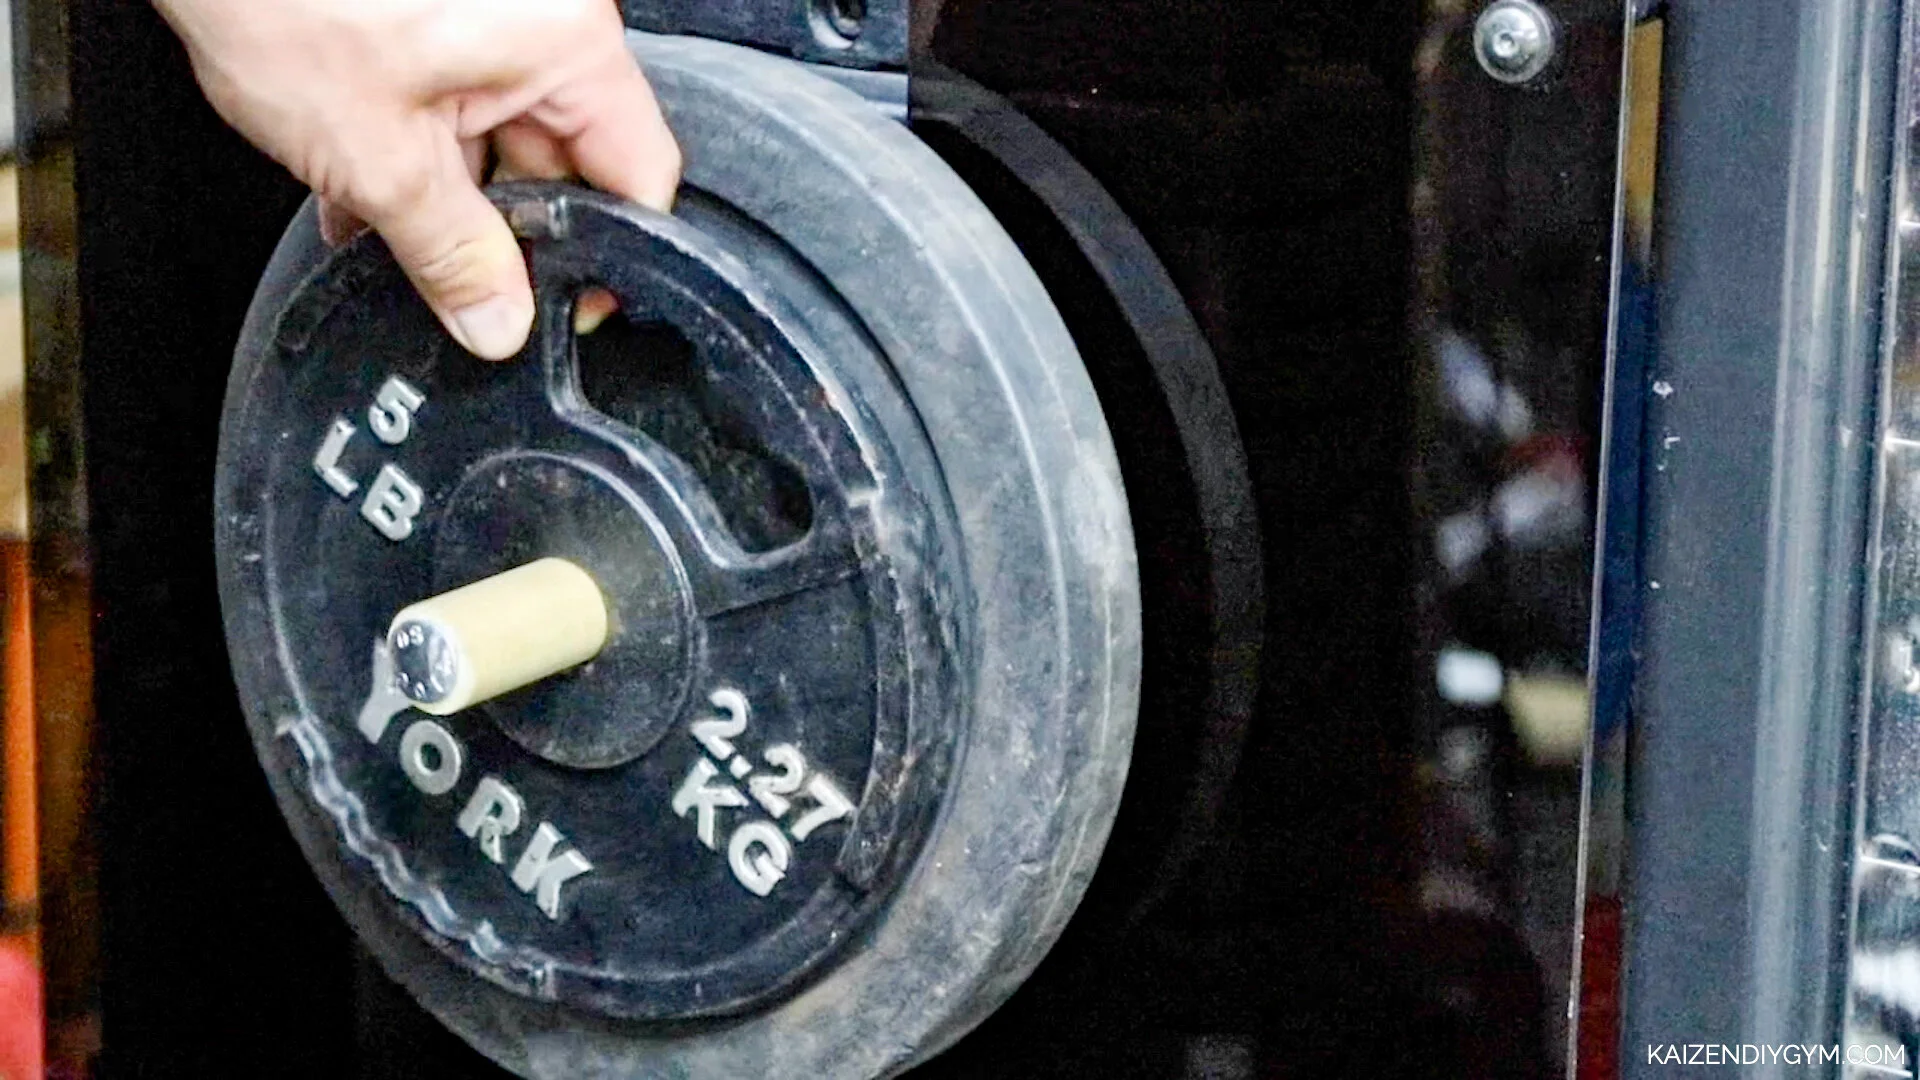
This size is great for people like me who have random 1 inch plates sitting around. Now I can finally put them to use.
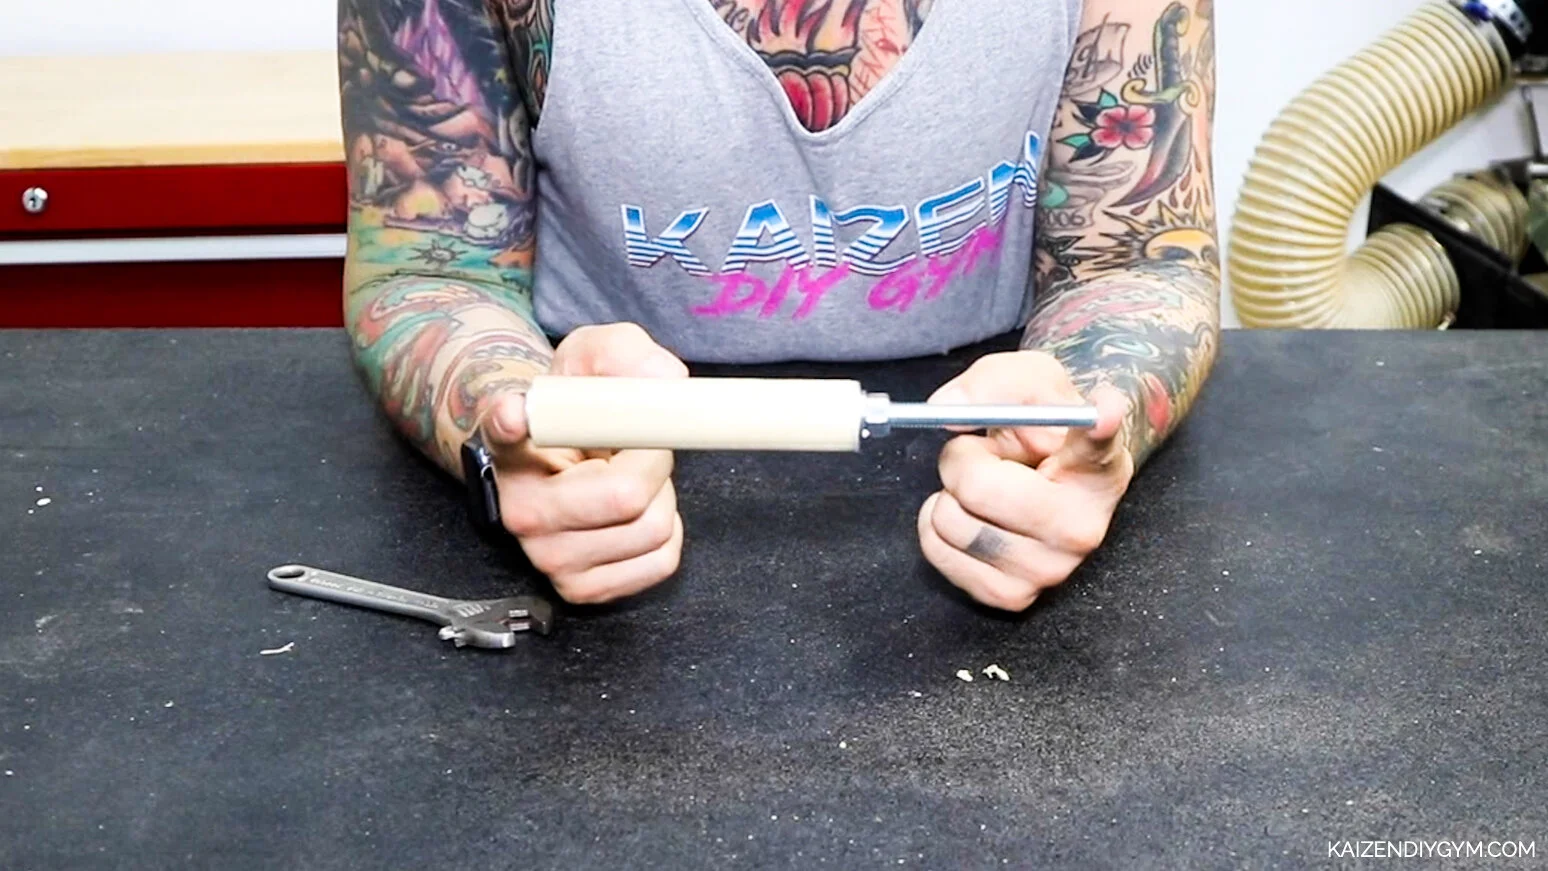
Option 2 is pretty similar to the first option. In this one however, I use a 1.5 inch dowel.

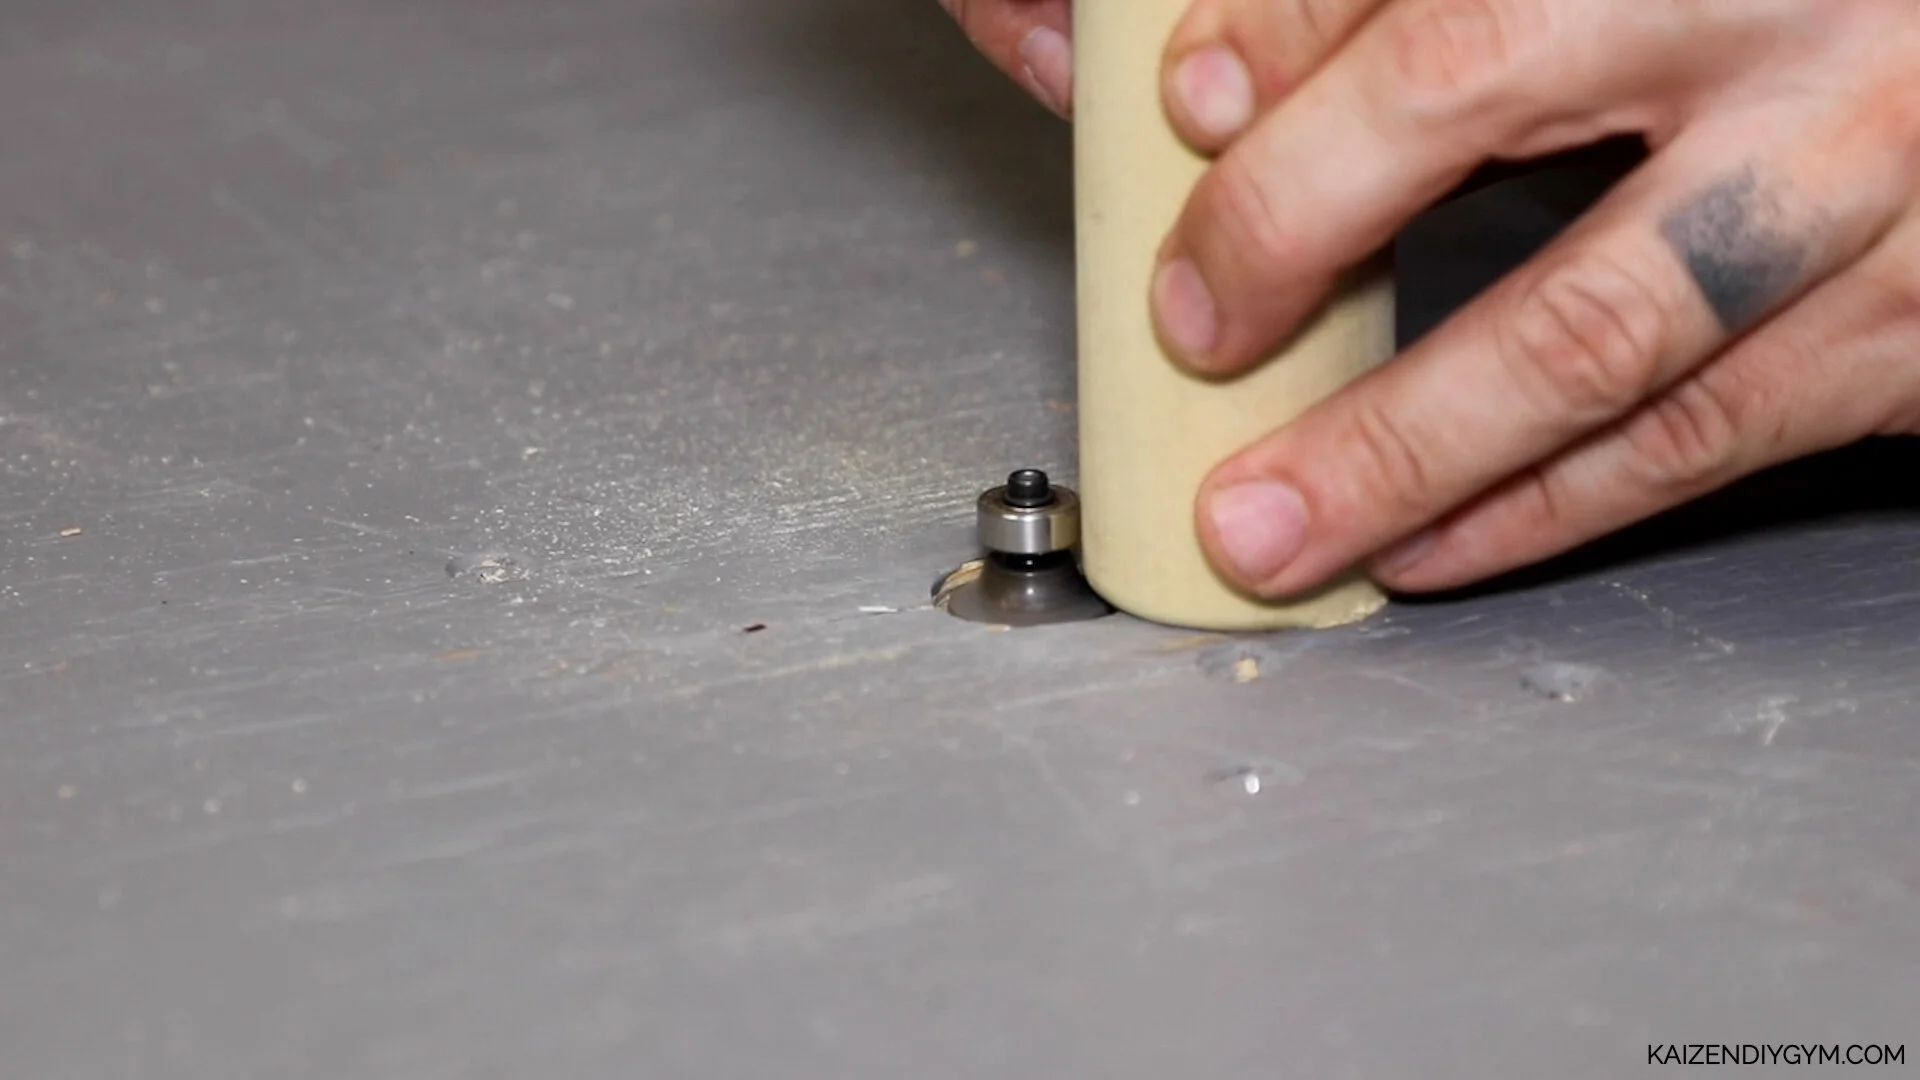
I Cut it to 4.5 inches and route the edges.

Before I drill through the center, I am going to take my 1” forstner bit and drill about an inch deep into one of the ends. Then I drill through the center of the dowel. I used my cordless drill for this step and The only issue I ran into was that its very hard to drill straight. It doesn’t really matter though.
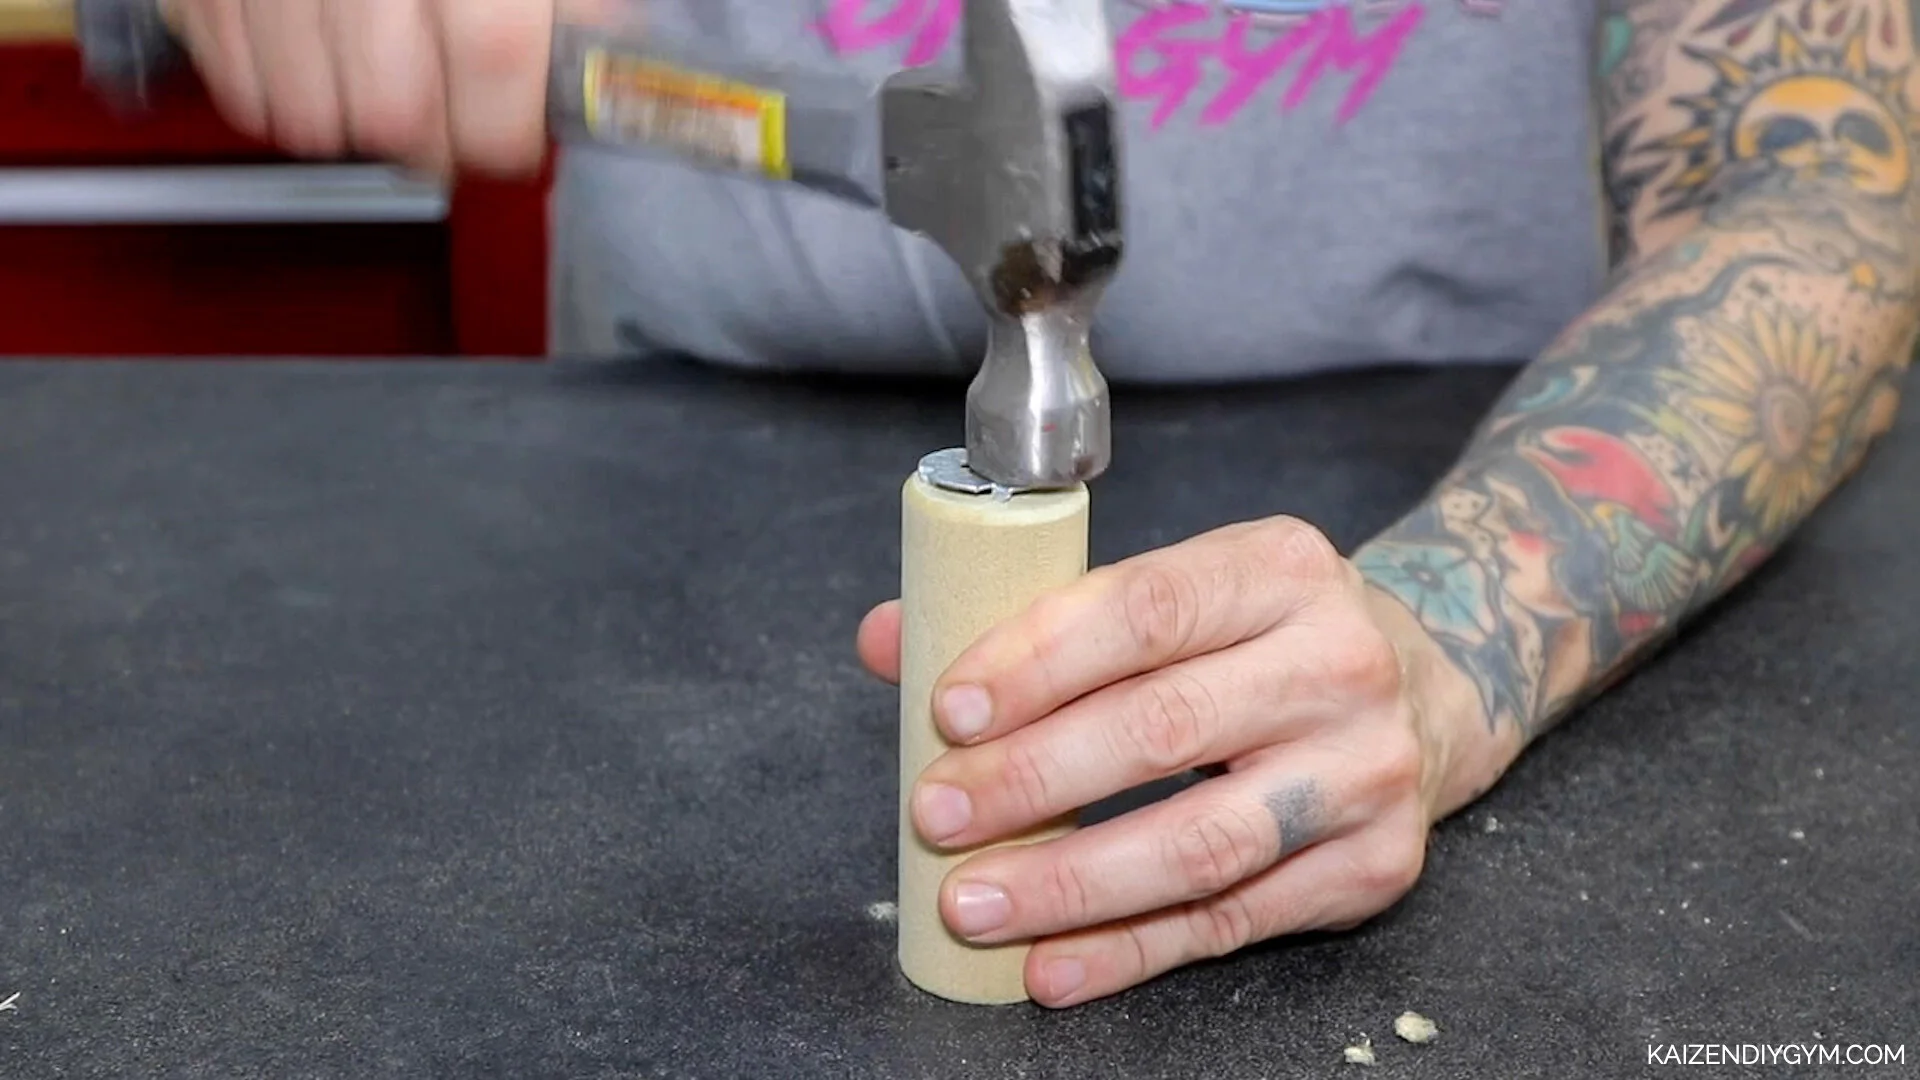

I hammer the torque washer onto the flat end before inserting the bolt. Put the washers and nut on the other end and tighten. With this version, just like the first version, I wouldn’t go super heavy with the weights you put on it. I did 25 pounds and then 50 pounds and could tell that’s about as much as it can handle.

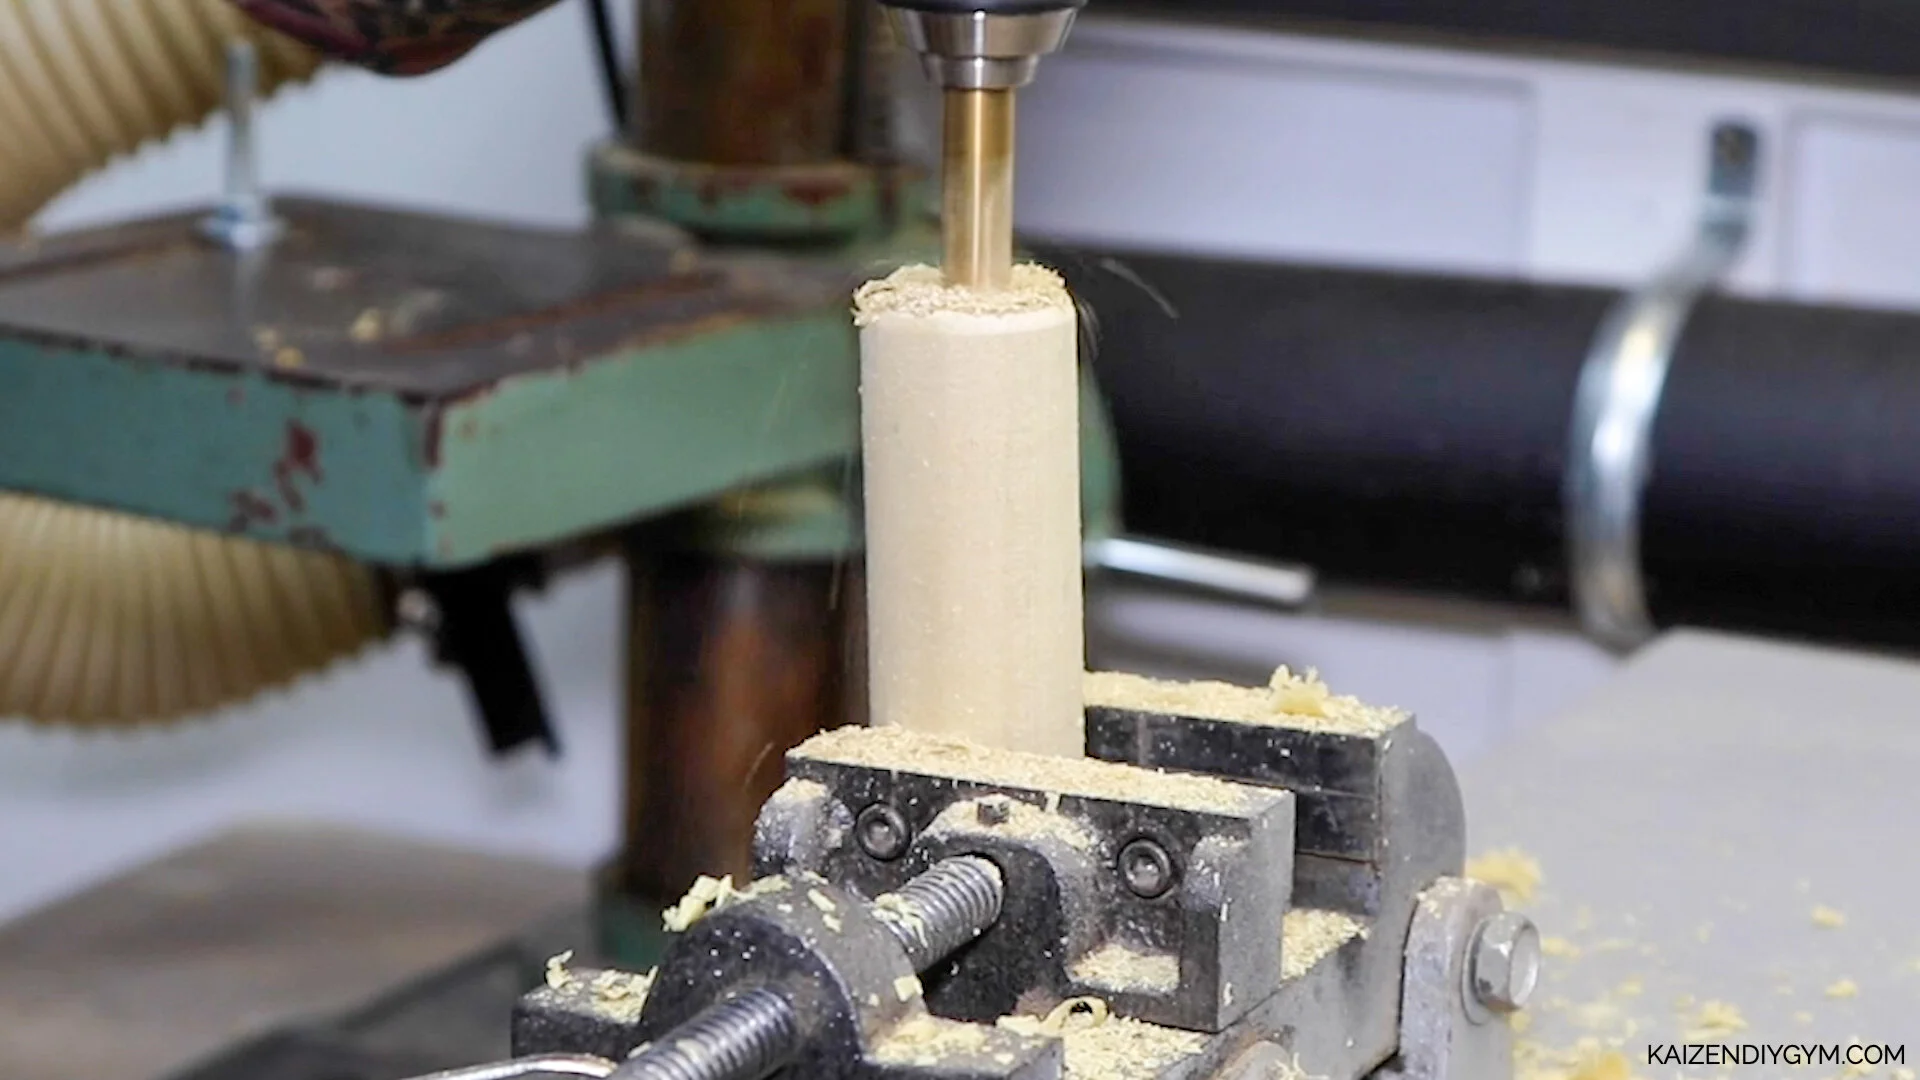
Option 3 is heavy duty and the most robust out of the three.

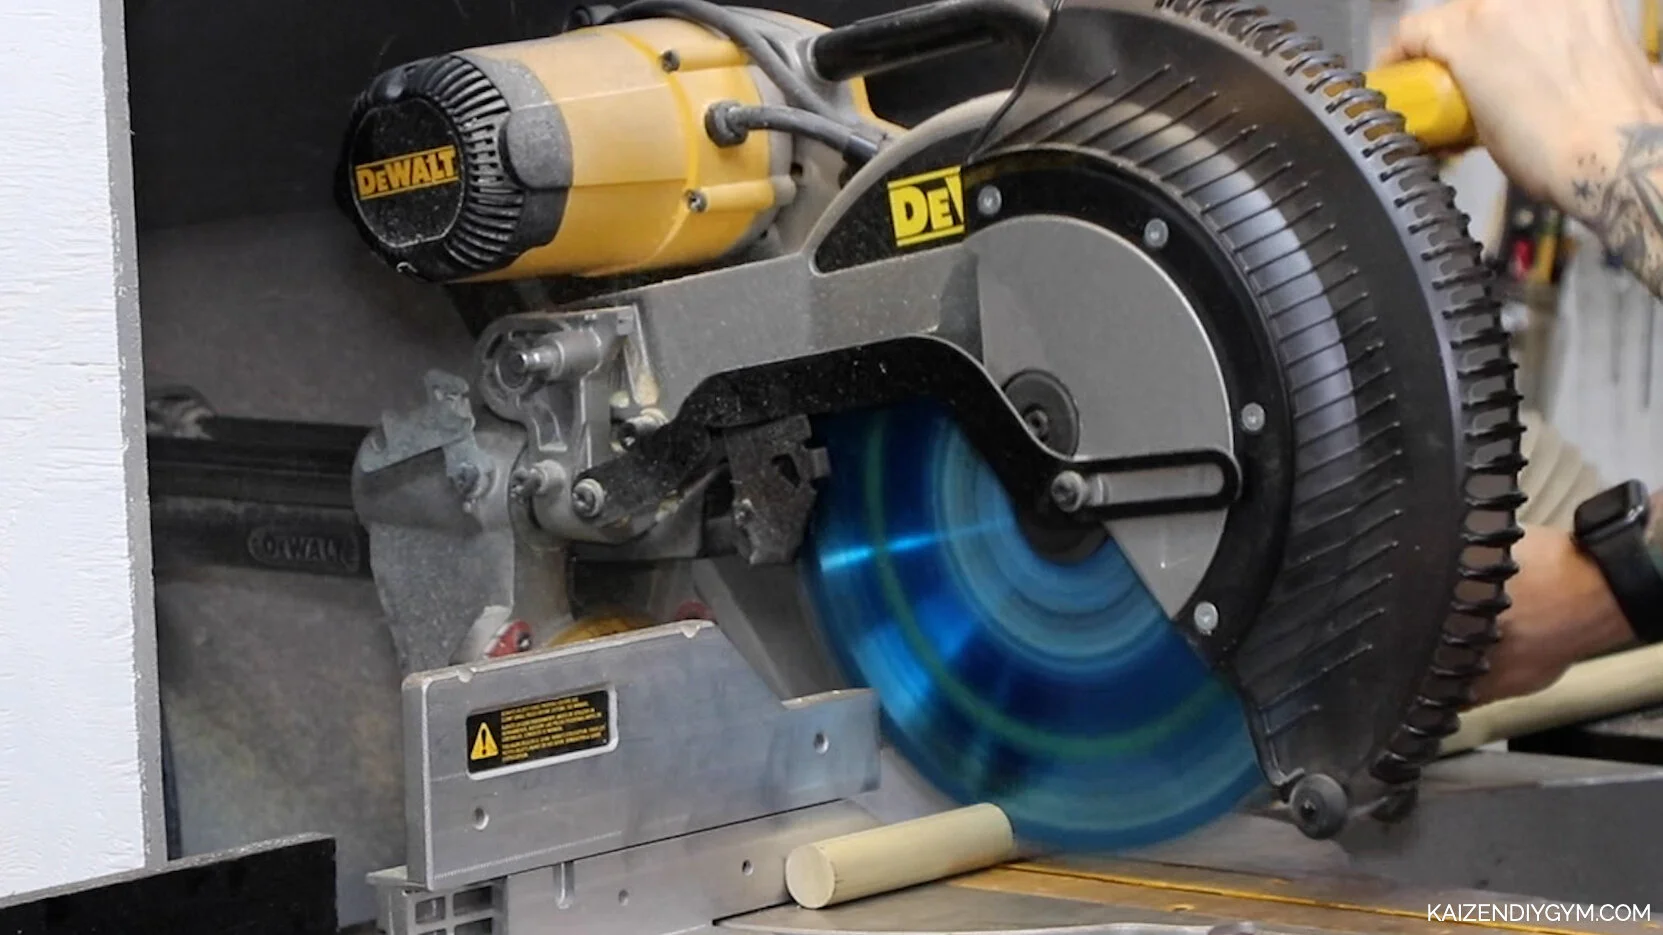
Instead of using a carriage bolt, we’ll be using a 3/8 inch steel rod. You’ll need to cut it down to size. I use an angle grinder and a metal cut off disc.
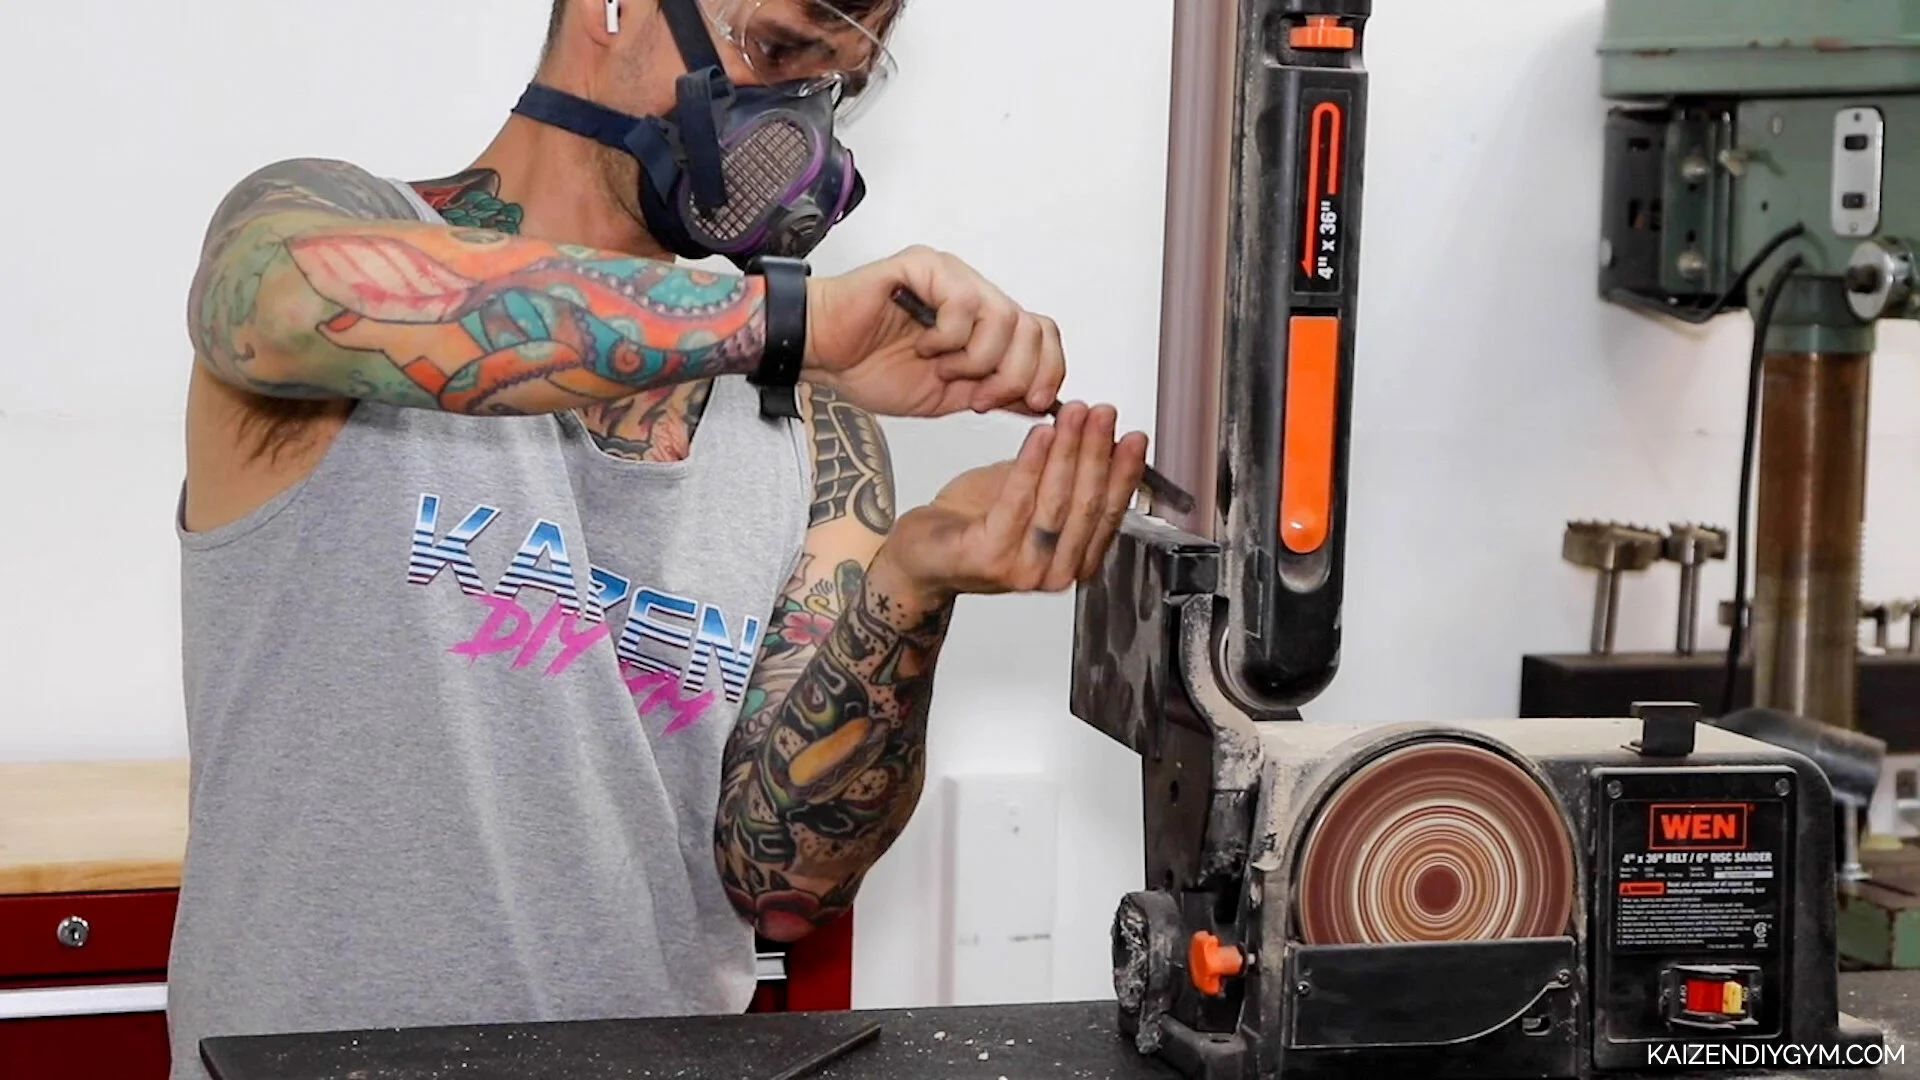
Then I use my belt sander to get rid of any sharp edges. I use a 1 3/4 dowel for this one, cut it to 4.5 inches and drill a hole in the center.
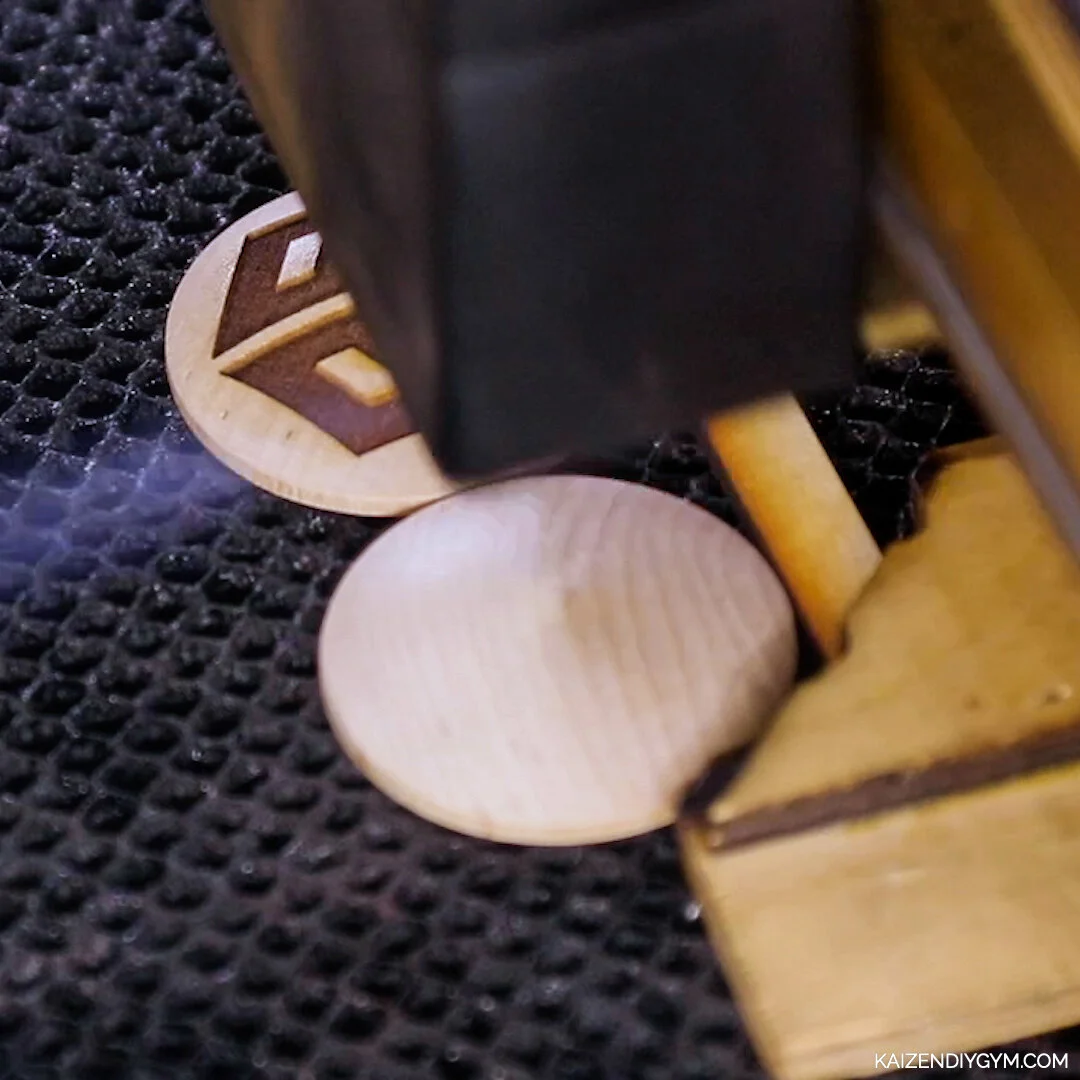
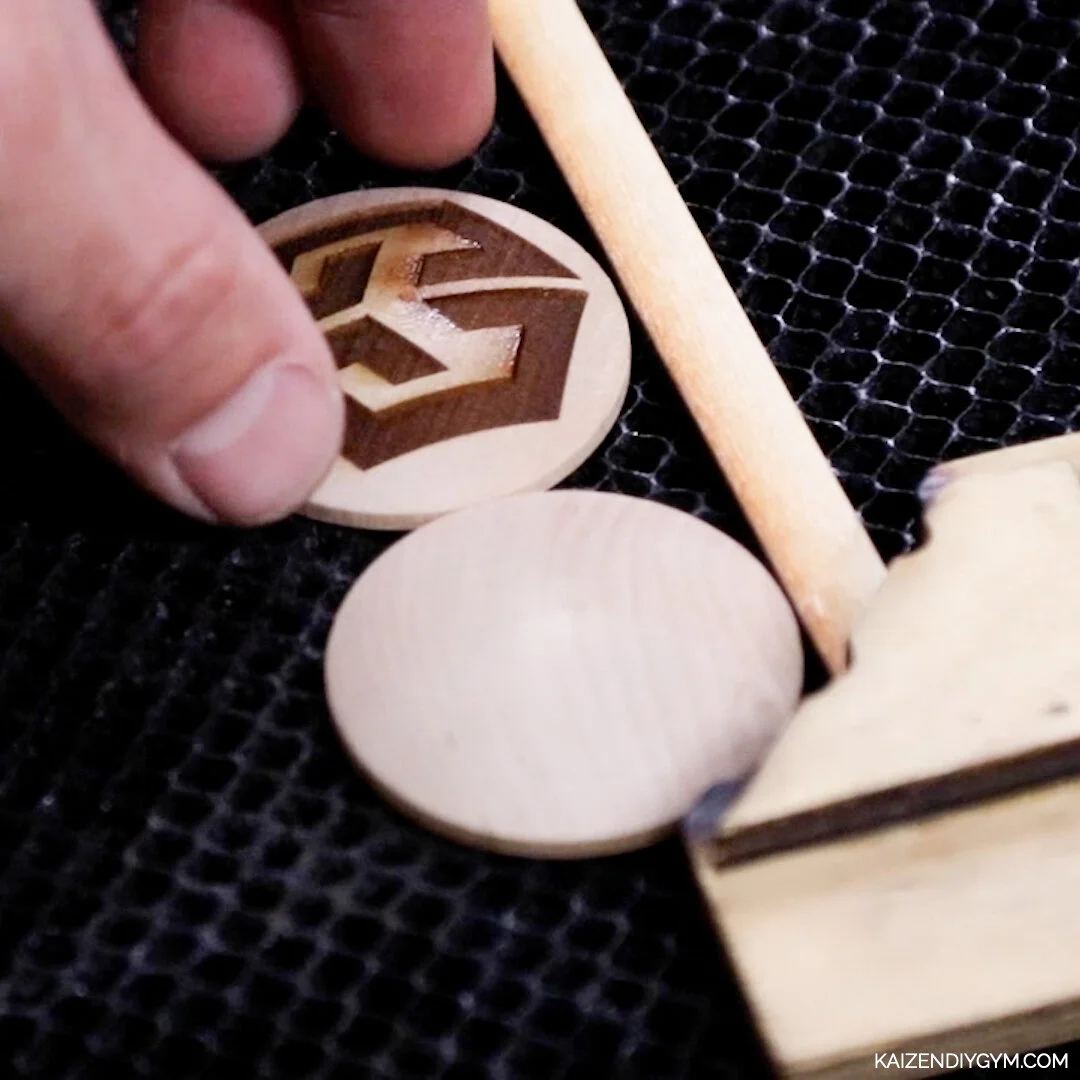
I like the idea of customizing and since I have a Glowforge laser, I figured “why not?” For this project I am going to customize these pins for my buddy over at Gluck’s Gym. I laser his logo onto a couple 1 3/4 dome discs.
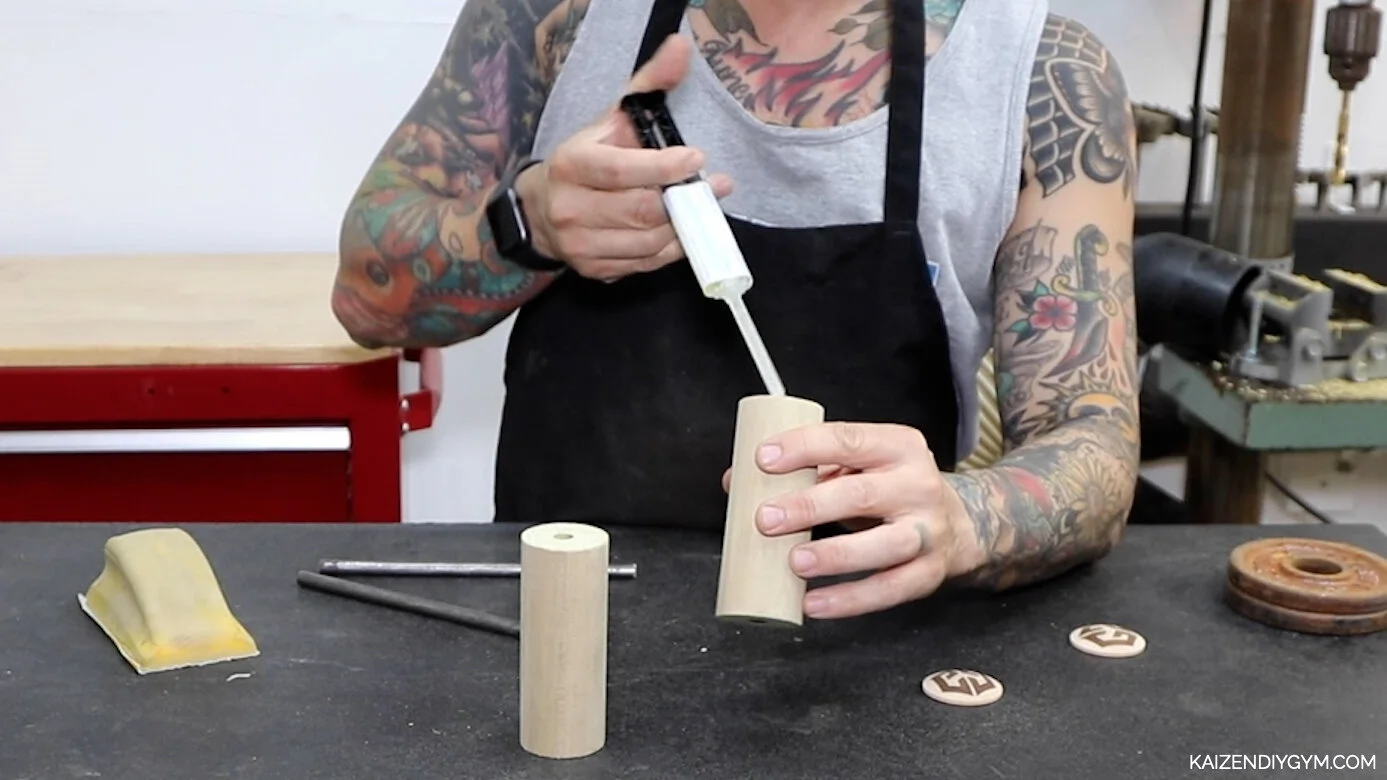

The rods will be held in place by epoxy, I add that to each one before inserting the steel rod.

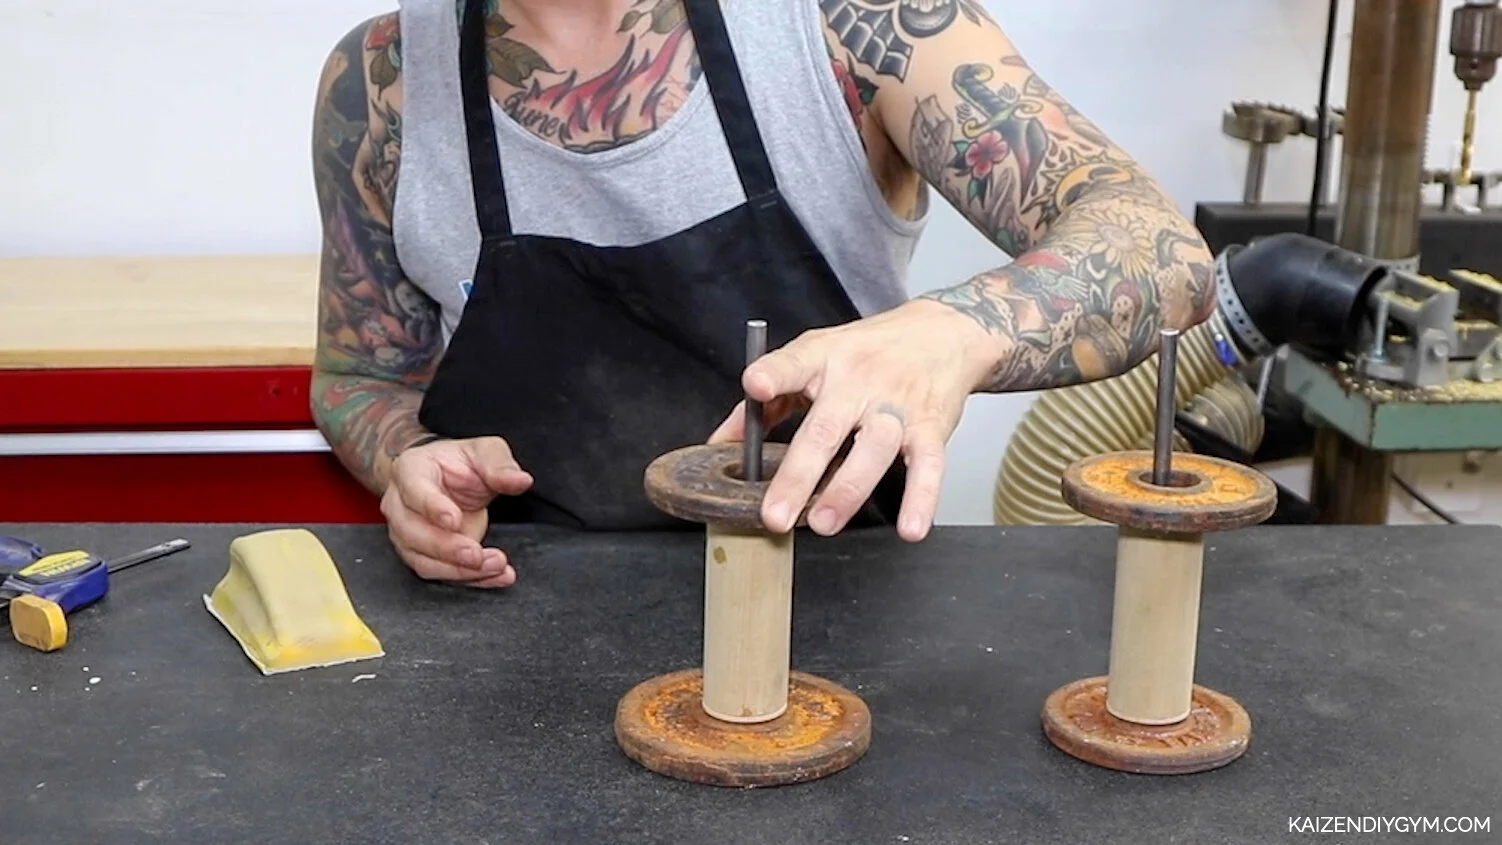
I add more epoxy to the end and attach the engraved disc and use some old rusty weights to hold everything in place while it dries.
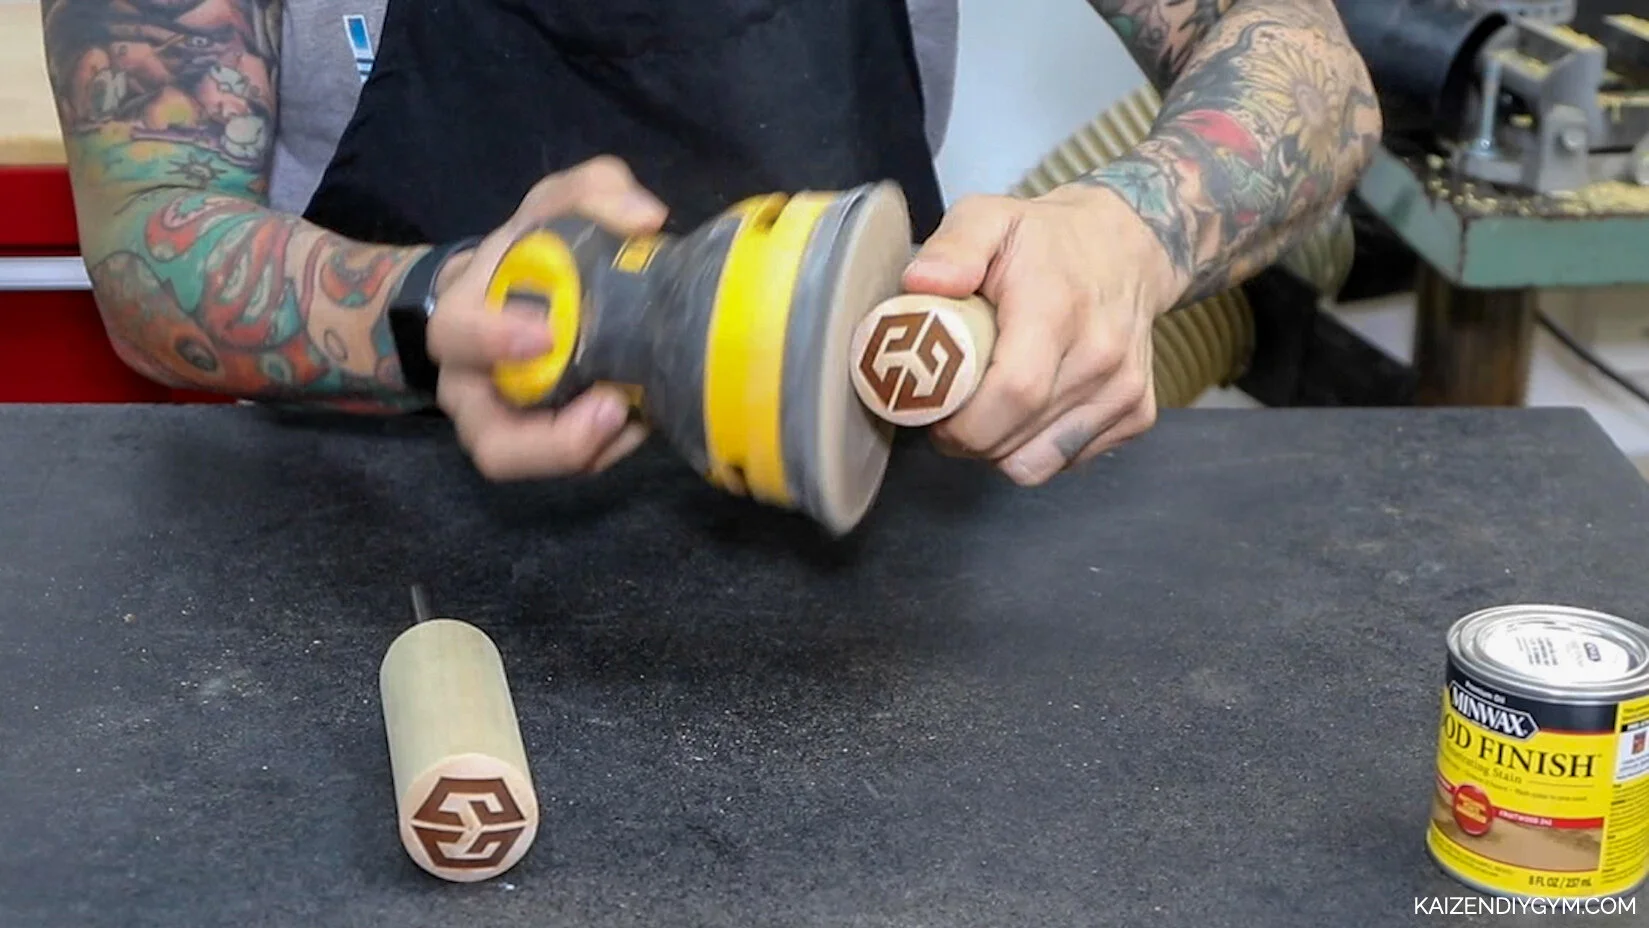

I go over everything with 220 grit sand paper before adding a light coat of stain.
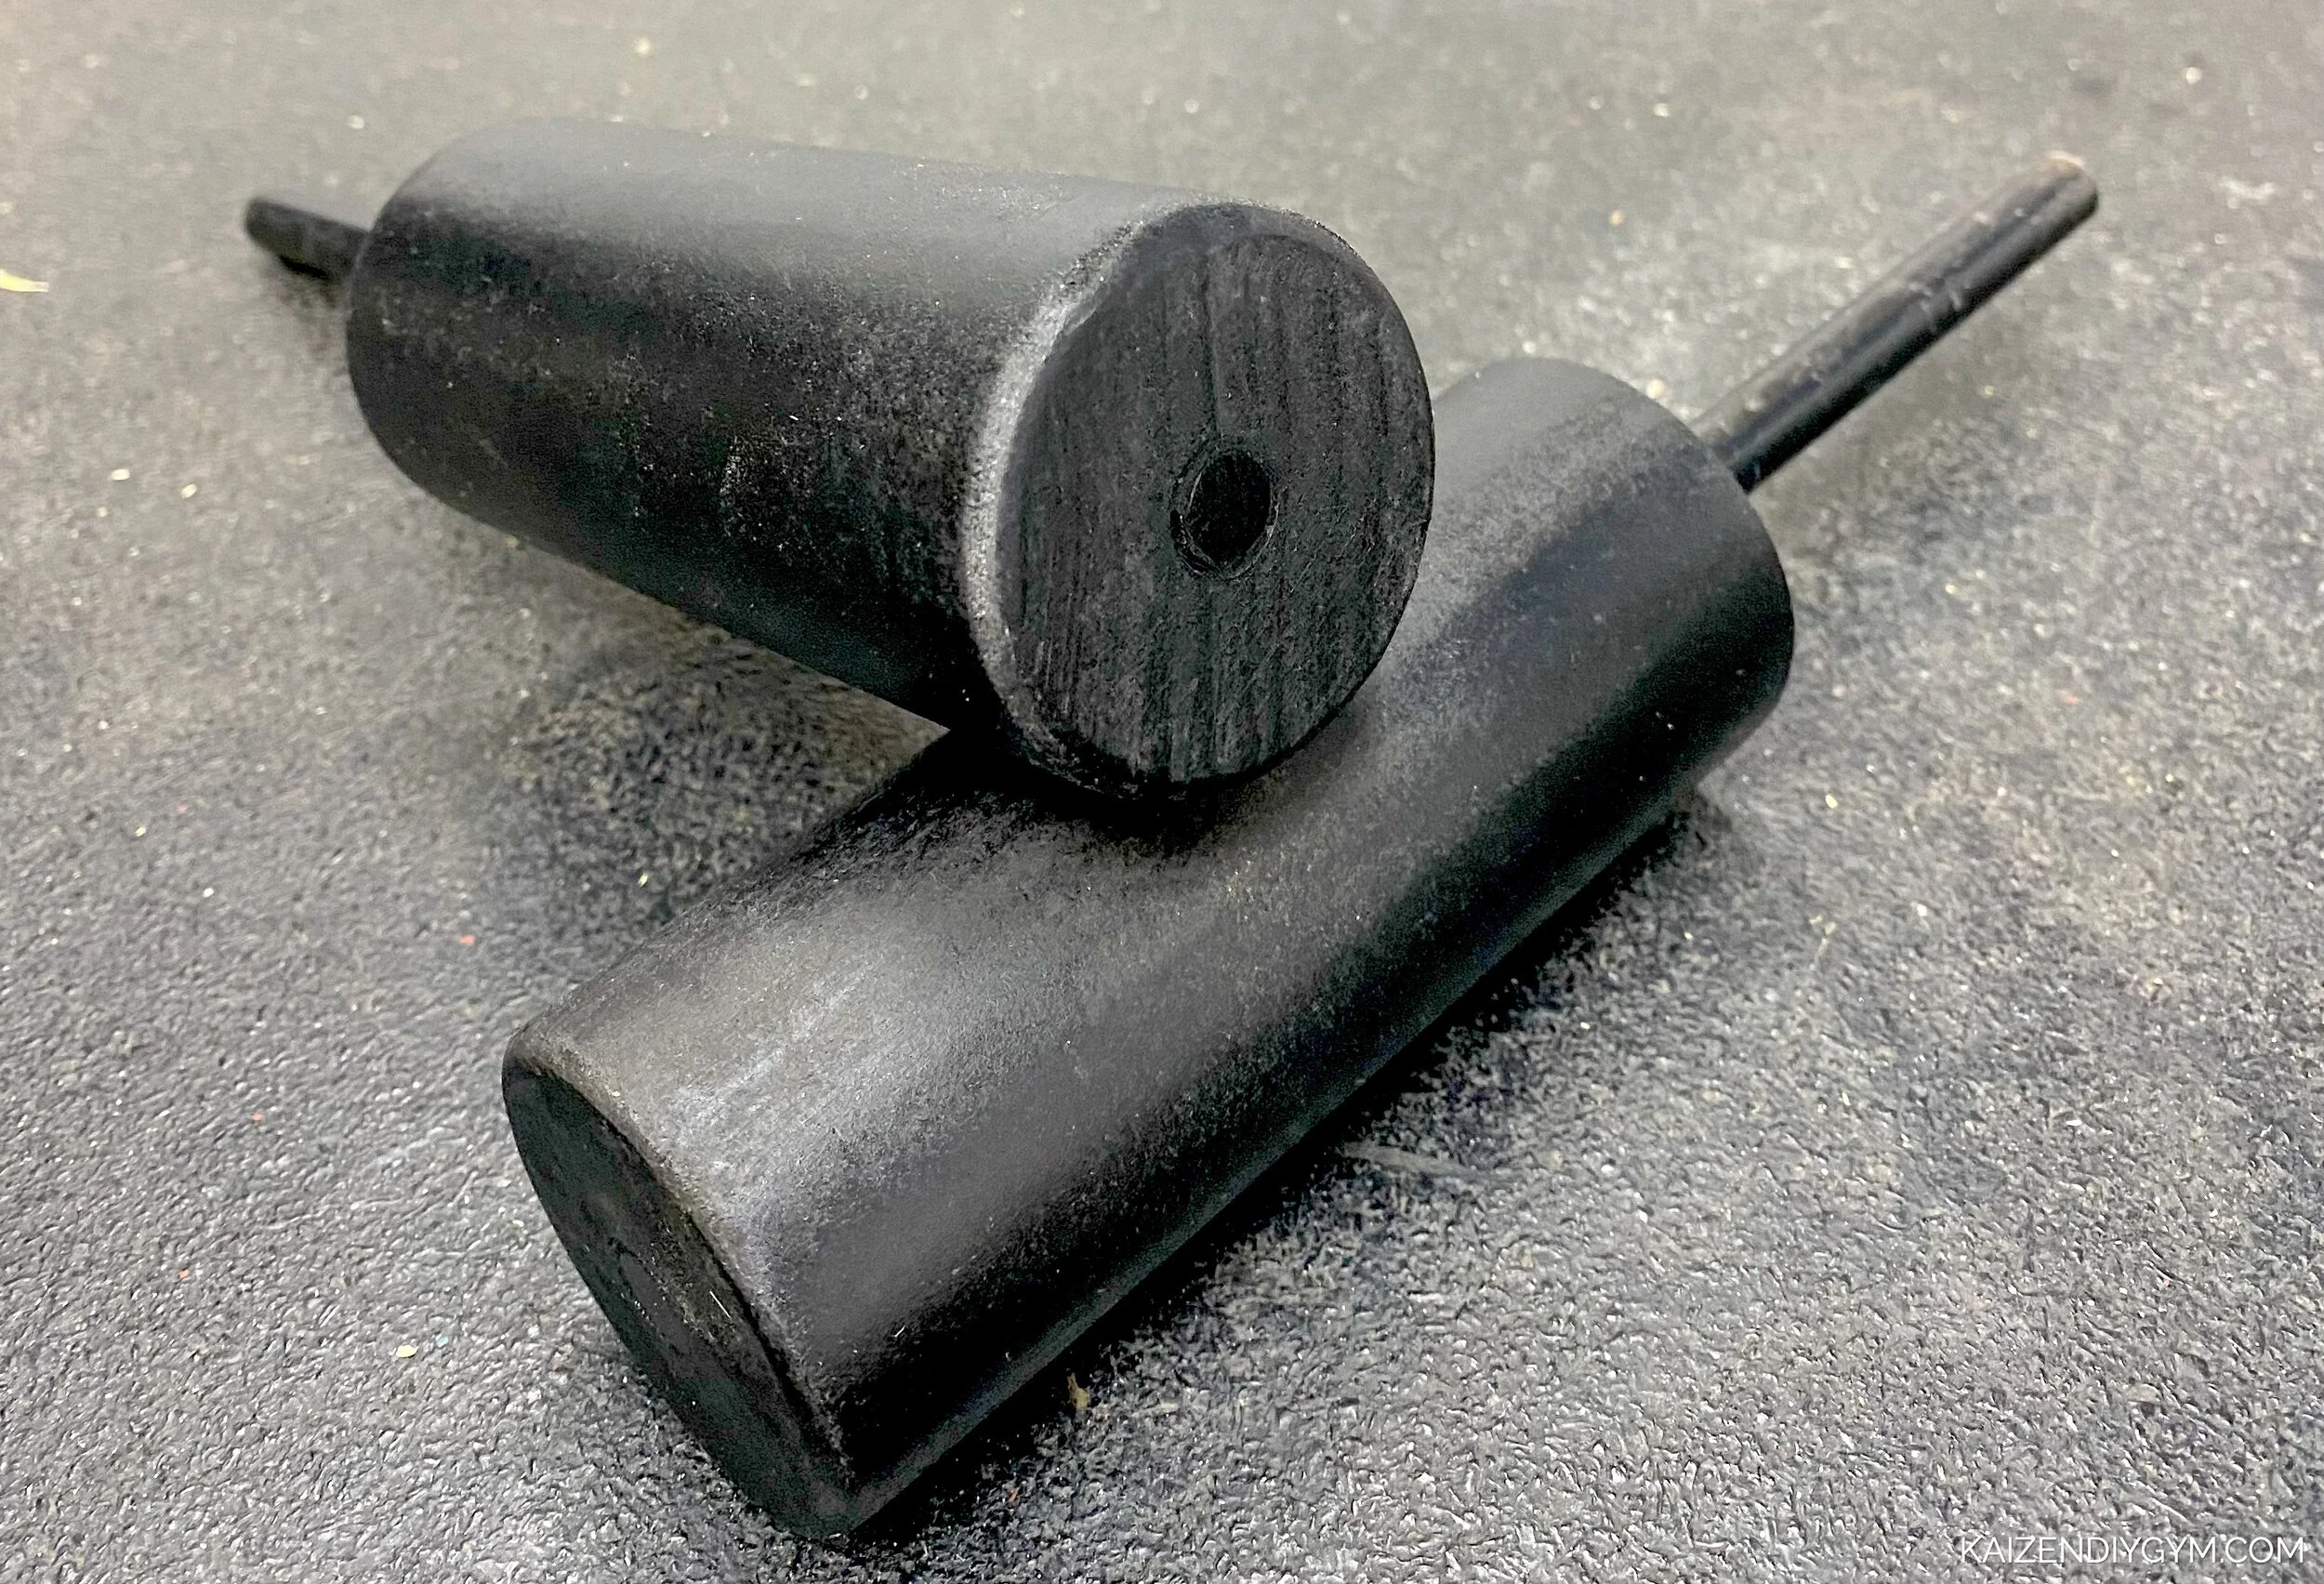
Of course, they don’t have to be pretty to get the job done. You could skip the engraving, paint them black and call it a day.
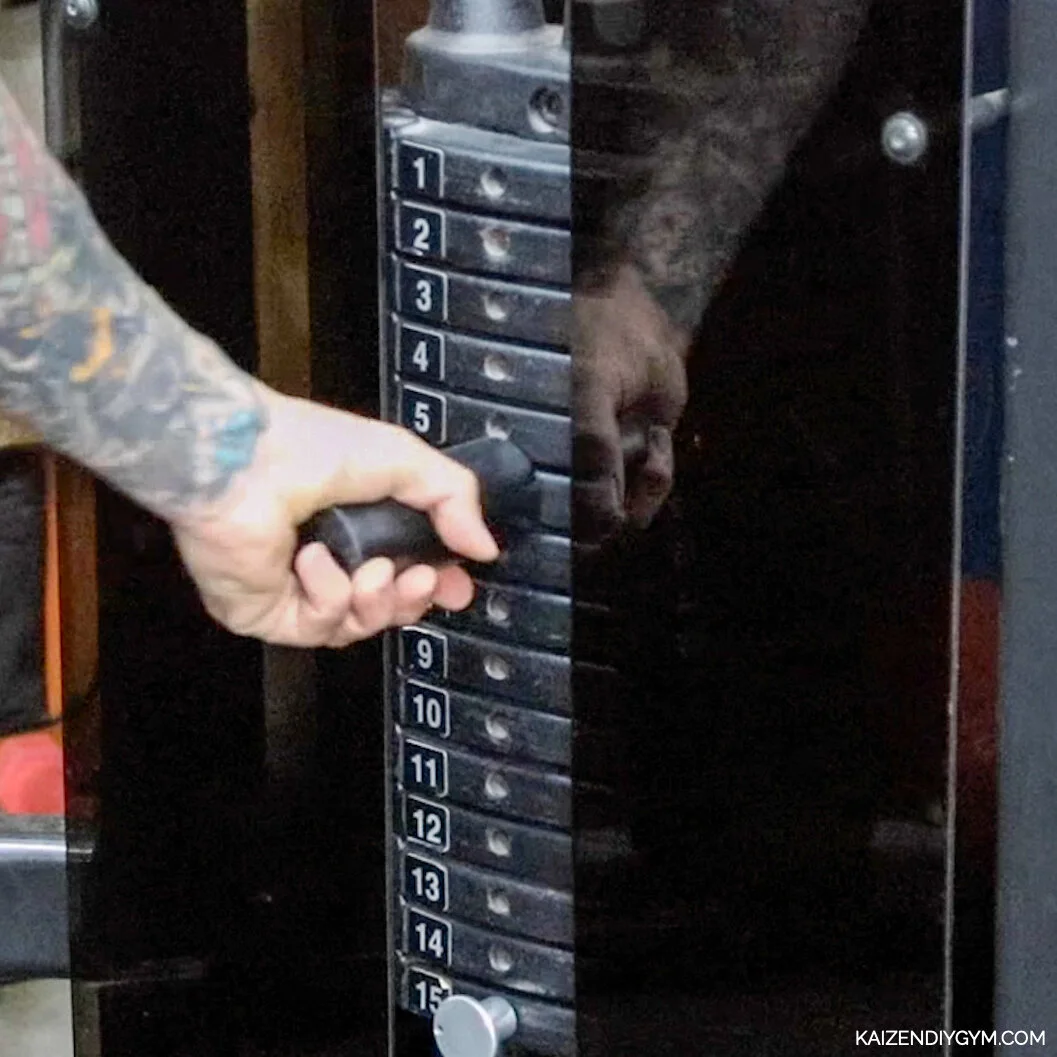


I test this one out using a couple 45’s and it is more than capable.
In need of weights, accessories, or a weight stack to use this on? Check out:
Rogue (http://www.roguefitness.com/?a_aid=6089607ede8bd)
Titan (https://www.tkqlhce.com/click-100398566-14002387)
This content is not sponsored. Some of the links are affiliates which means if you purchase through the link, I’ll receive a small commission.
Do you have an idea for my next build? Leave a comment below!
If you build this, I’d love to see it! Tag #kaizendiygym on Instagram and I’ll feature it on my page!
https://www.instagram.com/kaizendiygym/
@kaizendiygym