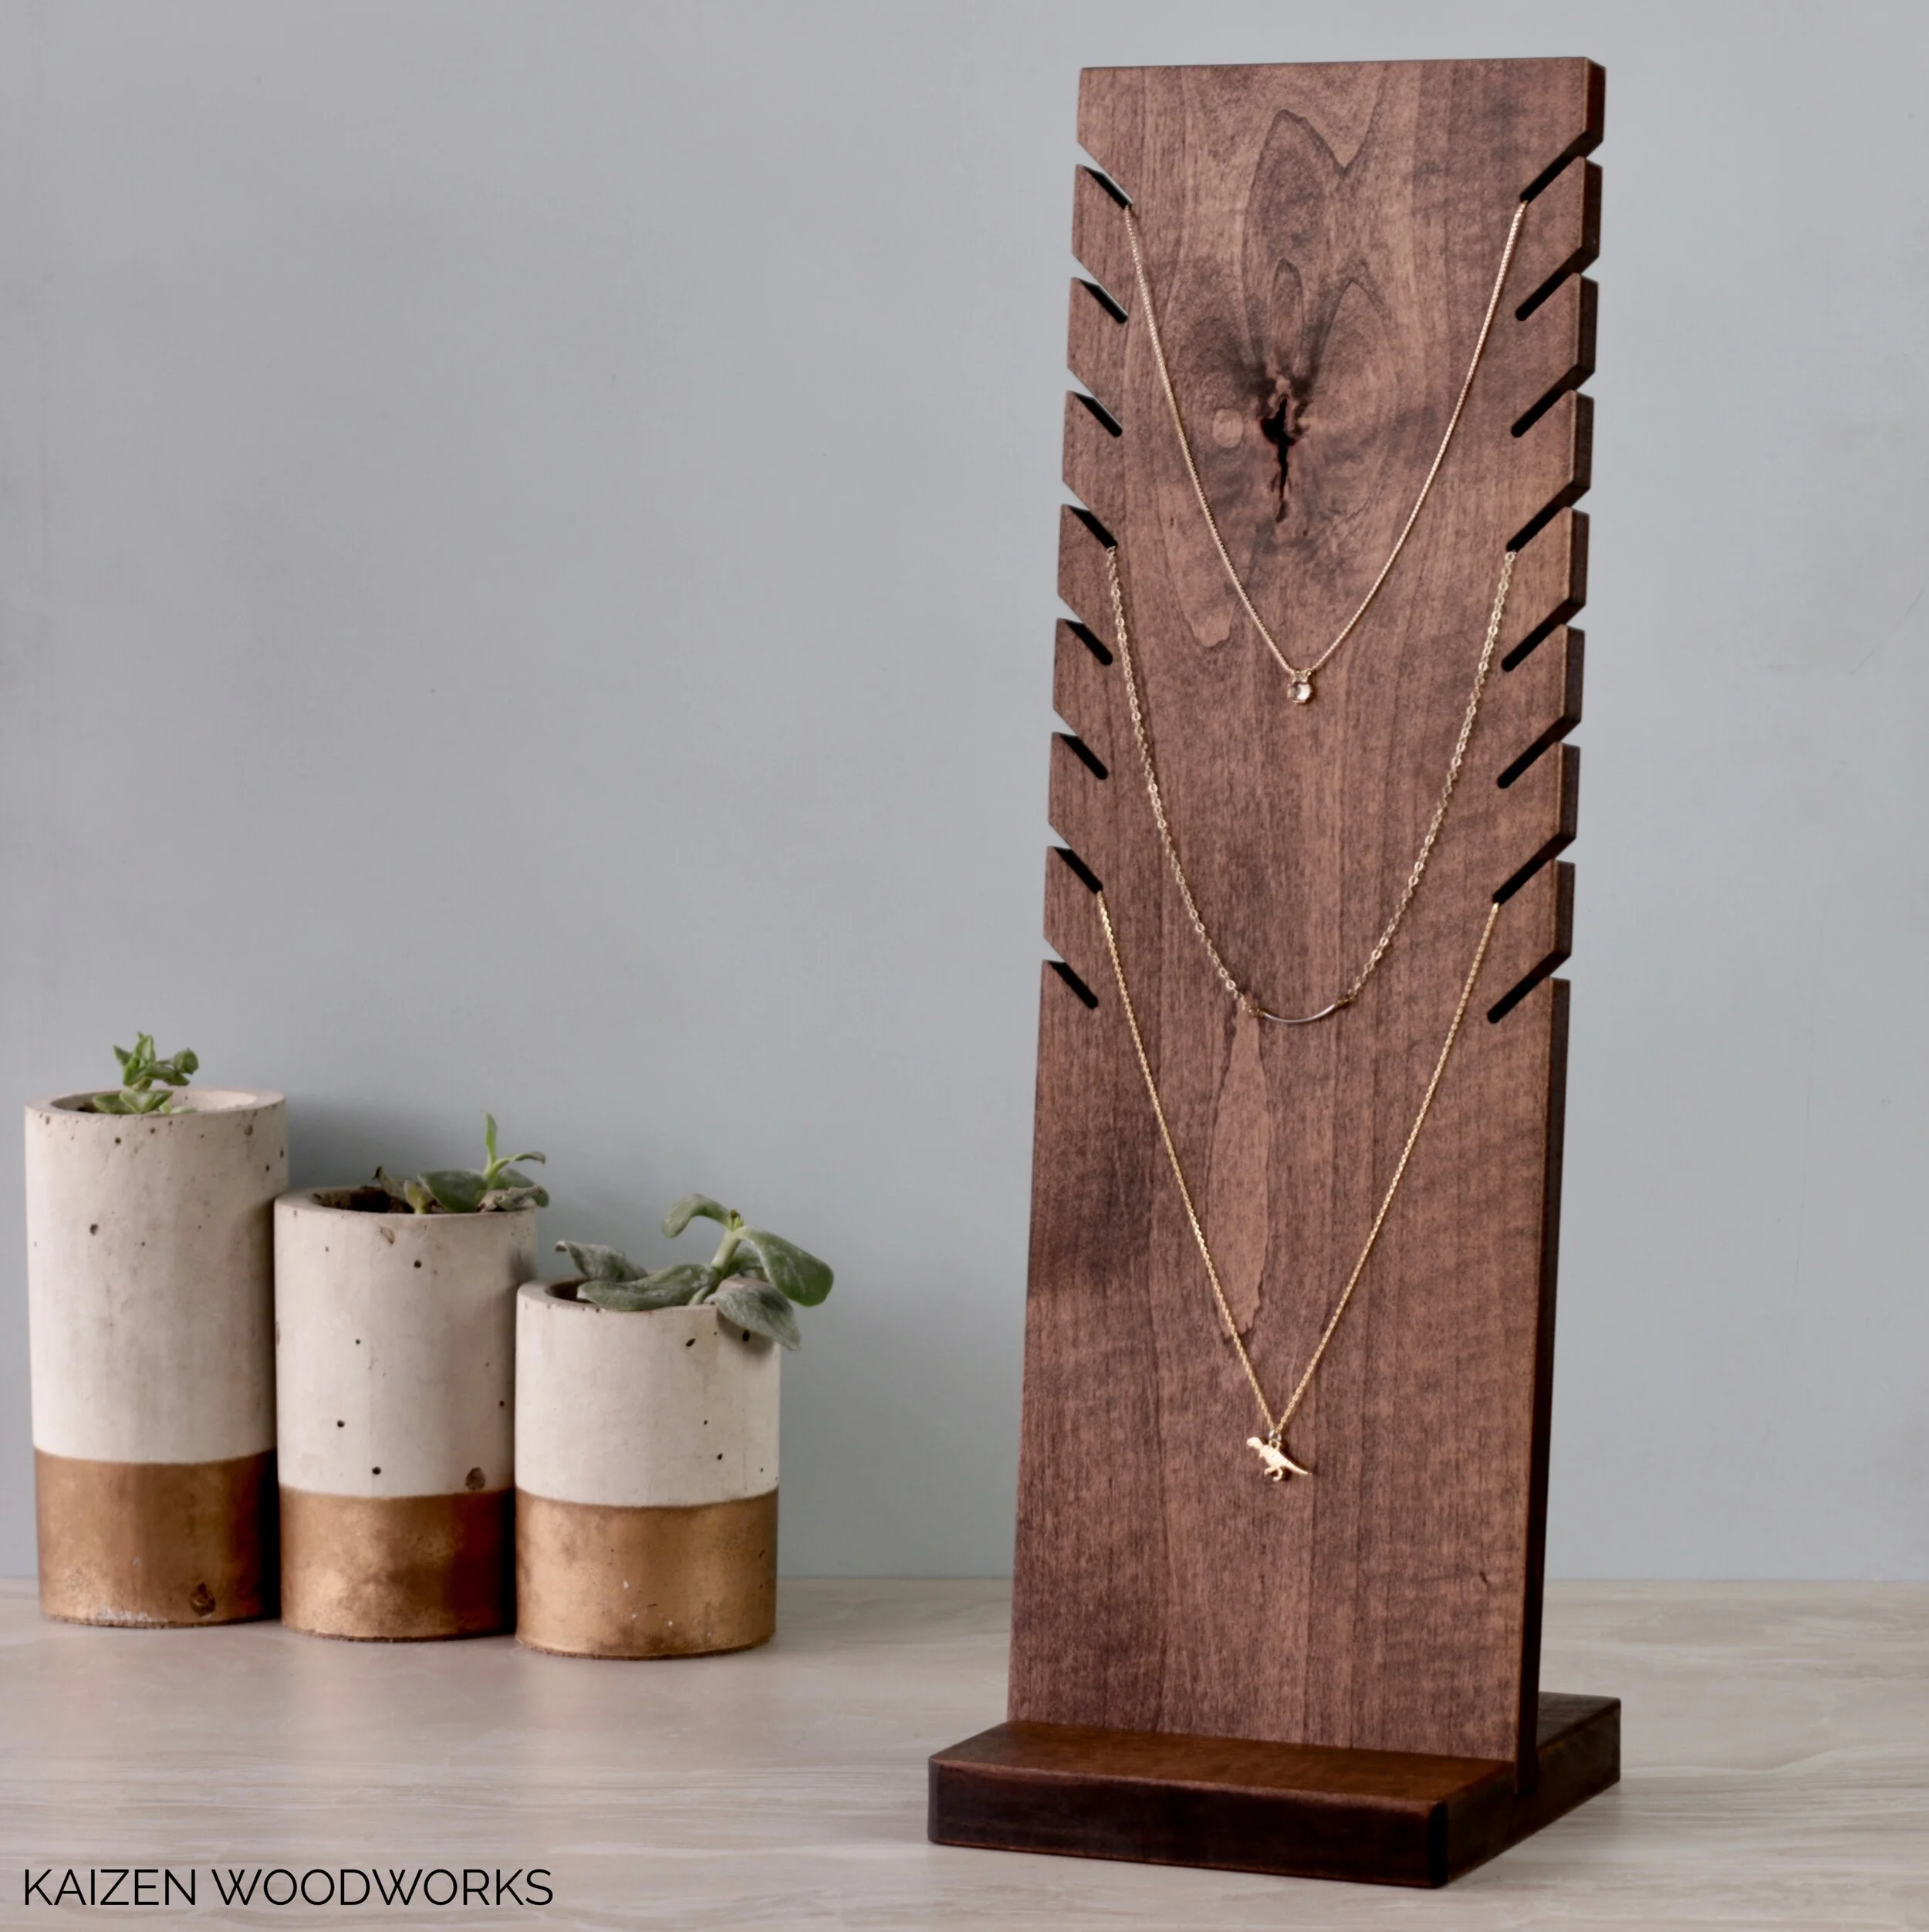
DIY Tutorial on 18 inch Slotted Necklace Display

Materials Needed:
Glowforge or other laser CNC machine.
Mastercraft® 1/2 x 6 x 4' Poplar Board*
Mastercraft® 1 x 6 x 4' Aspen Board*
Masking tape
Table saw with dado blade set
Table Router
Palm sander
Wood stain or paint
*I use poplar and aspen interchangeably, I would not recommend pine for this
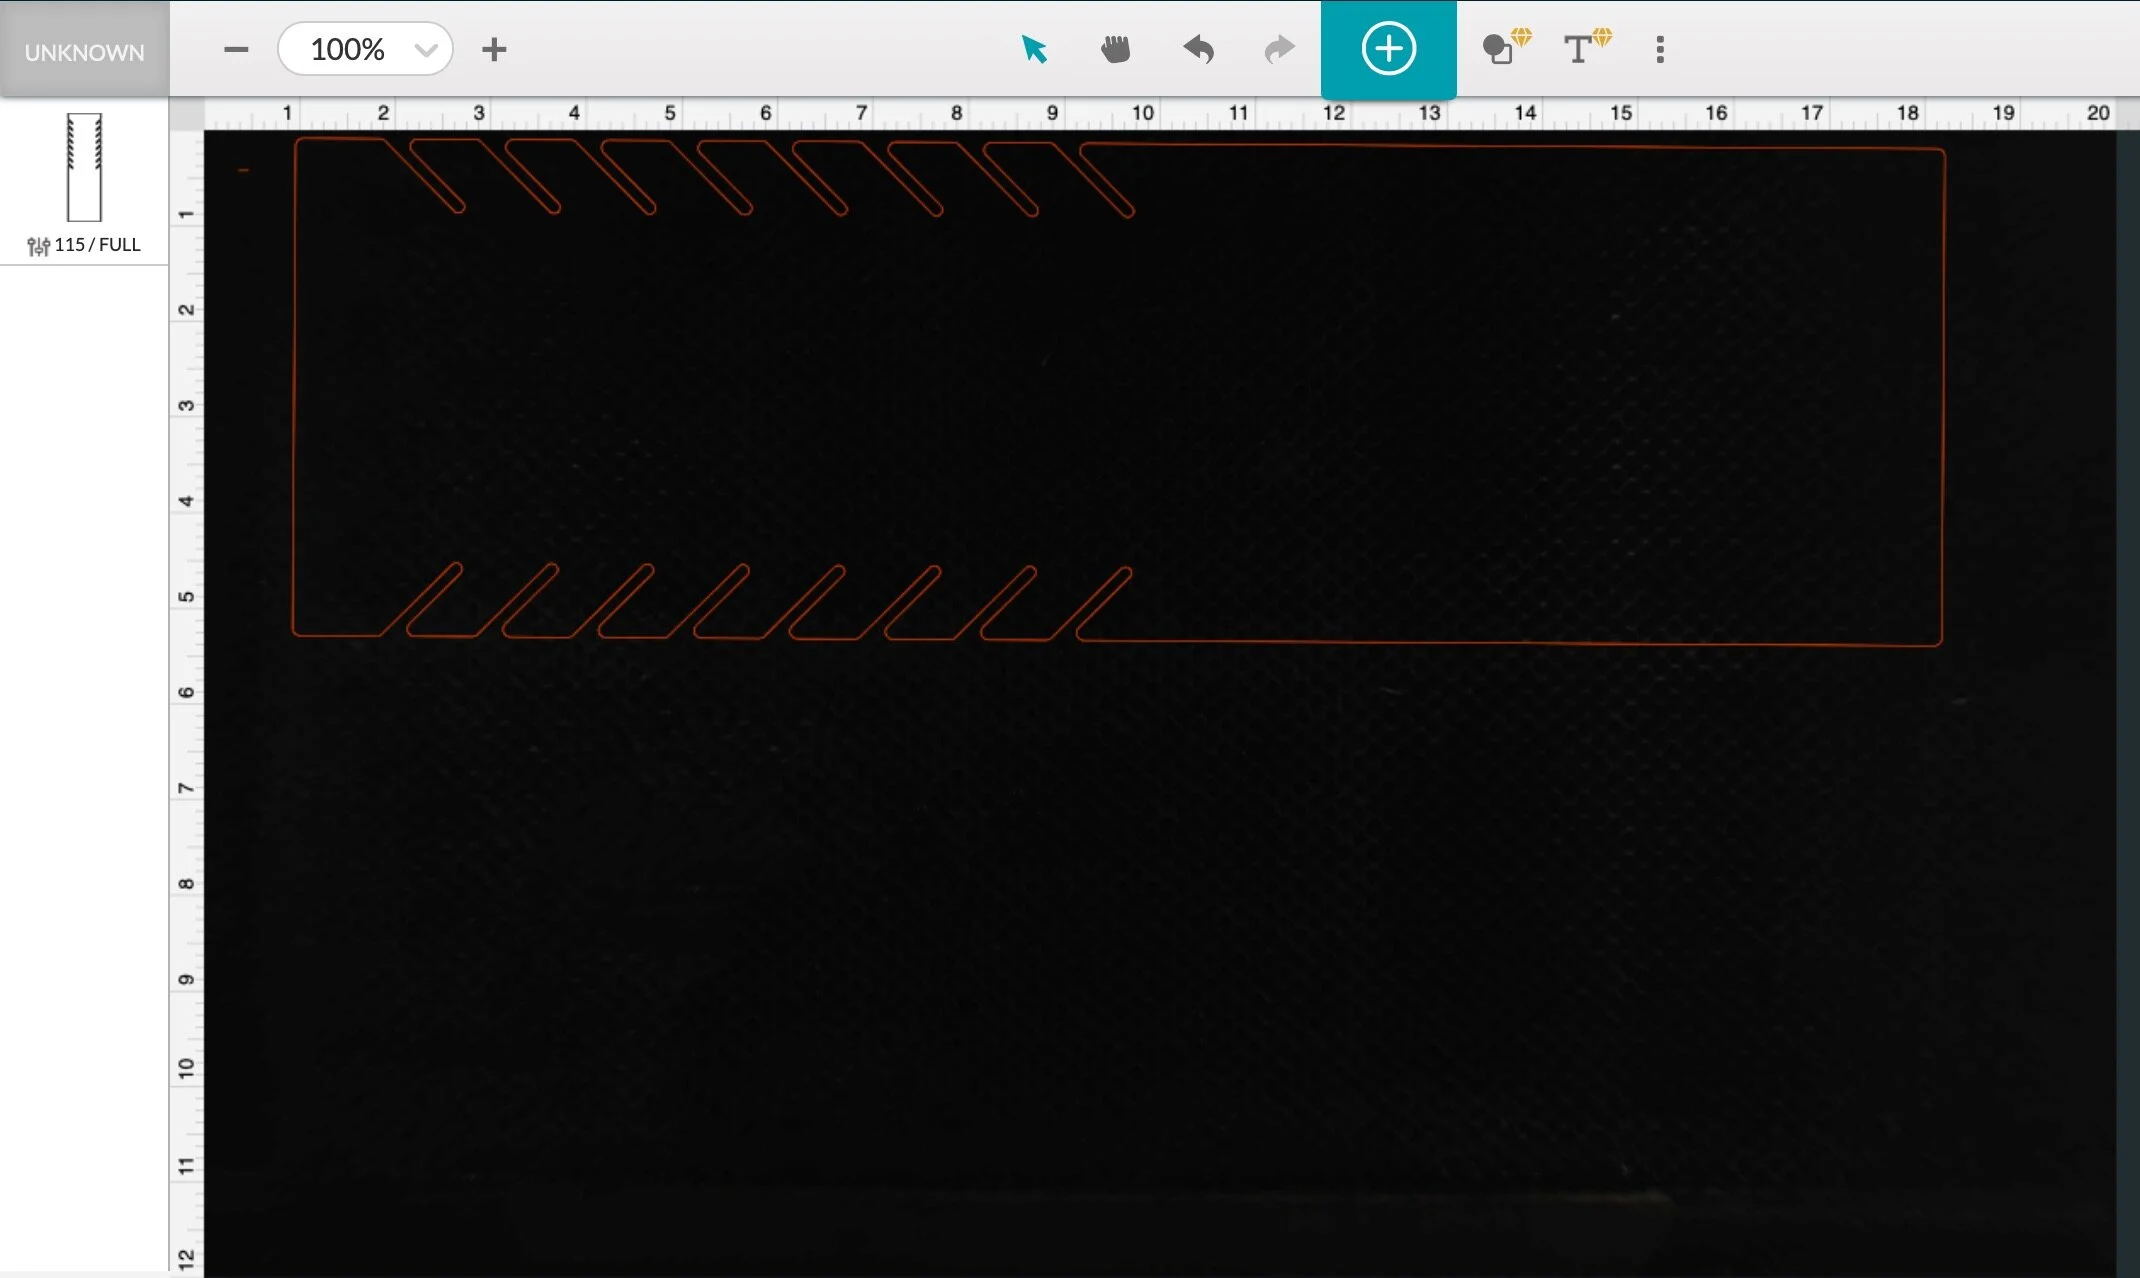
Originally I used the Autodesk Fusion 360 software for the design, but to make things easy I have included the downloadable SVG files here: 18 inch display | 16 inch display | 14 inch display | 12 inch display

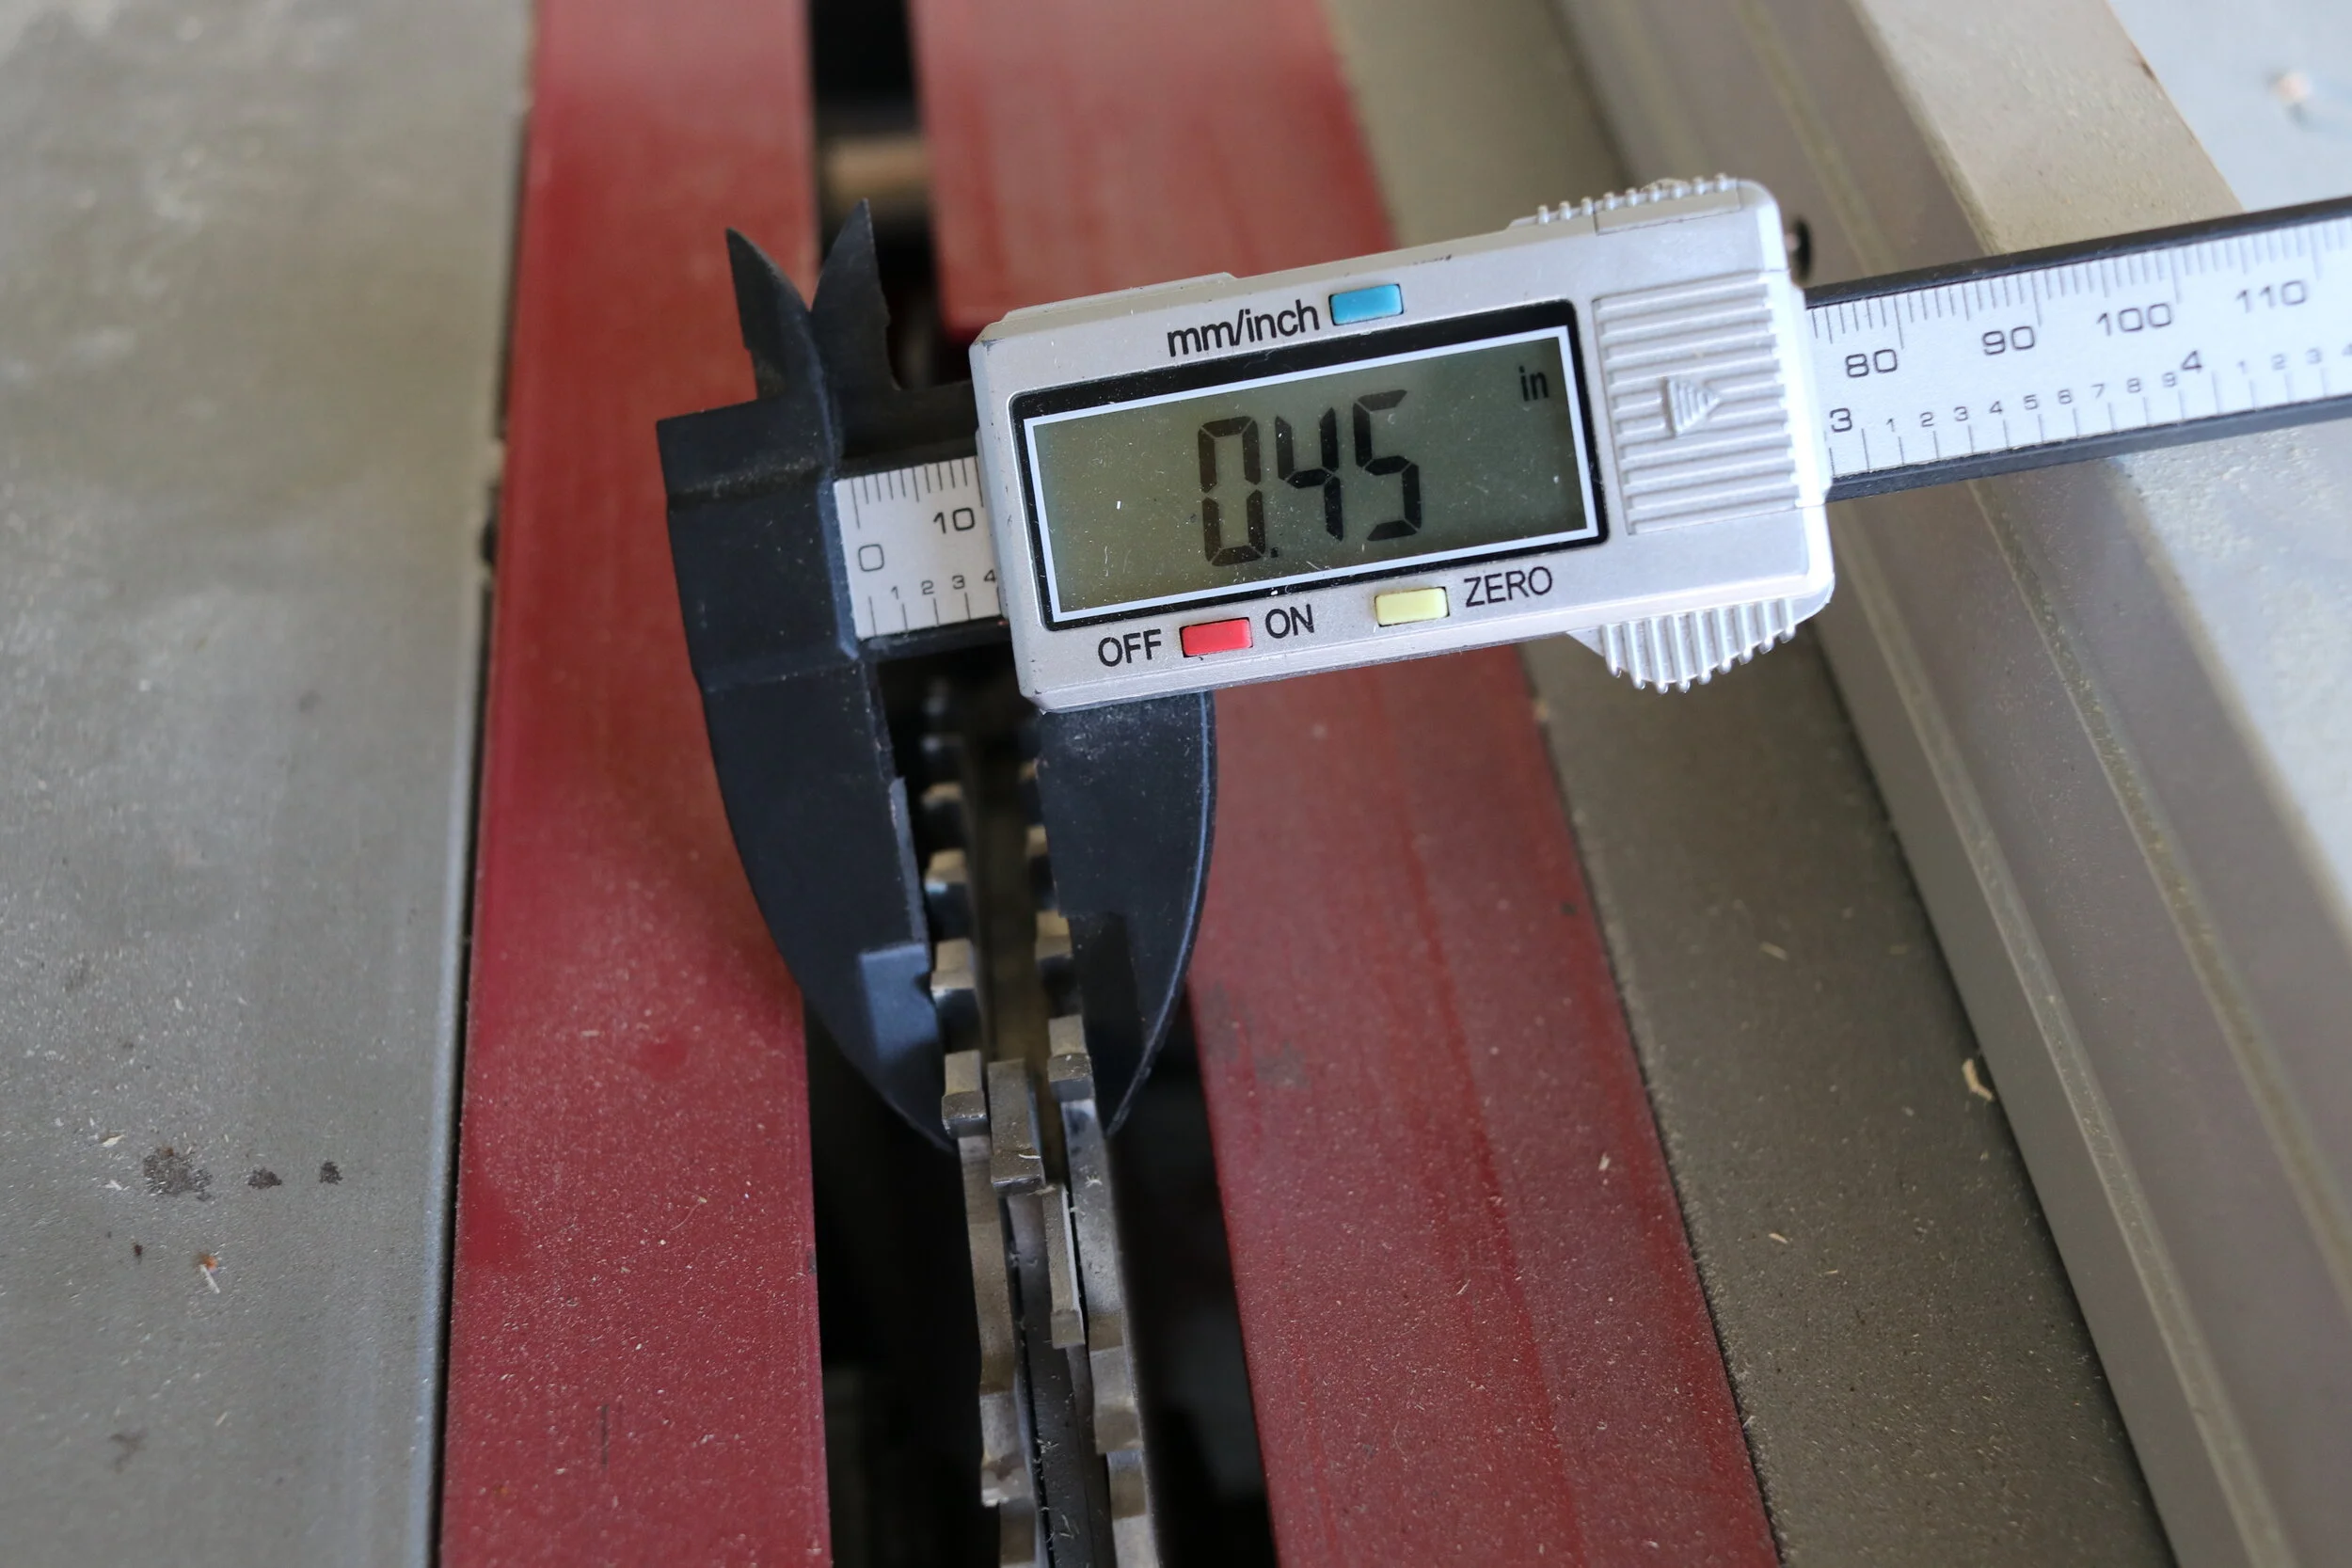
The file should be able to upload directly into the Glowforge design library page. It is a good idea to add masking tape to the cut areas in order to prevent the smoke marks on the wood. With settings at Speed: 115 & Power: FULL, it takes less than 10 minutes to cut. Make sure to measure the actual thickness of the material with a caliper, as thickness on each piece can vary. After the cut, peel off the masking tape and set aside.
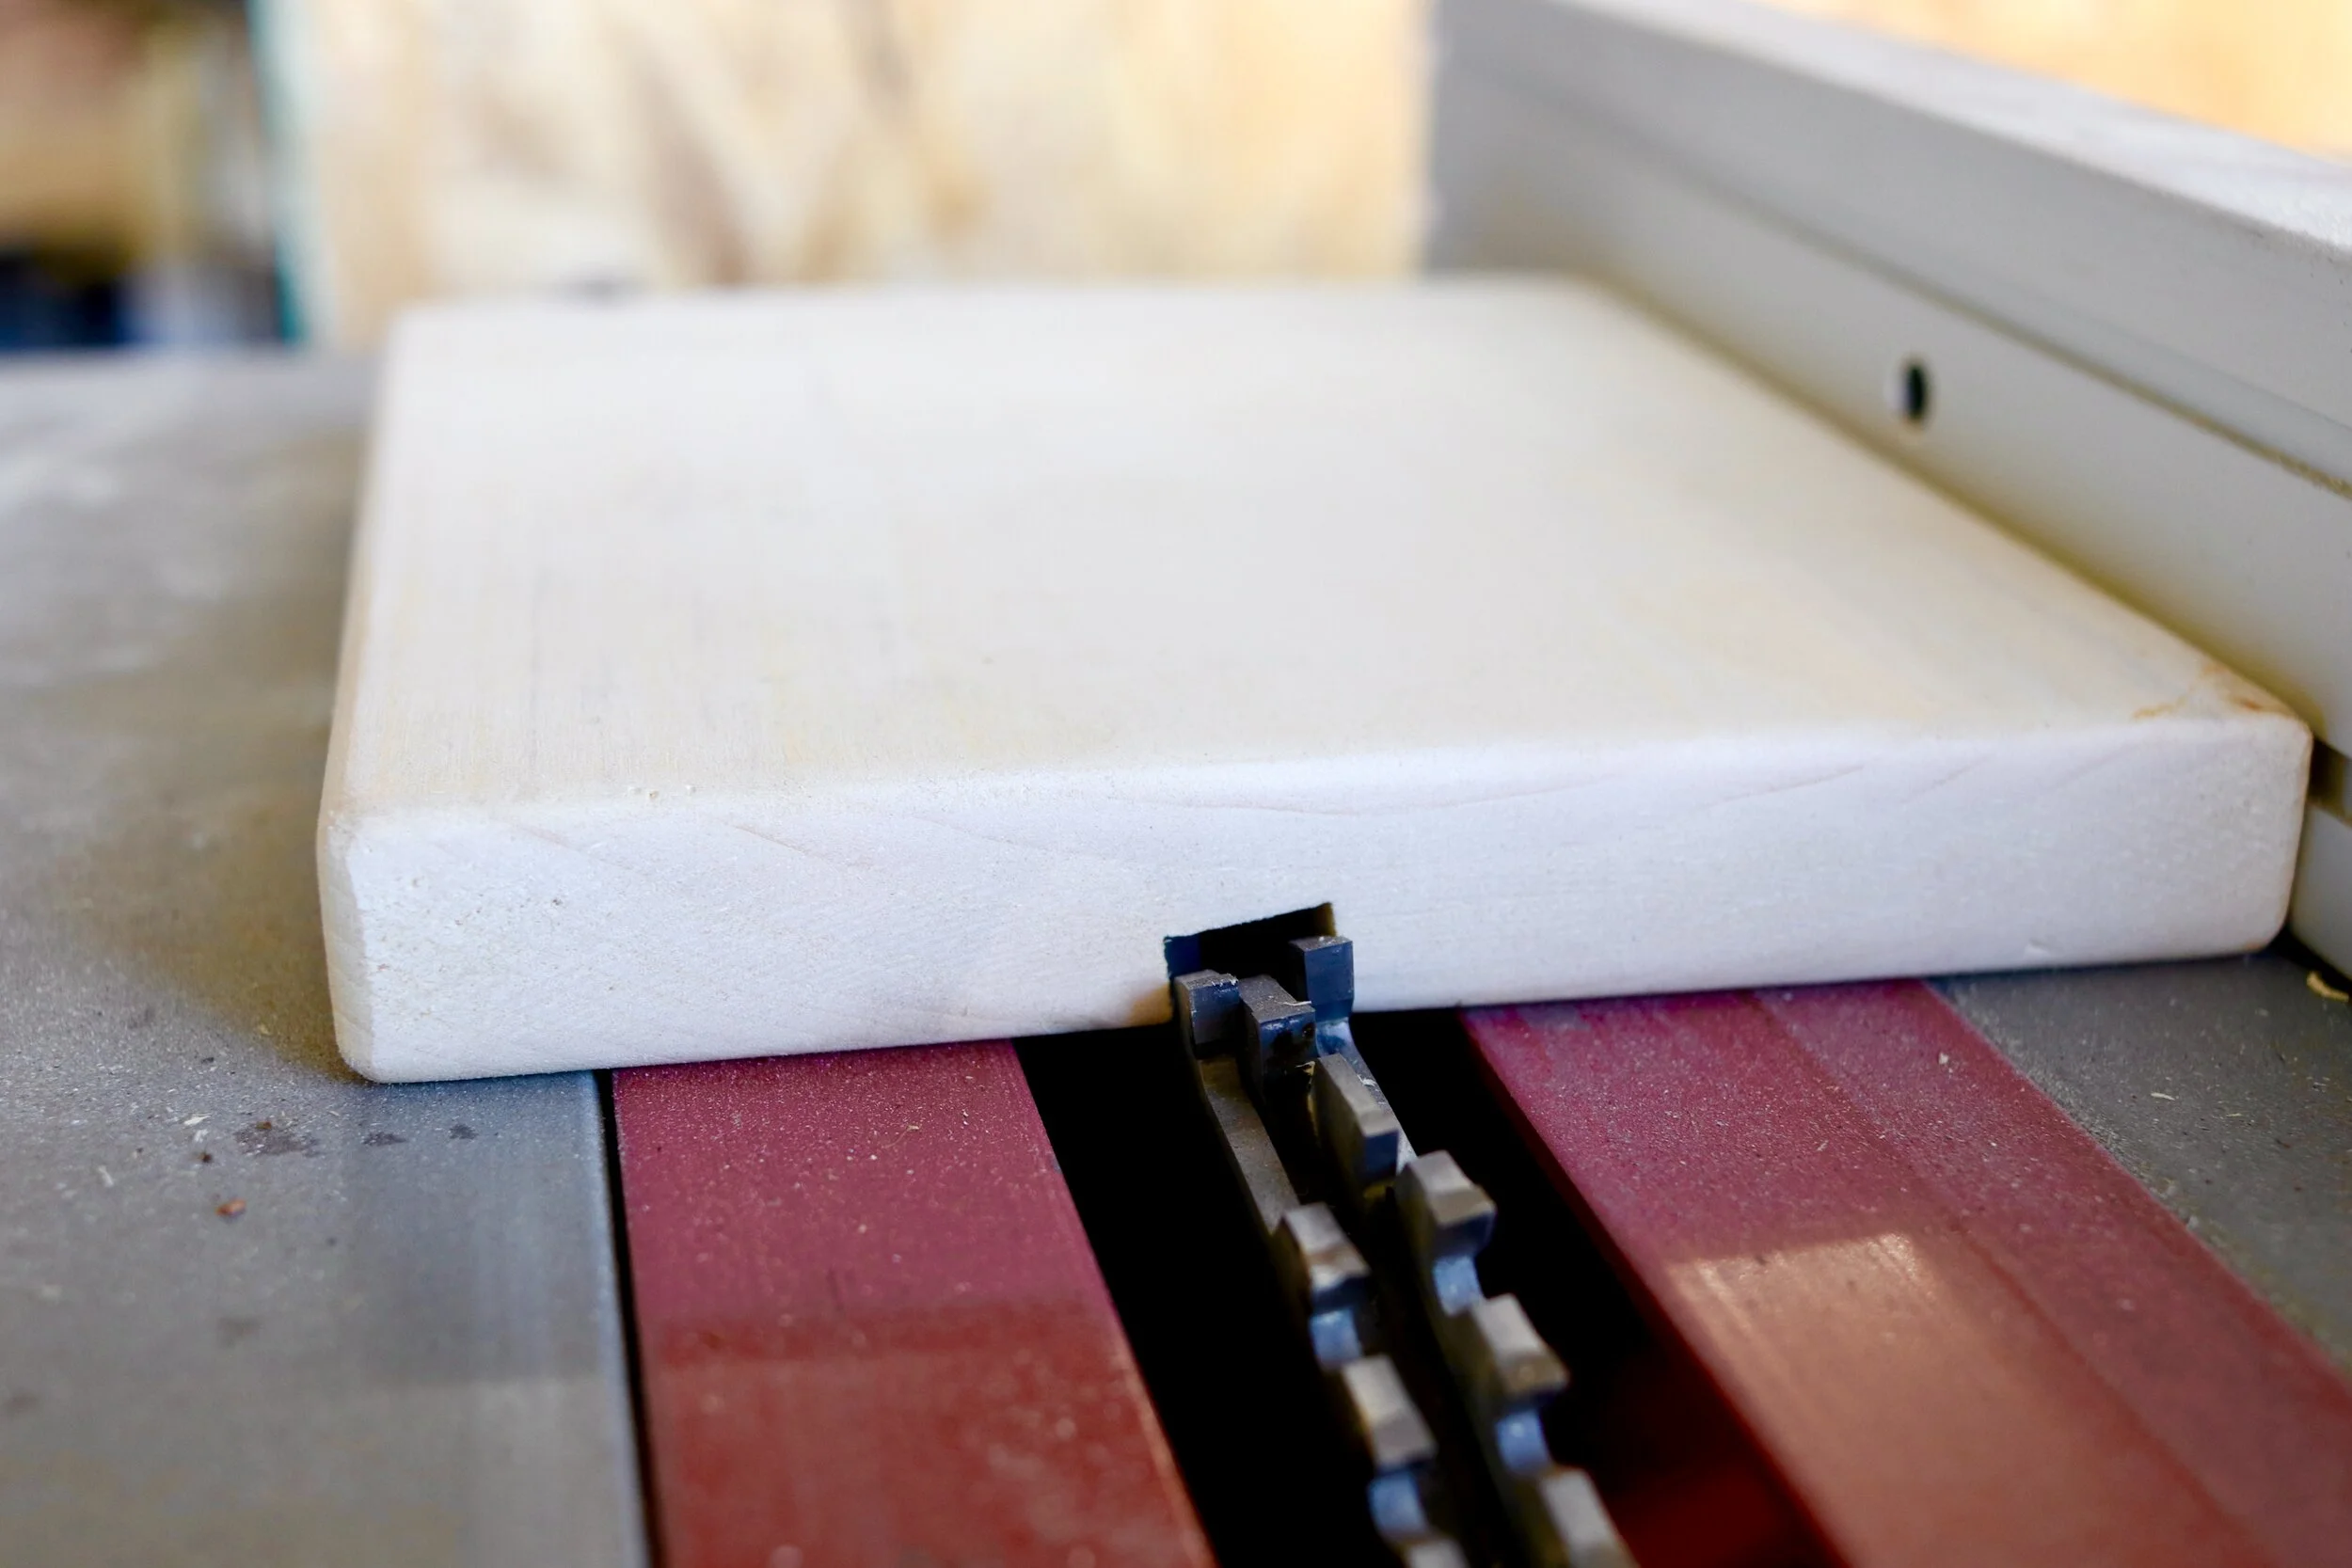
The base is made from 1” thick aspen or poplar wood. For this display, I cut a 5.25x5.25 inch square. Use the table saw and dado blade to cut the groove in the bottom at a 10º angle. You don’t necessarily need to use a dado set and table saw for this, but I found it is the most efficient and accurate. The top piece of the display sits in this groove. You’ll want the dado to be set to slightly wider than the display top piece so it fits.
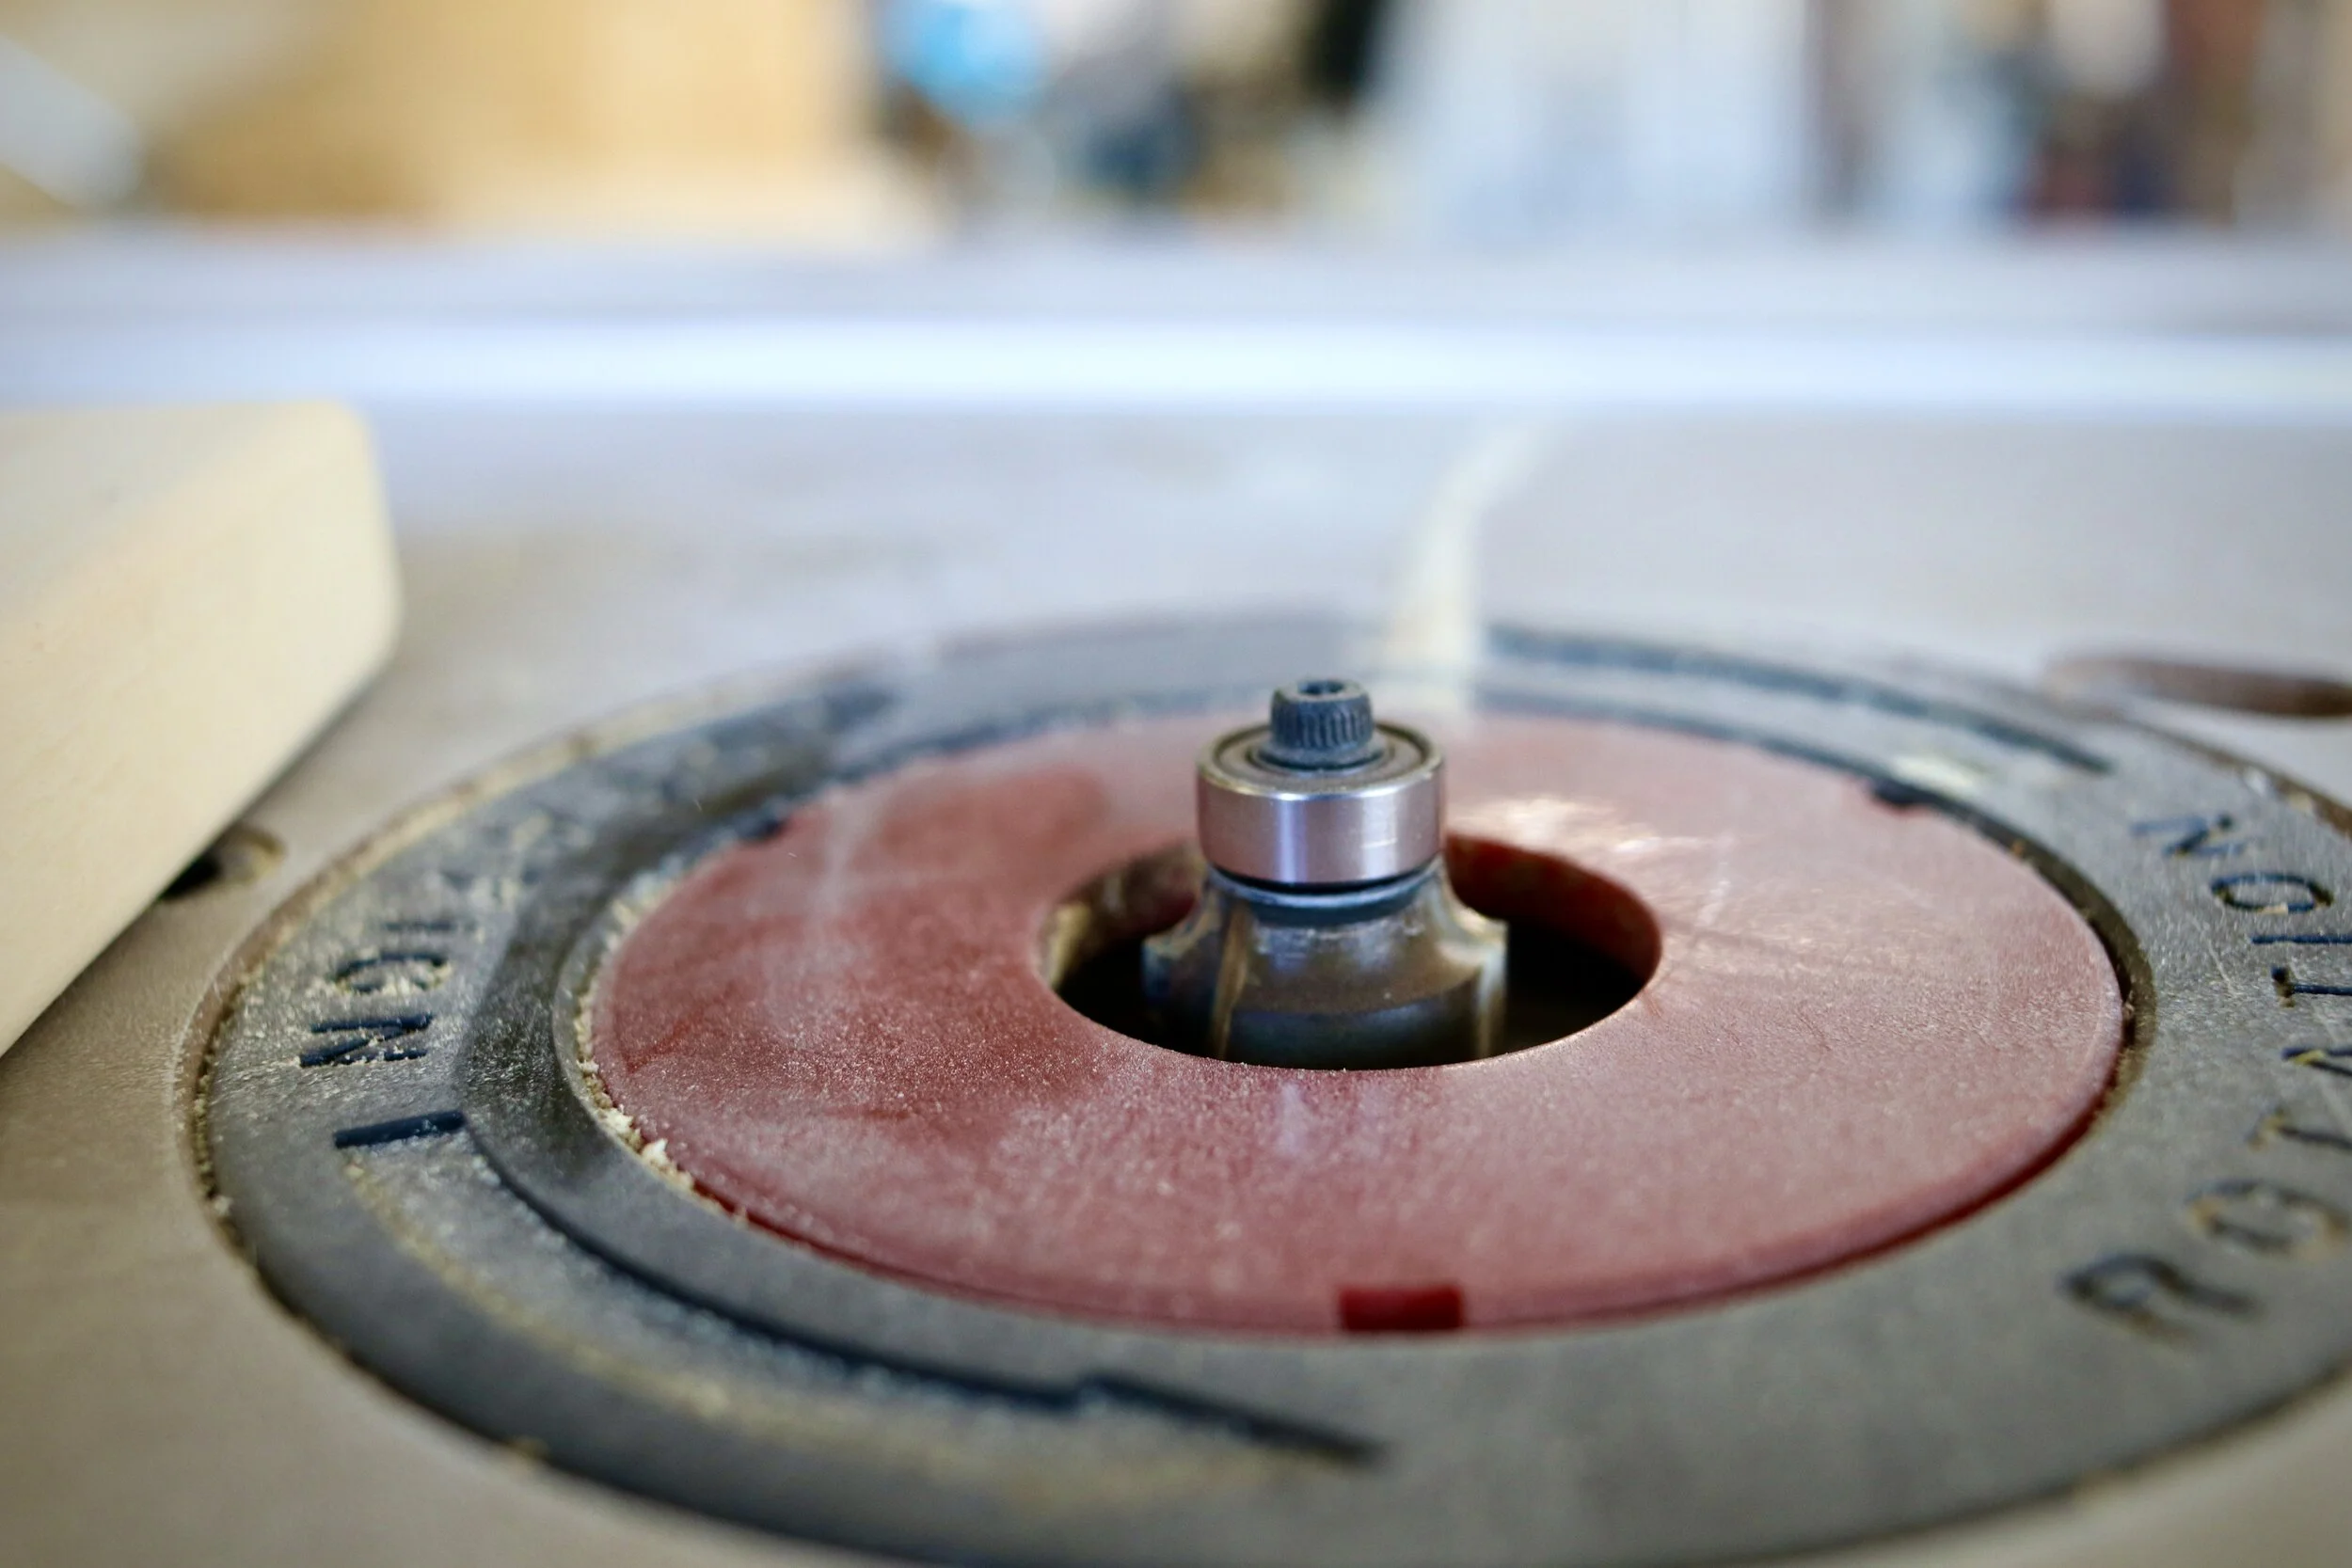
After the groove is cut, I use a router with a round over bit to round the edges. I use a palm sander with 220 grit sandpaper to get rid of any smoke marks, imperfections and soften edges.
After sanding, it’s time for stain or paint. There are a ton of colors to choose from, these are 8 of my favorites.

I use a rag to apply the stain and a paper towel to soak up the excess. Allow at least 8 hours to dry before use.